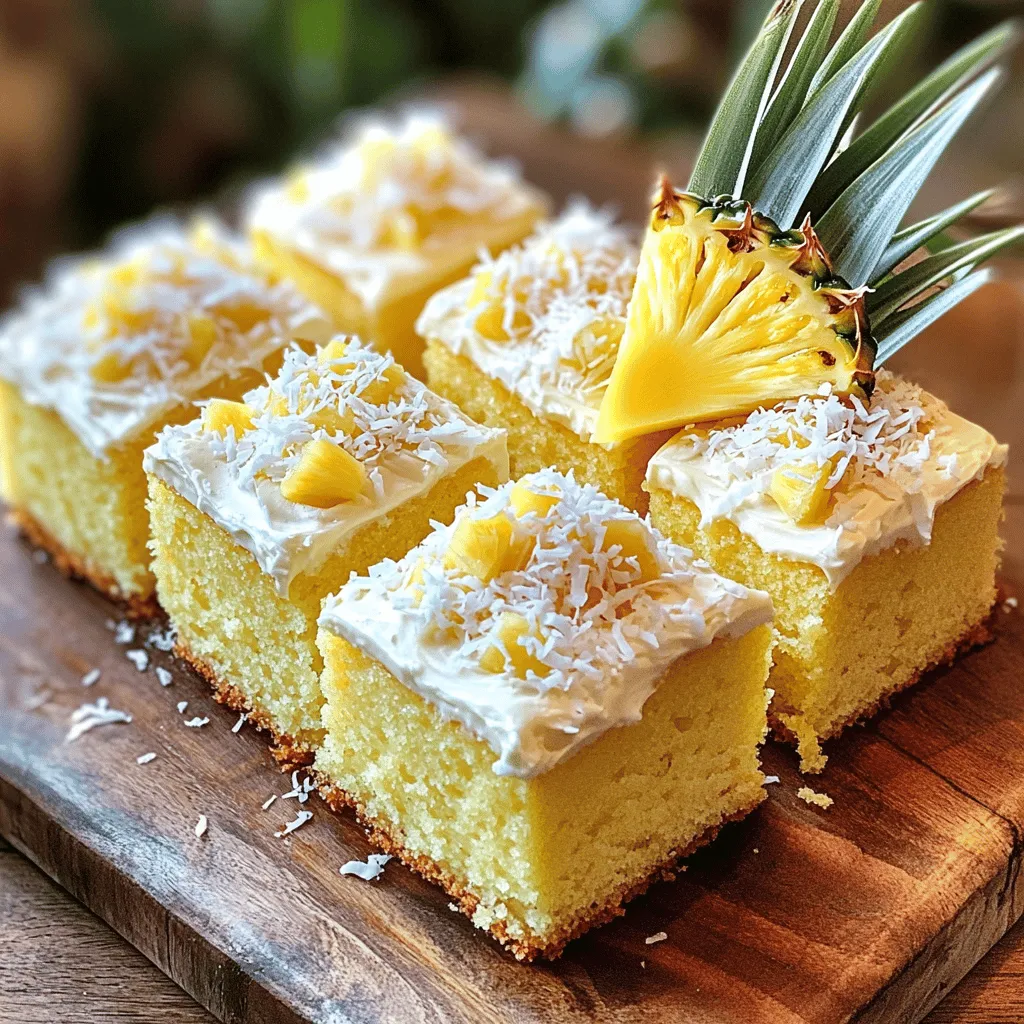
Are you craving a moist, flavorful cake that’s quick and easy to make? Look no further! This Pineapple Juice Cake recipe brings tropical sunshine into your kitchen. With simple ingredients and easy steps, you’ll whip up a delightful cake that impresses everyone. Whether you’re a baking newbie or a pro, I promise this treat will brighten any gathering. Ready to bake? Let’s dive into the sweet world of pineapple goodness!
Ingredients
Key Ingredients for Pineapple Juice Cake
– 2 cups all-purpose flour
– 1 ½ cups granulated sugar
– 1 cup unsweetened pineapple juice
– ½ cup vegetable oil
– 3 large eggs
– 1 teaspoon baking powder
– 1 teaspoon baking soda
– ½ teaspoon salt
– 1 teaspoon vanilla extract
– 1 cup crushed pineapple, drained
These key ingredients create a moist and flavorful cake. The all-purpose flour gives the cake structure. Granulated sugar adds sweetness, while unsweetened pineapple juice provides a tropical twist. Vegetable oil keeps the cake tender, and eggs help it rise.
Optional Ingredients
– ½ cup shredded coconut
– Cream cheese frosting
Adding shredded coconut gives extra texture and flavor. If you like cream cheese frosting, it pairs beautifully with the cake. You can also skip the frosting for a lighter treat.
Equipment Needed
– Mixing bowls
– Whisk
– Baking pan (9×13 inch)
– Toothpick for testing doneness
You’ll need a few simple tools. Mixing bowls help combine ingredients, and a whisk mixes them well. A 9×13 inch baking pan is perfect for this cake. A toothpick is vital to check if the cake is done.
This combination of ingredients and equipment makes baking this pineapple juice cake easy and fun.
Step-by-Step Instructions
Prepping the Oven and Pan
– Preheat oven to 350°F (175°C)
– Grease and flour the baking pan
Start by preheating your oven. This step is key for a great rise. Greasing and flouring the pan helps the cake come out easily. I use a 9×13 inch pan for this recipe. You can also line it with parchment paper if you prefer.
Mixing Dry Ingredients
– Combine flour, sugar, baking powder, baking soda, and salt
In a large mixing bowl, add two cups of all-purpose flour. Then, add one and a half cups of granulated sugar. Next, mix in one teaspoon of baking powder, one teaspoon of baking soda, and half a teaspoon of salt. Whisk these dry ingredients together until they are well blended. This helps the cake rise nicely.
Mixing Wet Ingredients
– Whisk together pineapple juice, oil, eggs, and vanilla extract
In another bowl, take one cup of unsweetened pineapple juice and add half a cup of vegetable oil. Crack in three large eggs and add one teaspoon of vanilla extract. Whisk these ingredients together until they are smooth. The juice brings sweetness and moisture to the cake.
Combining Ingredients
– Gradually mix wet ingredients into dry ingredients
– Fold in crushed pineapple and shredded coconut
Now, slowly add the wet mixture to the dry mixture. Stir gently until just combined. You want to keep some lumps for a light texture. Next, fold in one cup of drained crushed pineapple. If you like coconut, add half a cup of shredded coconut too. This gives the cake a tropical twist.
Baking the Cake
– Pour batter into prepared pan
– Bake for 30-35 minutes
– Cool before frosting
Pour the batter into your prepared pan. Spread it out evenly. Bake the cake for 30 to 35 minutes. To test if it’s done, insert a toothpick into the center. If it comes out clean, your cake is ready. Let it cool in the pan for about 10 minutes. Then, transfer it to a wire rack to cool completely before frosting.
Tips & Tricks
Perfecting the Cake
To make your pineapple juice cake just right, follow these tips. First, avoid overmixing the batter. Mix until the ingredients are just combined. Overmixing can make the cake tough. Next, check for doneness with a toothpick. Insert it in the center of the cake. If it comes out clean, the cake is ready.
Frosting Recommendations
For a pineapple juice cake, cream cheese frosting works best. It adds a rich, tangy flavor. You can also use vanilla buttercream for a sweeter option. To apply the cream cheese frosting, wait for the cake to cool completely. Spread a thick layer on top with a spatula. You want it to look nice and smooth.
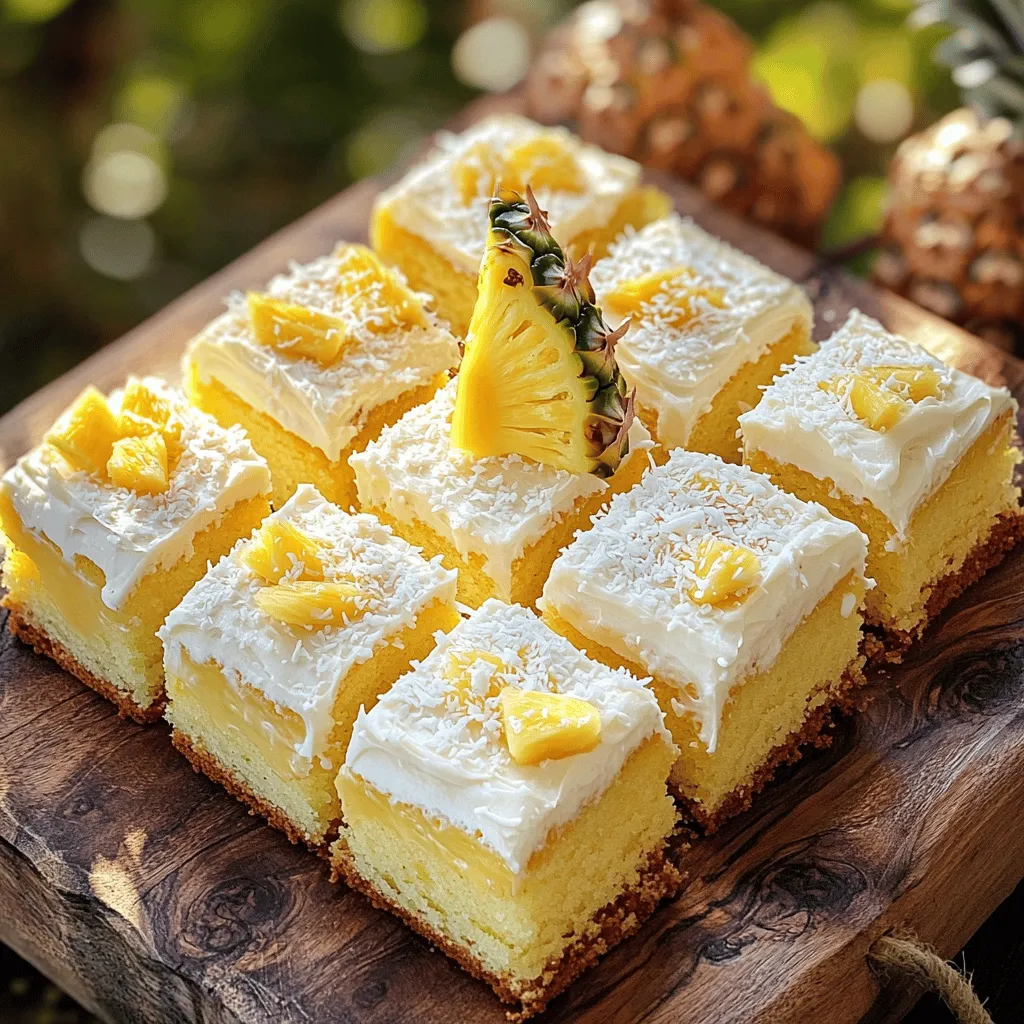
Presentation Suggestions
Make your cake look special with some decorations. Add fresh fruit, like pineapple slices, on top. You can also sprinkle shredded coconut for a tropical vibe. When serving, cut the cake into squares. Arrange the pieces on a nice platter for parties. This makes it easy for guests to enjoy!
Variations
Flavor Variations
You can easily change the flavor of your pineapple juice cake. Adding spices like cinnamon or nutmeg can bring warmth to your cake. Just a teaspoon can make a big difference! You can also mix in other fruits like mango or berries. These additions will give your cake a unique twist.
Health-Conscious Substitutions
If you want a healthier cake, try gluten-free flour options. Almond flour or coconut flour works well. You can also lower the sugar. Use honey or maple syrup instead of granulated sugar. These options keep the cake sweet while being better for you.
Different Serving Suggestions
Get creative with how you serve your cake! Transform it into a layer cake by stacking two or more layers. You can spread cream cheese frosting between the layers for more flavor. Another fun idea is to serve it with ice cream or whipped cream on top. This adds a delicious creamy touch.
Storage Info
How to Store Pineapple Juice Cake
You can store your pineapple juice cake at room temperature for about three days. Keep it in a cool place, away from sunlight. If your kitchen is warm, consider refrigerating it. Refrigeration can help the cake stay fresh longer.
Cover the cake with plastic wrap or foil to keep it moist. This prevents it from drying out. If you use frosting, it’s best to keep it covered too.
Freezing the Cake
To freeze the cake, let it cool completely first. Wrap it tightly in plastic wrap. Then, place it in a freezer bag or container. This keeps out air and helps avoid freezer burn.
When you’re ready to eat it, thaw the cake in the fridge overnight. For quicker thawing, leave it at room temperature for a few hours. Always frost the cake after it has thawed for the best taste.
These steps work well for long-term storage, allowing you to enjoy your delicious cake later!
FAQs
How do I know when my Pineapple Juice Cake is done?
To check if your cake is done, use the toothpick method. Insert a toothpick into the center of the cake. If it comes out clean or with a few crumbs, your cake is ready. If it has wet batter on it, bake for a few more minutes. This simple test ensures you get a perfectly baked cake.
Can I make this recipe ahead of time?
Yes, you can make this cake ahead of time. Bake it and let it cool completely. Once cool, wrap it tightly in plastic wrap. Store it in the fridge for up to three days. You can frost it just before serving. This keeps the cake fresh and moist.
What can I use instead of pineapple juice?
If you do not have pineapple juice, there are good alternatives. You can use orange juice for a citrus twist. Apple juice also works well and adds natural sweetness. Coconut milk can add a tropical flavor too. Just remember to adjust sweetness if needed.
Can I use fresh pineapple instead of crushed?
Yes, you can use fresh pineapple! Peel and chop the pineapple into small pieces. Then, pulse it in a blender to achieve a crushed texture. This may add more moisture, so reduce the liquid slightly. This will enhance the cake’s fresh taste and aroma.
How long will the cake last?
Without frosting, the cake lasts about four to five days at room temperature. If you frost it with cream cheese frosting, store it in the fridge. It will last about three to four days. Always cover it to keep it moist and fresh.
Pineapple juice cake is a fun and easy dessert. We explored key ingredients, equipment, and steps to make it. I shared tips to perfect your cake and suggested frosting options. You can create tasty variations or store leftovers effectively.
With these simple techniques, you’ll impress friends and family. Enjoy your baking journey and make each slice a delightful treat!