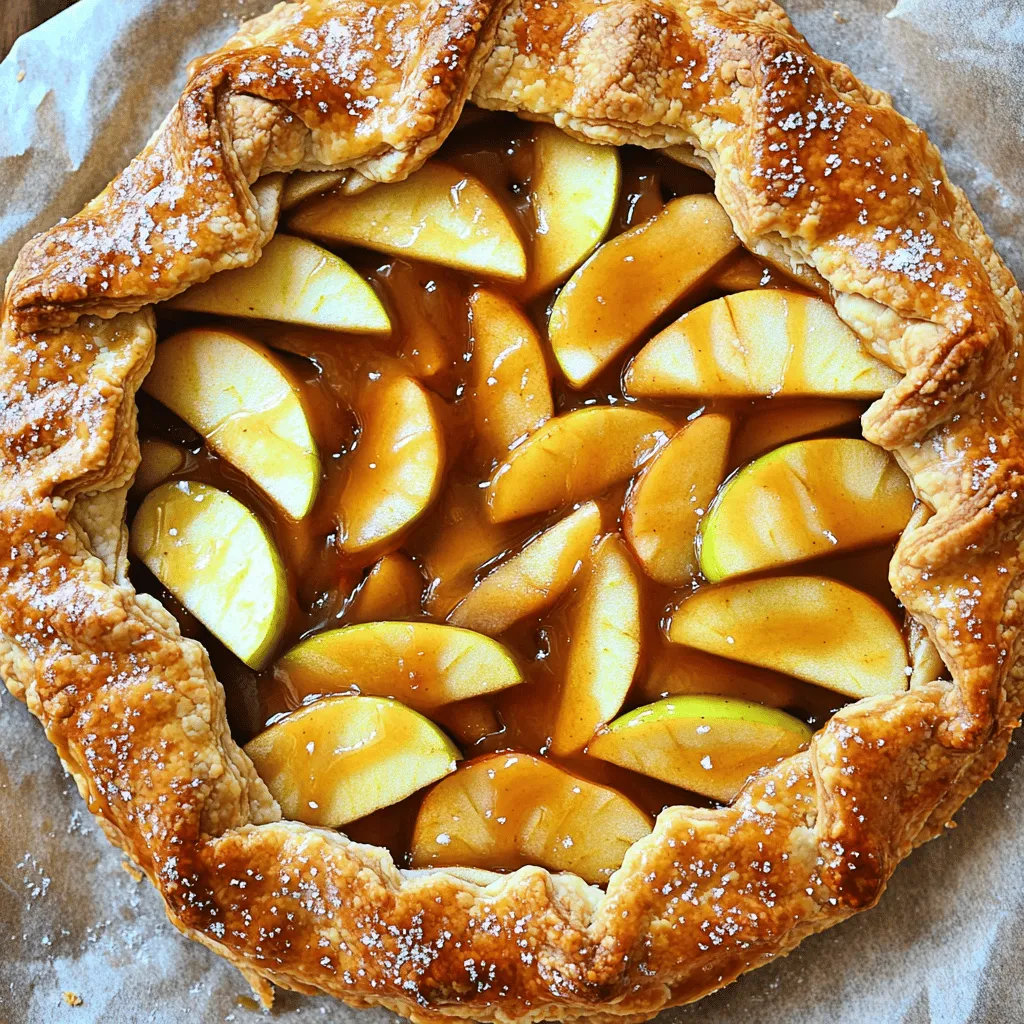
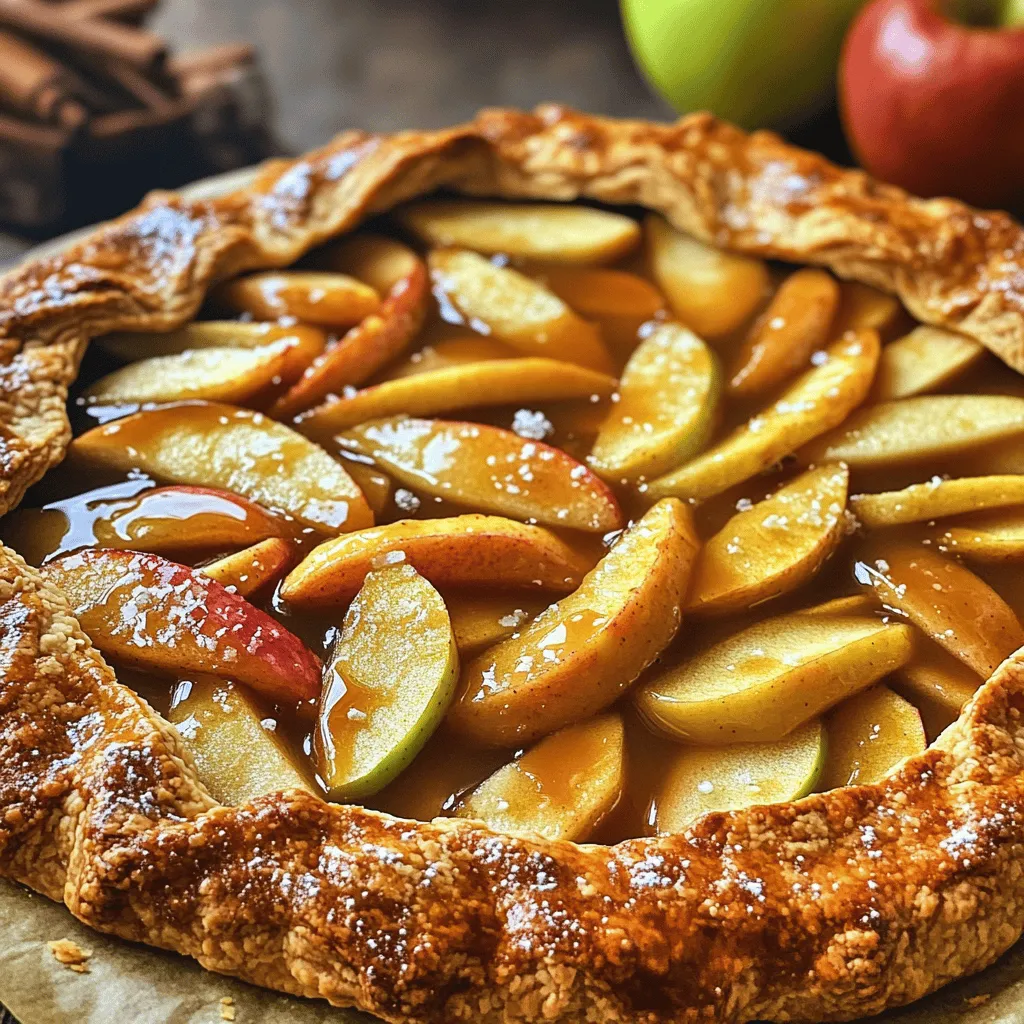
Fall treats don’t get much better than a caramel apple galette! This delightful dessert combines sweet, tart apples with rich caramel, all tucked in a flaky crust. It’s simple to make and perfect for gatherings or cozy nights at home. In this post, I’ll share everything you need, from ingredients to easy steps. Let’s get started on creating a warm, inviting dish that will impress everyone!
Ingredients
To make a delicious caramel apple galette, you’ll need fresh and simple ingredients. Here’s what you should gather:
– 2 large apples (such as Granny Smith or Honeycrisp), peeled, cored, and thinly sliced
– 1 tablespoon lemon juice
– 1/2 cup granulated sugar
– 1/4 cup unsalted butter
– 1 teaspoon ground cinnamon
– 1/4 teaspoon nutmeg
– 1 pre-made pie crust (store-bought or homemade)
– 1 egg (for egg wash)
– 1 tablespoon milk (for egg wash)
– Sea salt for garnish (optional)
Using the right apples is key. I love Granny Smith for their tartness, which balances the sweet caramel. Honeycrisp adds a nice crisp texture. The lemon juice helps keep the apples bright and fresh. The butter and sugar combine for a rich caramel that coats the apples perfectly. Cinnamon and nutmeg bring warmth and depth to the flavor.
You can use a store-bought crust to save time or make your own if you feel adventurous. The egg wash gives the crust a lovely golden color. A sprinkle of sea salt at the end enhances the flavors beautifully. Each ingredient plays a role in creating a cozy dessert that celebrates fall.
Step-by-Step Instructions
Preparing the Apple Mixture
Start with two large apples. I like to use Granny Smith or Honeycrisp.
– Peeling, Coring, and Slicing Apples: First, peel the apples. Then, core them and slice them thinly. Aim for even pieces for uniform cooking.
– Mixing with Lemon Juice and Spices: In a bowl, add the apple slices. Pour in one tablespoon of lemon juice. Add half a cup of granulated sugar, one teaspoon of ground cinnamon, and a quarter teaspoon of nutmeg. Toss everything well. Ensure all slices are coated.
Creating the Caramel
Now, let’s make the caramel. This step adds a rich flavor.
– Melting the Butter: In a medium saucepan, place a quarter cup of unsalted butter. Heat on medium until it melts.
– Adding Sugar and Monitoring Color: Next, add half a cup of granulated sugar. Stir slowly until it bubbles. Watch closely. After 3-4 minutes, it should turn a light caramel color. Remove from heat right away.
Assembling the Galette
It’s time to bring everything together.
– Rolling Out the Pie Crust: Take your pre-made pie crust. Roll it out on a floured surface until it’s about 12 inches wide.
– Arranging Apples and Folding Edges: Place the caramel-coated apples in the center, leaving a 2-inch border. Carefully fold the crust edges over the apples. Crimp or pleat them for a nice look.
– Brushing with Egg Wash: In a bowl, whisk one egg with one tablespoon of milk. Use this mixture to brush the crust. This gives it a lovely golden color.
Baking the Galette
Finally, it’s time to bake!
– Preheating the Oven: Preheat your oven to 375°F (190°C). Line a baking sheet with parchment paper.
– Timing and Temperature for Perfect Baking: Bake the galette for 35-40 minutes. You want the crust to be golden brown and the apples tender. Check it halfway through to make sure it’s baking evenly.
Tips & Tricks
Choosing the Right Apples
When making a caramel apple galette, the type of apple matters. You can choose sweet or tart apples. Sweet apples, like Honeycrisp, add natural sweetness. Tart apples, like Granny Smith, give a nice balance. I often mix both for depth of flavor.
Best Varieties for Baking:
– Honeycrisp
– Granny Smith
– Fuji
– Jonagold
These apples hold their shape and add great taste when baked.
Perfecting Your Caramel
Caramel can be tricky, but with some tips, you can master it. First, watch the heat. You want a nice bubble without burning. Stir often to help it cook evenly.
Avoiding Common Mistakes:
– Don’t rush the process.
– Keep an eye on the color.
– Use a heavy pan for even heating.
Tips for Flavor Enhancement:
– Add a pinch of sea salt for balance.
– A splash of vanilla can deepen the flavor.
Serving Suggestions
A warm galette is great on its own, but you can elevate it. Serve it with a scoop of vanilla ice cream or a dollop of whipped cream. Both options add creaminess and sweetness.
Presentation Ideas:
– Drizzle extra caramel on top.
– Sprinkle with chopped nuts for crunch.
– Dust with powdered sugar for a pretty touch.
These ideas will make your galette look as good as it tastes!
Variations
Flavor Enhancements
– Adding Vanilla Extract
A splash of vanilla makes the galette even better. It adds warmth and depth. You can mix in a teaspoon when you combine the apples. This small tweak can change the whole taste.
– Incorporating Nuts (pecans, walnuts)
Nuts give a nice crunch. Try adding chopped pecans or walnuts to the apple mix. About half a cup works well. The nuts add texture and flavor.
Different Fruit Combinations
– Pear-Caramel Galette
Swap apples for pears for a new twist. Use ripe pears and follow the same steps. This will give you a sweet and juicy dessert.
– Mixed Berry Apple Galette
Combine apples with mixed berries. Use blueberries, raspberries, or strawberries. This mix adds a fresh and tart flavor. Just use one cup of berries with your apples.
Dietary Modifications
– Gluten-Free Options
You can use a gluten-free pie crust. Many stores sell this. It lets everyone enjoy the galette.
– Vegan Substitutes for Ingredients
To make it vegan, swap the butter for coconut oil. For the egg wash, use almond milk instead of egg and milk. This keeps it just as tasty while fitting vegan diets.
Storage Info
Short-Term Storage
To keep your caramel apple galette fresh, store it in the fridge. Place it in an airtight container. This keeps the crust from getting soggy. You can also cover it with plastic wrap. It will stay fresh for about 3 to 4 days.
Freezing Instructions
If you want to save your galette for later, freezing is a great option. To freeze an unbaked galette, wrap it well in plastic wrap. Then, put it in a freezer bag. It can last up to 2 months in the freezer.
When you’re ready to bake, remove the galette from the freezer. Let it thaw in the fridge overnight. Bake it straight from the fridge without thawing. This helps keep the crust crisp. Enjoy your delicious galette at any time!
FAQs
What is a galette?
A galette is a type of free-form pie. It has a crust that wraps around the filling. You can make it with sweet or savory ingredients. It is simpler than a regular pie. The rustic look makes it charming. The galette is perfect for casual gatherings.
Can I make the galette ahead of time?
Yes, you can prepare the galette in advance. You can make the apple filling the day before. Store it in the fridge to keep it fresh. You can also roll out the crust ahead of time. Just wrap it and chill until you are ready to bake.
How do I keep the crust flaky?
To keep the crust flaky, use cold butter. Cold butter creates steam when baking. This steam helps make the crust light and airy. Do not overwork the dough. Mix just until combined. Chill the dough before rolling it out for best results.
What should I serve with a caramel apple galette?
I love serving caramel apple galette with vanilla ice cream. The warm galette and cold ice cream make a great pair. You can also serve it with whipped cream. A drizzle of extra caramel adds a nice touch. For a twist, try serving it with a scoop of cinnamon gelato.
Can I use other types of crust for this recipe?
Yes, you can use a different crust if you like. A puff pastry can give a light, flaky texture. A whole wheat crust adds a nutty flavor. You can even try a gluten-free crust. Just make sure to adjust baking time if needed.
In this post, we explored how to make a delicious caramel apple galette. We covered the key ingredients, from apples and spices to how to create your caramel. You learned step-by-step instructions, helpful tips, and fun variations to make it your own.
In the end, this simple dessert brings joy to any meal. Experiment with flavors and enjoy your own galette masterpiece!