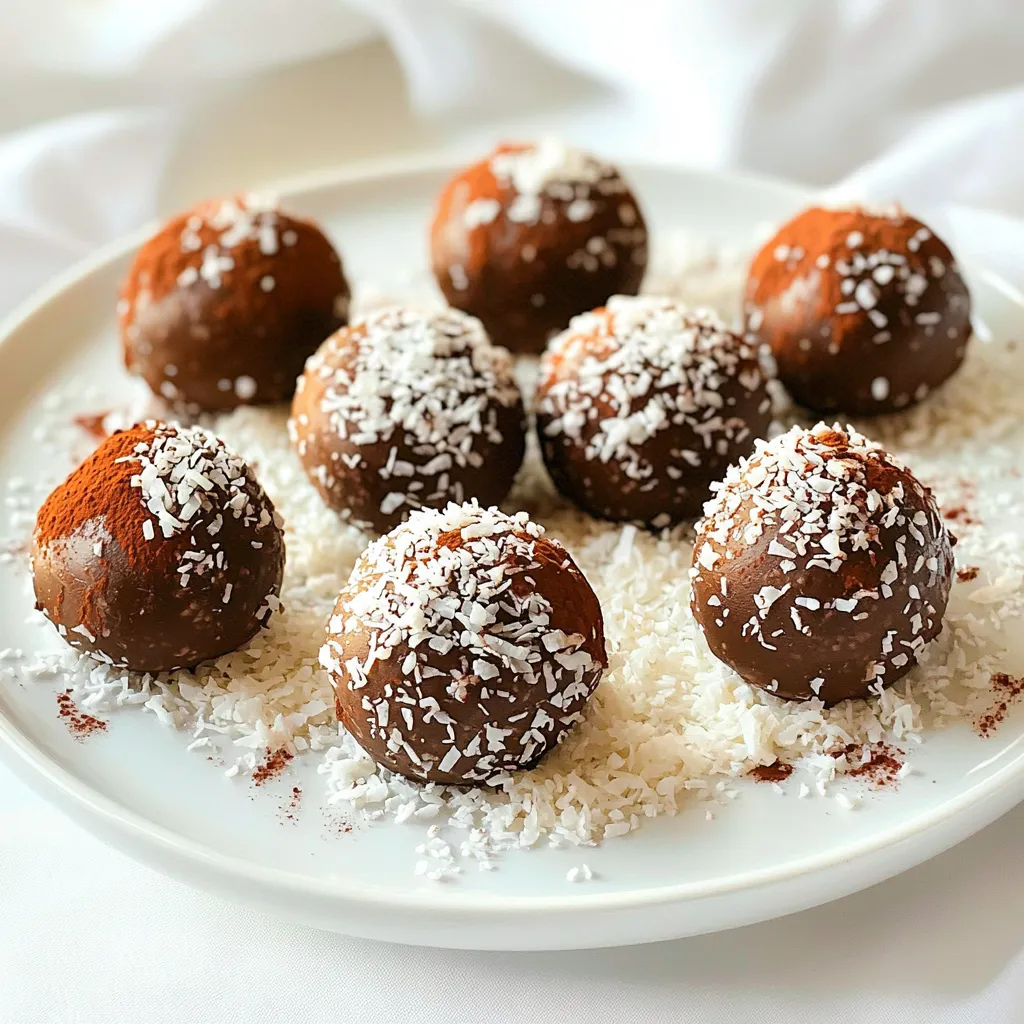
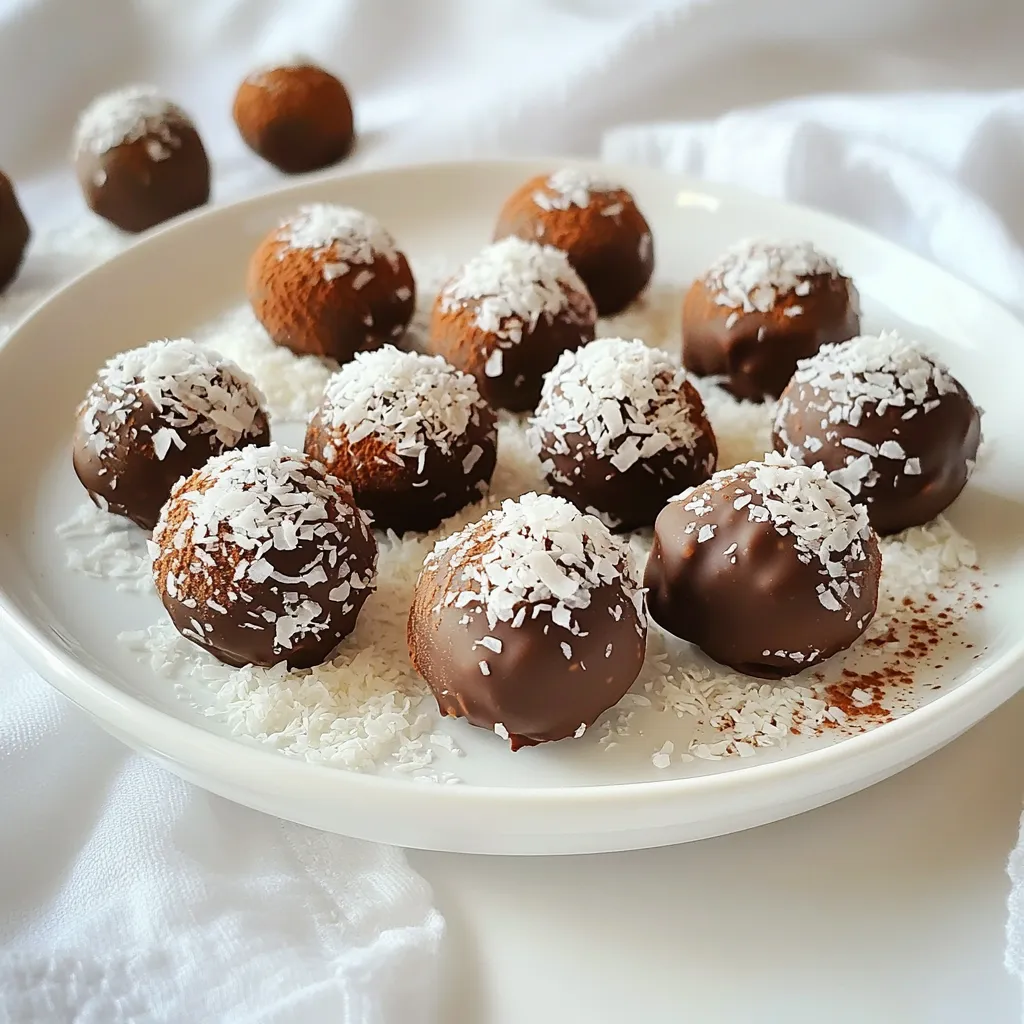
Craving a sweet treat that’s both simple and delicious? Look no further than these Chocolate Coconut Truffles! With just a few basic ingredients, you can whip up these no-bake delights in no time. I’ll guide you through each easy step, ensuring you end up with rich, coconut-infused truffles that satisfy your sweet tooth. Let’s dive into this chocolatey adventure and enjoy these bites of joy together!
Ingredients
Here’s what you need for your chocolate coconut truffles. This list keeps it simple and fun.
– 1 cup unsweetened shredded coconut
– 1 cup dark chocolate chips (dairy-free if desired)
– 1 cup almond flour (or any nut flour)
– 1/2 cup pure maple syrup
– 1/4 cup coconut oil, melted
– 1 teaspoon vanilla extract
– Pinch of sea salt
– Cocoa powder for rolling (optional)
These ingredients work together to create a rich and creamy delight. The shredded coconut adds texture, while the dark chocolate gives that deep flavor. Almond flour keeps the truffles soft and nutty. Maple syrup sweetens them naturally, and coconut oil helps bind everything.
Using vanilla extract enhances the taste. A pinch of sea salt balances the sweetness. Finally, rolling the truffles in extra coconut or cocoa powder adds a lovely finish. Feel free to explore different flavors or adjust based on your taste buds!
Step-by-Step Instructions
Preparation of Dry Ingredients
Start by taking a medium bowl. In it, combine one cup of almond flour, one cup of unsweetened shredded coconut, and a pinch of sea salt. Make sure to mix these dry ingredients well. This step is important as it ensures that the flavors blend nicely.
Melting the Chocolate Mixture
Next, grab a small saucepan. Over low heat, melt one cup of dark chocolate chips and a quarter cup of coconut oil together. Stir the mixture until it becomes smooth and combined. This creates a rich base for your truffles. Once melted, remove the saucepan from the heat and stir in half a cup of pure maple syrup and one teaspoon of vanilla extract until fully mixed.
Forming the Truffle Dough
Now, pour the melted chocolate mixture into your bowl with the dry ingredients. Mix it all together until you form a thick, sticky dough. This is where the magic happens! To make the dough easier to handle, chill it in the fridge for about 15 to 20 minutes.
Shaping the Truffles
Once your dough is chilled, it’s time to shape the truffles. Scoop about a tablespoon of the mixture and roll it into a ball using your hands. You want each ball to be about the size of a teaspoon. Then, roll each truffle in extra shredded coconut or cocoa powder. This gives them a beautiful, tasty coating. Place the rolled truffles on a parchment-lined baking sheet. Repeat this process until all the dough is shaped into truffles. Finally, refrigerate the truffles for at least 30 minutes to set before serving.
Tips & Tricks
Achieving the Perfect Texture
Refrigerating the dough is key. It helps the truffles hold their shape better. If you skip this step, your dough may be too soft to roll. Chill the dough for about 15-20 minutes. This makes it easier to handle.
To avoid stickiness, use wet hands while rolling. This simple trick stops the dough from sticking to your fingers. Another tip is to dust your hands with a little coconut or cocoa powder. Both methods help you shape the truffles with ease.
Presentation Tips
Garnishing your truffles can make them shine. You can roll them in extra shredded coconut for a rustic look. Cocoa powder adds a rich touch, too. For a fancy twist, add edible gold flakes on top. They will impress your guests!
When serving, arrange the truffles on a nice plate. Sprinkle some shredded coconut around them for a fun touch. Place them on a dessert table at parties or gatherings. They will be a hit!
Variations
Flavor Additions
You can make these truffles even more fun. Try adding different extracts. Almond extract gives a sweet twist. Mint extract adds a cool touch. Both can change the flavor a lot.
Spices can also spice up your truffles. A pinch of cinnamon can warm up the taste. Cocoa powder can deepen the chocolate flavor. Just mix these in when you combine the dry ingredients.
Dietary Modifications
These truffles are easy to adapt for everyone. For gluten-free options, just ensure your almond flour is certified gluten-free. It works just as well in this recipe.
If you need dairy-free truffles, use dairy-free chocolate chips. They melt perfectly and taste great. You can even swap maple syrup with agave syrup if you prefer.
For nut allergies, you can use sunflower seed flour instead of almond flour. This keeps the texture and taste nice. Just check that your chocolate is nut-free, too.
Storage Info
How to Store Truffles
To keep your chocolate coconut truffles fresh, store them in the fridge. Place them in an airtight container. This helps protect them from moisture and strong smells. When stored this way, they can last for about one week.
If you want to enjoy them later, make sure they are fully set before storing. You can also layer them with parchment paper to avoid sticking. This simple step keeps them looking nice and tasty!
Freezing Truffles
Freezing is a great way to enjoy these truffles later. First, let the truffles set in the fridge for at least 30 minutes. Once set, place them in a single layer on a baking sheet. Freeze them for about one hour.
After that, you can transfer them to a freezer-safe bag or container. This way, they will stay fresh for about three months. When you’re ready to eat a truffle, take it out and let it thaw in the fridge. This keeps the texture smooth and the flavor rich.
Remember, do not refreeze them after they thaw. Enjoy your sweet treat at its best!
FAQs
How long do no-bake chocolate coconut truffles last?
No-bake chocolate coconut truffles can last up to two weeks in the fridge. To keep them fresh, store them in an airtight container. If you notice them getting dry or hard, they may be past their prime. Always check for any odd smells or changes in texture before eating.
Can I use different types of chocolate?
Yes, you can use different types of chocolate. Dark chocolate gives a rich flavor and pairs well with coconut. Milk chocolate makes a sweeter truffle. If you prefer, you can also try semi-sweet chocolate. Each type will change the taste slightly, so choose what you like best!
What can I substitute for almond flour?
If you need a substitute for almond flour, there are several good options. You can use coconut flour, but use less since it absorbs more moisture. Oat flour is another choice and works well. For nut-free options, consider sunflower seed flour or a gluten-free blend. Each substitute will affect the texture, so adjust as needed.
These no-bake chocolate coconut truffles are simple and fun to make. We covered the key ingredients and instructions to create these tasty bites. We also shared tips for the best texture and presentation. You can even mix in different flavors or adjust for dietary needs.
Enjoy making these treats for yourself or your friends. Your creativity with flavors and presentation will impress everyone. Making truffles is quick, and they taste great. Get started on this delicious journey today!