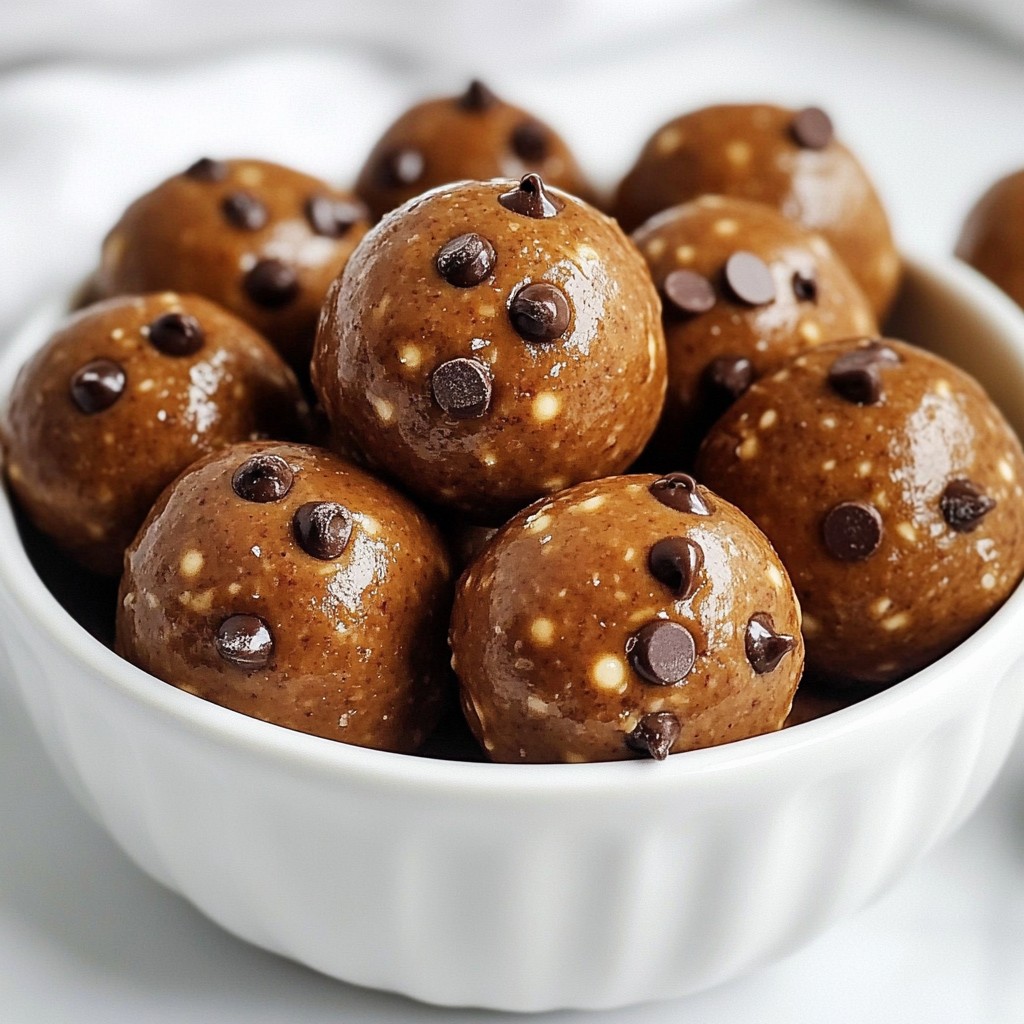
Looking for a quick and tasty snack? Chocolate Peanut Butter Protein Balls offer a perfect blend of flavor and nutrition. With simple ingredients like oats, peanut butter, and cocoa powder, you can whip these up in no time. Whether you need a boost before a workout or a sweet treat after school, these protein balls hit the spot. Let’s dive into how you can make this easy and satisfying snack today!
Why I Love This Recipe
- Healthy Energy Boost: These protein balls are a great source of energy, making them perfect for a quick snack or post-workout fuel.
- Easy to Make: With just a few simple ingredients and minimal prep time, you can whip these up in no time!
- Customizable Flavor: Feel free to swap out ingredients like nut butter or sweeteners to make them your own!
- Deliciously Indulgent: The combination of chocolate and peanut butter creates a satisfying treat that feels indulgent while still being healthy.
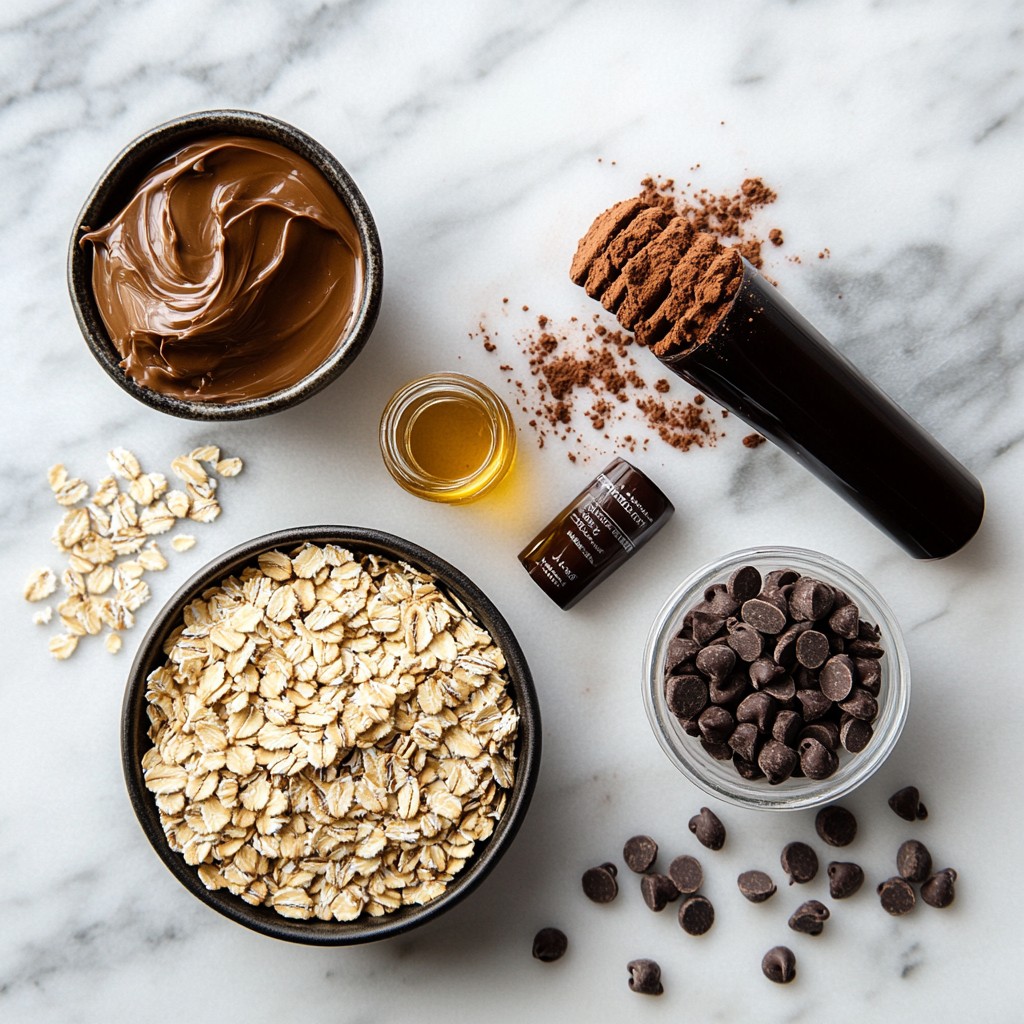
Ingredients
Main Ingredients
- 1 cup rolled oats
- 1/2 cup natural peanut butter
- 1/4 cup honey or maple syrup
- 1/4 cup unsweetened cocoa powder
- 1/4 cup chocolate protein powder
- 1/4 cup mini chocolate chips
- 1 teaspoon vanilla extract
- A pinch of salt
These ingredients make a tasty and healthy snack. Each one adds flavor and nutrition.
Optional Ingredient Adjustments
- Suggestions for using different nut butters: You can swap peanut butter for almond or cashew butter. Each nut butter gives a unique taste.
- Substitutes for honey or maple syrup: Try agave nectar or brown rice syrup if you need a different sweetener. These work well and taste great.
- How to select the best chocolate protein powder: Look for protein powder with no added sugars. A smooth texture will mix better in your recipe.
Step-by-Step Instructions
Preparation Steps
1. Start by gathering your ingredients. You need rolled oats, peanut butter, honey, cocoa powder, protein powder, mini chocolate chips, vanilla extract, and a pinch of salt.
2. In a large mixing bowl, combine the rolled oats, peanut butter, honey (or maple syrup), cocoa powder, and protein powder. Mix them well until they are fully blended.
3. Next, add the mini chocolate chips, vanilla extract, and a pinch of salt. Stir the mixture until all ingredients are evenly mixed.
4. If your mixture feels too dry or crumbly, add a tablespoon of water or milk. This helps achieve a dough-like consistency that is easier to work with.
Forming the Protein Balls
1. Take about a tablespoon of the mixture and scoop it out using your hands. Roll it into a ball.
2. Continue scooping and rolling until you have made all the protein balls. Aim for uniform sizes for even serving.
3. To keep your hands clean, moisten them with a little water. This helps prevent the mixture from sticking to your fingers.
Chilling and Serving
1. Place the formed protein balls on a lined baking sheet or plate.
2. Refrigerate them for at least 30 minutes. This step is crucial for getting the right texture.
3. For a nice presentation, serve the protein balls chilled in a bowl or jar. You can drizzle some melted chocolate on top for an extra touch.
Tips & Tricks
How to Enhance Flavor
To boost the taste of your protein balls, try adding spices like cinnamon or nutmeg. A dash of vanilla extract also works wonders. You can mix in different items too. Consider using chopped nuts, dried fruit, or seeds. Each will bring a new twist to your treat.
Troubleshooting Common Issues
If your mixture feels too dry, add a splash of water or milk. This will help it stick together better. On the other hand, if it’s too wet, sprinkle in more oats or cocoa powder. To stop the balls from sticking to your hands, lightly oil your palms first. This makes rolling easier and cleaner.
Making Ahead and Meal Prep
When you want to prepare these protein balls in bulk, double or triple the recipe. Store them in an airtight container in the fridge for up to a week. For long-term storage, freeze them. Just place them in a freezer bag and pull out as needed. They’ll stay fresh and tasty for months.
Pro Tips
- Storage Solution: Keep the protein balls in an airtight container in the refrigerator for up to a week for maximum freshness.
- Flavor Variations: Experiment with different nut butters like almond or cashew for a unique twist on flavor.
- Protein Boost: To increase protein content, consider adding a scoop of chia seeds or flaxseeds to the mixture.
- Custom Sweetness: Adjust the sweetness by varying the amount of honey or maple syrup according to your taste preference.
Nutritional Information
Health Benefits of Ingredients
Chocolate peanut butter protein balls are packed with health benefits. Peanut butter provides a good source of protein and healthy fats. It helps keep you full and satisfied. The chocolate protein powder adds even more protein, which is great for muscle repair. Each ball offers about 6 grams of protein, making them an excellent post-workout snack.
Caloric Breakdown
This recipe yields 12-15 protein balls. The total calories per ball is around 100. Here’s the calorie breakdown from key ingredients:
- Rolled oats: 30 calories
- Peanut butter: 50 calories
- Honey or maple syrup: 20 calories
- Cocoa powder: 10 calories
- Chocolate protein powder: 20 calories
- Mini chocolate chips: 15 calories
Comparisons to Store-Bought Options
Making your own protein balls has clear benefits. Homemade versions often have fewer added sugars and preservatives. Store-bought options may have long ingredient lists. You also save money by making them at home. A store-bought protein ball can cost $2 or more, while each homemade ball is just a few cents.
Variations
Flavor Variations
You can mix up the flavors of these protein balls easily. Here are some tasty ideas:
- Vanilla: Swap the cocoa powder for extra vanilla extract. This gives a sweet, creamy taste.
- Almond: Use almond butter instead of peanut butter. It adds a nutty twist.
- Mint Chocolate: Add a few drops of peppermint extract for a fresh flavor.
For toppings, try:
- Shredded Coconut: Sprinkle some on top for a tropical touch.
- Chopped Nuts: Use almonds or walnuts for a crunchy bite.
- Extra Chocolate: Drizzle melted chocolate over the balls for more sweetness.
Dietary Adaptations
You can also adapt these protein balls to fit your diet:
- Vegan Version: Replace honey with maple syrup. Use a plant-based protein powder too.
- Gluten-Free Option: Ensure your oats are certified gluten-free. This makes them safe for those with gluten issues.
For lower sugar options, adjust the sweetener:
- Use less honey or maple syrup.
- Try adding mashed bananas for natural sweetness without extra sugar.
FAQs
How long do Chocolate Peanut Butter Protein Balls last?
Chocolate peanut butter protein balls can last up to one week in the fridge. Store them in an airtight container to keep them fresh. If you freeze them, they can last for about three months. Just make sure to separate layers with parchment paper to avoid sticking.
Can I use different protein powders?
Yes, you can use different protein powders to match your taste. Try whey, casein, or plant-based options. Each type adds unique flavor and texture. Just ensure the protein powder mixes well with the other ingredients.
Are these protein balls suitable for kids?
Absolutely! These protein balls are great for kids. They taste like a treat but pack good nutrition. You can adjust the sweetness based on your child's taste. Just keep an eye on any allergies, like nuts.
How can I make them more filling?
To make these protein balls more filling, add a tablespoon of chia seeds or ground flaxseed. These ingredients boost fiber and healthy fats. You can also add nuts or seeds for extra crunch and nutrition.
What is the best way to store these protein balls?
Store chocolate peanut butter protein balls in an airtight container in the fridge. You can also freeze them for longer storage. Just remember to let them thaw a bit before enjoying. This keeps them from getting too hard.
To wrap up, you now have a clear guide to making delicious Chocolate Peanut Butter Protein Balls. We discussed key ingredients, step-by-step instructions, and helpful tips for success. You can adjust flavors and even make them vegan or gluten-free. These treats are simple, fun, and packed with protein. Plus, they save you money compared to store-bought options. Enjoy creating your own tasty snacks that fit your needs and flavor preferences. Happy cooking!