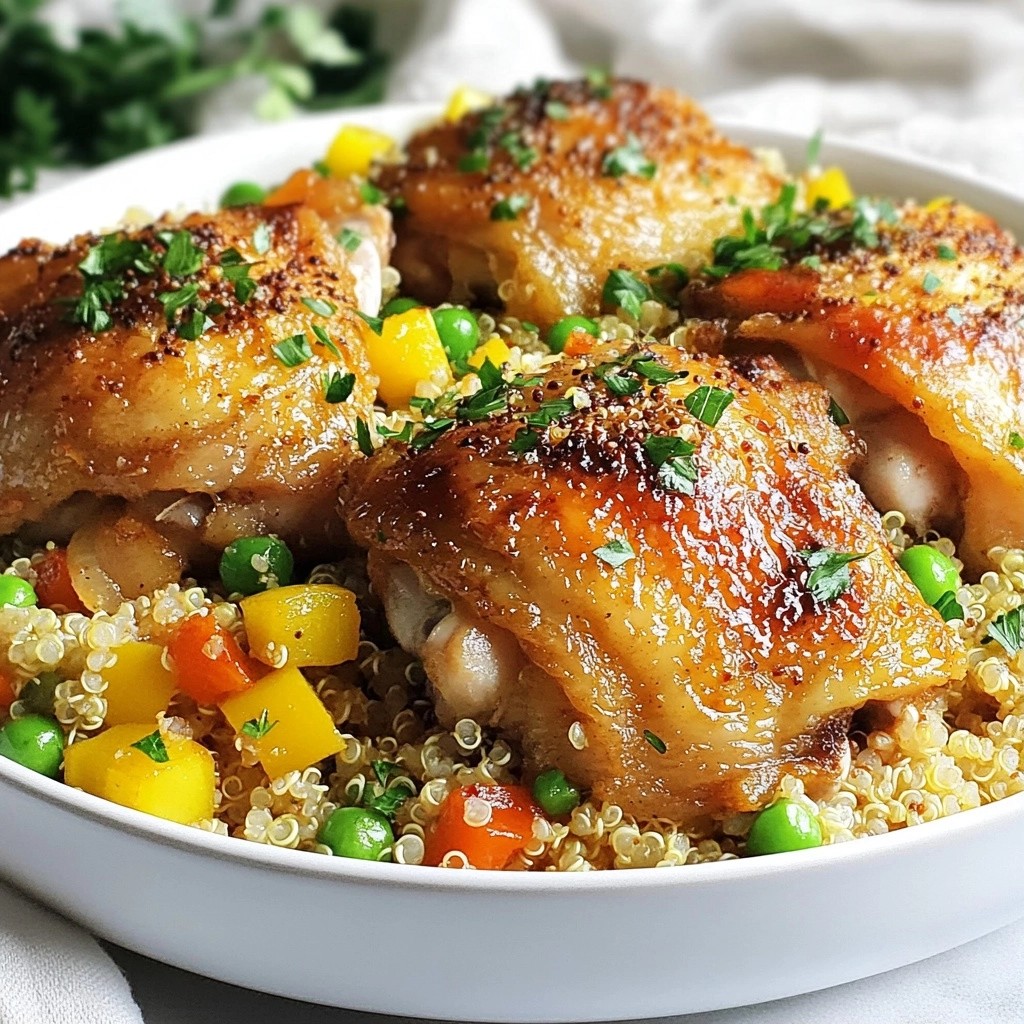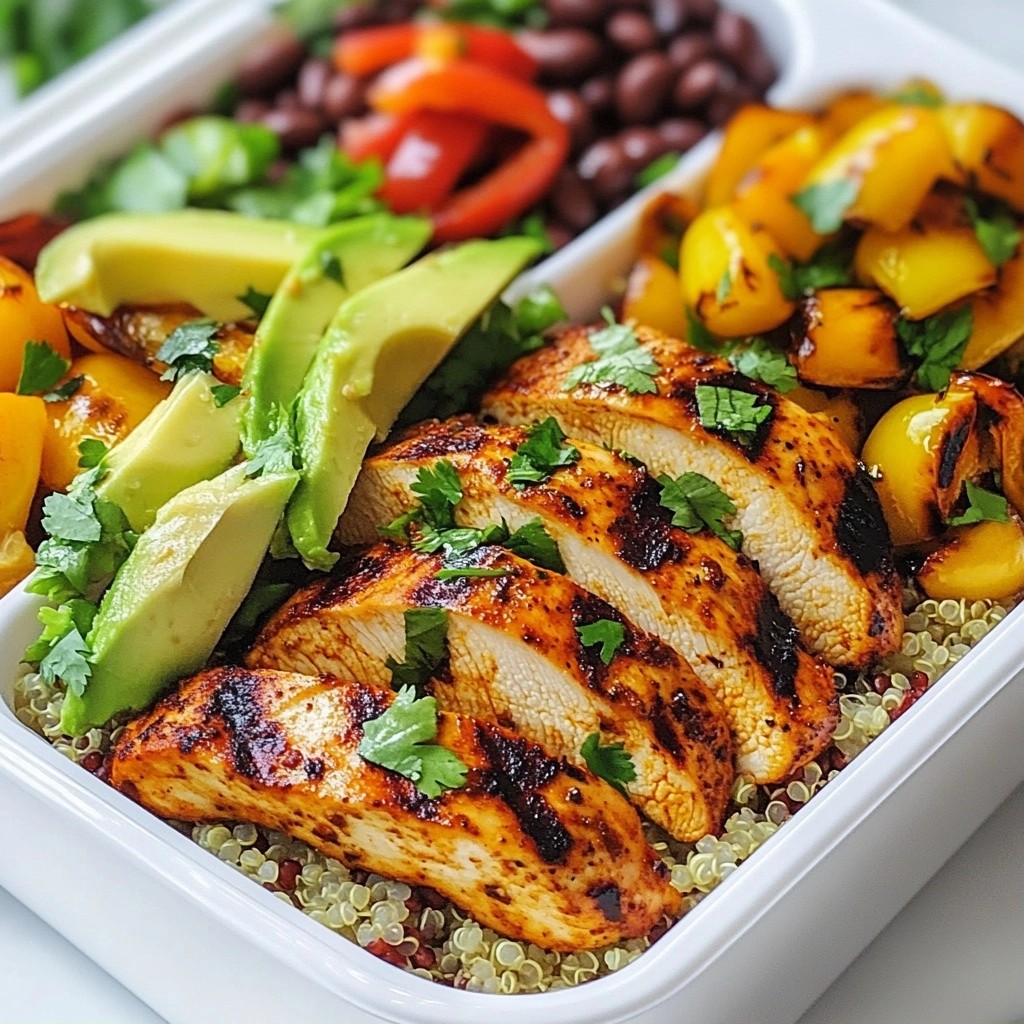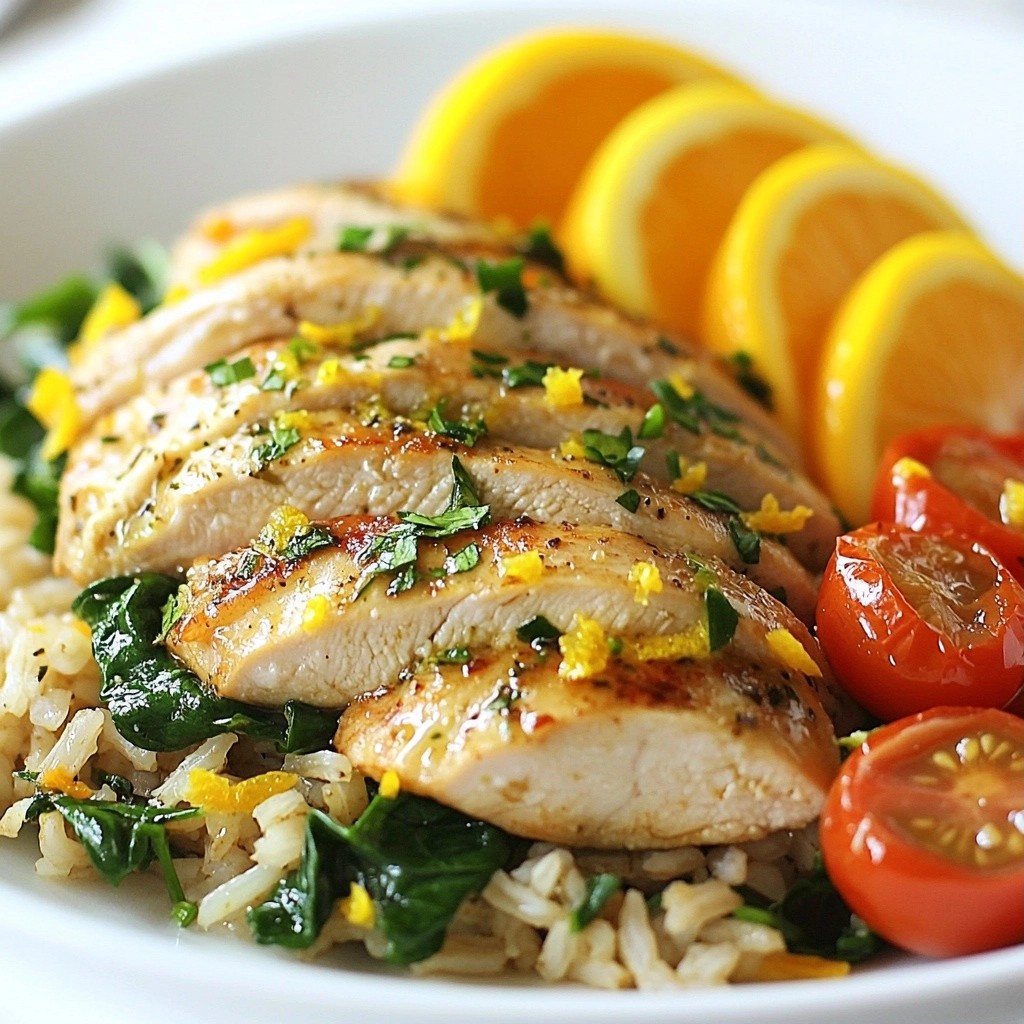
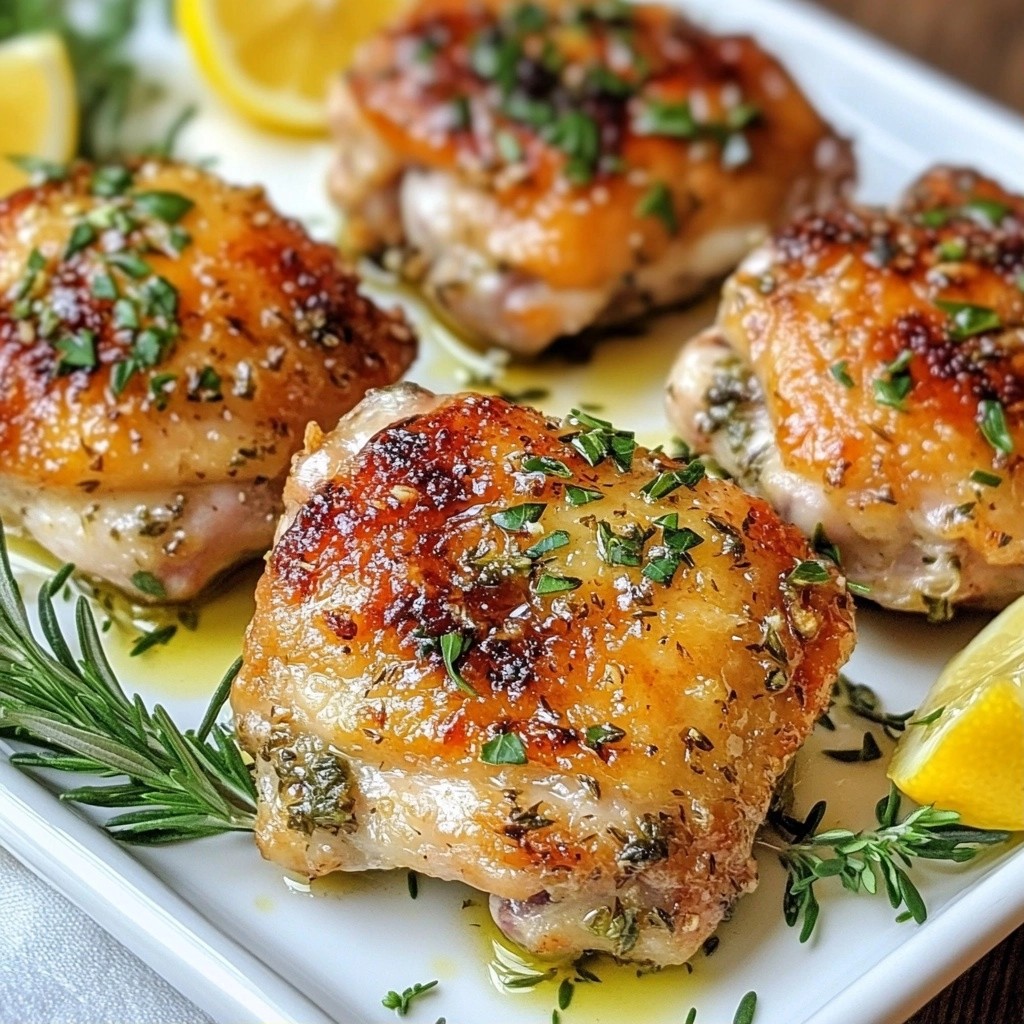
If you crave crispy, flavorful chicken, you’re in for a treat! This recipe for Crispy Baked Chicken Thighs with Herb Crust delivers a perfect crunch every time. Using just a few simple ingredients, you'll impress your family and friends with juicy, herb-coated chicken. I’ll guide you step-by-step through the process, ensuring delicious results that elevate your dinner game. Ready to get started? Let’s dive in!
Why I Love This Recipe
- Crispy Texture: The herb crust creates a delightful crunch that contrasts beautifully with the juicy chicken underneath.
- Flavorful Herbs: The combination of parsley, thyme, and rosemary infuses the chicken with fresh and aromatic flavors.
- Easy Preparation: This recipe requires minimal prep time, making it perfect for busy weeknights or impressing guests.
- Adaptable Sides: These chicken thighs pair wonderfully with a variety of sides, like roasted vegetables or a crisp salad, for a complete meal.
Ingredients
Main Ingredients
- 4 bone-in, skin-on chicken thighs
- 1 cup panko breadcrumbs
- 1/4 cup grated Parmesan cheese
- Fresh herbs: parsley, thyme, rosemary
- Olive oil
Seasoning and Add-ins
- 2 cloves garlic, minced
- 1 teaspoon onion powder
- 1 teaspoon smoked paprika
- 1 teaspoon salt
- 1/2 teaspoon black pepper
- Zest of 1 lemon
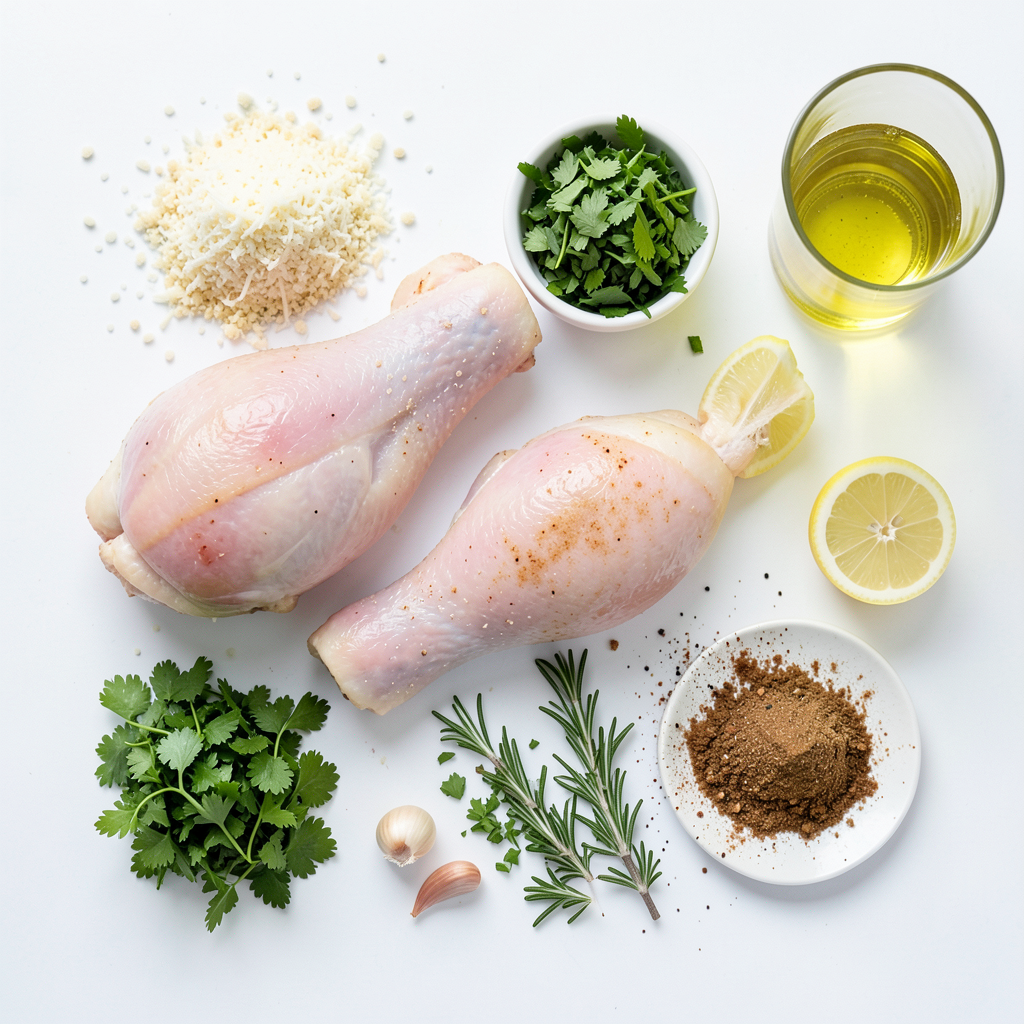
The main ingredients for crispy baked chicken thighs are simple yet flavorful. The chicken thighs provide a juicy base. The skin-on option gives that perfect crunch. Panko breadcrumbs add texture, while Parmesan cheese boosts flavor. Fresh herbs like parsley, thyme, and rosemary will bring a bright taste. Olive oil keeps everything moist and helps with crispiness.
For seasoning, garlic adds a savory kick. Onion powder and smoked paprika enhance depth. Salt and black pepper balance the dish. Finally, lemon zest adds a fresh zing. This combination makes the chicken both tasty and aromatic. You’ll love how these ingredients come together to create a delicious meal.
Step-by-Step Instructions
Preparation Steps
1. Preheat your oven to 425°F (220°C). Line a baking sheet with parchment paper.
2. In a mixing bowl, combine the following:
- 1 cup panko breadcrumbs
- 1/4 cup grated Parmesan cheese
- 2 tablespoons fresh parsley, finely chopped
- 1 tablespoon fresh thyme, chopped
- 1 tablespoon fresh rosemary, chopped
- 2 cloves garlic, minced
- 1 teaspoon onion powder
- 1 teaspoon smoked paprika
- 1 teaspoon salt
- 1/2 teaspoon black pepper
- Zest of 1 lemon
Mix until all ingredients blend well.
3. Pat the chicken thighs dry with paper towels. This step helps the skin get crispy.
Coating the Chicken
1. In a small bowl, mix 2 tablespoons of olive oil with a pinch of salt and black pepper.
2. Brush this olive oil mixture over the skin side of the chicken thighs.
3. Firmly press the herb breadcrumb mixture onto the skin side of each chicken thigh. Make sure it sticks well.
Baking Process
1. Place the coated chicken thighs skin-side up on the prepared baking sheet.
2. Bake in the oven for 35-40 minutes. The chicken should reach an internal temperature of 165°F (74°C). The skin will be golden brown and crispy.
3. After baking, remove the chicken from the oven. Let it rest for about 5 minutes. This resting time helps the juices settle.
Tips & Tricks
Achieving Maximum Crispiness
Drying chicken thighs is key for crispiness. When you pat them dry, you remove moisture. Moisture will steam the skin, making it soggy. Use paper towels to dry them well.
Next, press the breadcrumb mixture firmly onto the chicken. This helps it stick well and form a crust. Make sure you cover every part of the skin. This will give you that golden crunch you want.
Flavor Enhancements
Feel free to switch up the herbs. Basil, oregano, or dill can work well too. You can even use dried herbs if fresh ones are not available.
Adjust the seasoning to fit your taste. If you like more spice, add a little cayenne. For a tangy twist, try adding some lemon juice to the mix.
Presentation Tips
Serve the chicken on a big platter. Adding lemon wedges gives a nice pop of color. Fresh herbs like parsley can also brighten up the dish.
Pair the chicken with roasted veggies or a crisp salad. This makes for a complete and satisfying meal.
Pro Tips
- Pat the Chicken Dry: Make sure to pat the chicken thighs dry before applying the olive oil and breadcrumb mixture. This helps achieve a crispier skin by removing excess moisture.
- Use Fresh Herbs: For the best flavor, use fresh herbs rather than dried. Fresh parsley, thyme, and rosemary will enhance the dish's aroma and taste.
- Let it Rest: After baking, allow the chicken to rest for about 5 minutes. This step helps the juices redistribute, resulting in juicier meat.
- Try Different Cheeses: Feel free to experiment with other cheese types like feta or mozzarella for a unique twist on the flavor profile of the herb crust.
Variations
Herb Variations
You can switch up the herbs in this recipe. Try using fresh basil or oregano. Dried herbs work too, but use less. Fresh herbs give a vibrant taste. Mixing in spices like cumin or coriander adds depth. For a spicy kick, add cayenne pepper. This way, you can create a new flavor each time.
Chicken Alternatives
If you want to use other cuts, drumsticks or breasts will work. Drumsticks will take about 30-35 minutes to bake. Chicken breasts need less time, around 25-30 minutes. Always check that the chicken is cooked through. The internal temperature should reach 165°F (74°C) for safety.
Cooking Methods
You can also air fry or grill the chicken. If using an air fryer, set it to 400°F (200°C) and cook for 25-30 minutes. For grilling, preheat the grill to medium heat. Grill the chicken for about 30 minutes, turning occasionally. Adjust the time based on the size of the chicken pieces. Each method gives a unique texture and flavor.
Storage Info
Storing Leftovers
To store leftovers, let the chicken cool first. Then, place it in an airtight container. This keeps the chicken fresh for up to three days. You can also wrap each piece in plastic wrap before putting it in a container. This extra step helps keep it moist.
If you want to store it longer, freezing is a great option. Wrap the chicken tightly in aluminum foil or freezer wrap. Then, place it in a freezer bag. This method gives you up to three months of storage.
Reheating Tips
When reheating, use the oven for the best results. Preheat it to 375°F (190°C). Place the chicken on a baking sheet. This method helps the skin stay crispy. Heat for about 15 to 20 minutes. Make sure the internal temperature reaches 165°F (74°C).
To avoid soggy skin, place a wire rack on the baking sheet. This allows hot air to circulate around the chicken. Avoid using the microwave, as it can make the skin soft and chewy.
FAQs
Common Questions
How to tell if the chicken is cooked through? Check the internal temperature. It should reach 165°F (74°C). Use a meat thermometer for best results. The juices should run clear, not pink.
Can I use skinless chicken thighs? Yes, you can use skinless thighs. They may not be as crispy. Adjust the cooking time slightly, as they may cook faster.
Cooking Adjustments
What if I don’t have panko breadcrumbs? You can use regular breadcrumbs instead. They won't be as crunchy, but they will still work. Try crushing some crackers for a similar texture.
How to adjust for high-altitude cooking? At high altitudes, increase the oven temperature by 15-25°F. This helps the chicken cook evenly. You may need to bake it a bit longer as well.
Serving Suggestions
What appetizers go well with crispy baked chicken thighs? Serve with a fresh green salad or roasted vegetables. You can also try garlic bread or bruschetta. These pair nicely with the chicken's flavor.
Ideal wine pairings for this dish? A crisp white wine like Sauvignon Blanc works great. If you prefer red, try a light Pinot Noir. Both wines enhance the dish without overpowering it.
This article covers how to make crispy baked chicken thighs using simple ingredients. We explored the main ingredients, steps for preparation, tips for the best texture, and variations you can try. Storing and reheating tips help maintain crispiness. Cooking isn’t just about following recipes; it’s about creating flavors you love. Enjoy experimenting with the recipe and making it your own. Happy cooking!