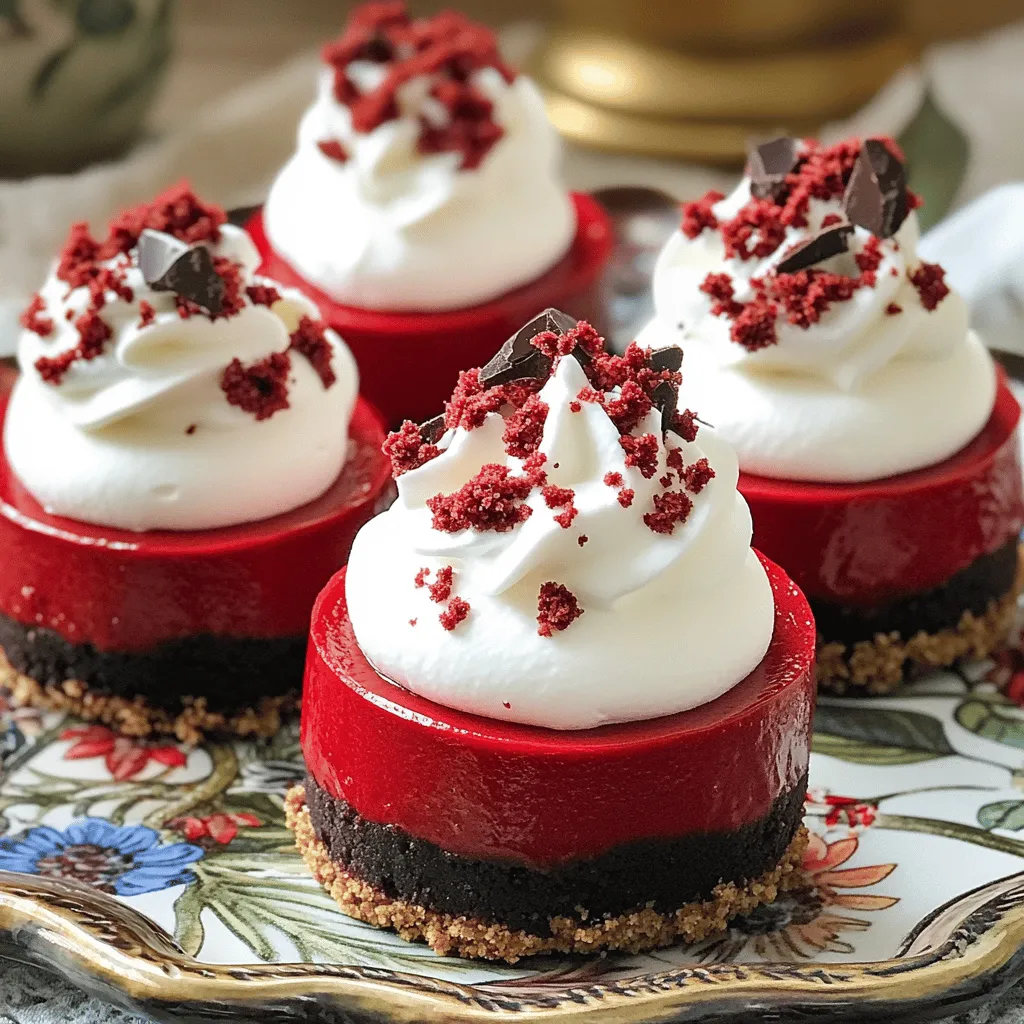
Are you ready to impress your friends and family with a fun twist on a classic dessert? This delightful mini red velvet cheesecake is both easy to make and absolutely delicious. In just a few simple steps, you can create individual treats that burst with rich flavor and creamy texture. Whether you’re hosting a party or just want a sweet snack, let’s dive into the ingredients, tips, and variations that will make your mini cheesecakes truly stand out!
What Ingredients Do You Need for Mini Red Velvet Cheesecakes?
To create the perfect mini red velvet cheesecakes, you need the right red velvet cake ingredients. These ingredients work together to give you a rich, creamy, and delicious treat.
Essential Ingredients for the Cheesecake Base
The base is key to your mini cheesecakes. Start with 1 cup of crushed graham crackers. This gives a nice, crunchy crust. You will also need 1/4 cup of granulated sugar. This adds sweetness and helps the crust hold together. Next, include 1/2 cup of melted unsalted butter. This binds the crust and adds flavor. Mix these three together well for the best result.
Flavor Enhancements for the Red Velvet
Now let’s talk about the red velvet part. You will need 8 oz of softened cream cheese. This makes the filling rich and creamy. Use 1/2 cup of powdered sugar for sweetness. Add 1/2 cup of sour cream. This adds a nice tang to balance the sweetness. You also need 1 large egg to help it set. Don’t forget 1 tsp of vanilla extract for extra flavor.
The star of the show is 2 tablespoons of red food coloring. This makes your cheesecakes pop with color. Lastly, add 1 tablespoon of cocoa powder. This gives a hint of chocolate, enhancing the overall flavor profile.
Creative Variations to Ingredient Choices
Feel free to get creative with these ingredients! You can swap the graham crackers for crushed Oreos for a chocolatey twist. If you want a bit of tanginess, try using Greek yogurt instead of sour cream. For a dairy-free option, use vegan cream cheese and coconut-based yogurt. You can also play with the color by adding less or more red food coloring.Enjoy making these delightful mini red velvet cheesecakes!
How Do You Make Mini Red Velvet Cheesecakes?
To make mini red velvet cheesecakes, follow these steps closely.
Step-by-Step Instructions for Preparation
1. Prepare the crust: Start by preheating your oven to 325°F (160°C). In a bowl, mix crushed graham crackers, sugar, and melted butter. Stir well to combine.
2. Form the crust: Line a cupcake tray with paper liners. Press about 1 tablespoon of the mixture into each liner. Bake for 8 minutes, then let them cool.
3. Make the filling: In a new bowl, beat softened cream cheese until smooth. Gradually mix in powdered sugar until it blends well.
4. Combine ingredients: Add sour cream, egg, vanilla extract, cocoa powder, and red food coloring. Beat until the batter is smooth and a bright red.
5. Fill the cups: Spoon the cheesecake mixture over the cooled crusts. Fill each cup about 3/4 full.
6. Bake the cheesecakes: Bake for 15-18 minutes. The centers should jiggle slightly but not be runny. Let them cool at room temperature, then refrigerate for at least 2 hours.
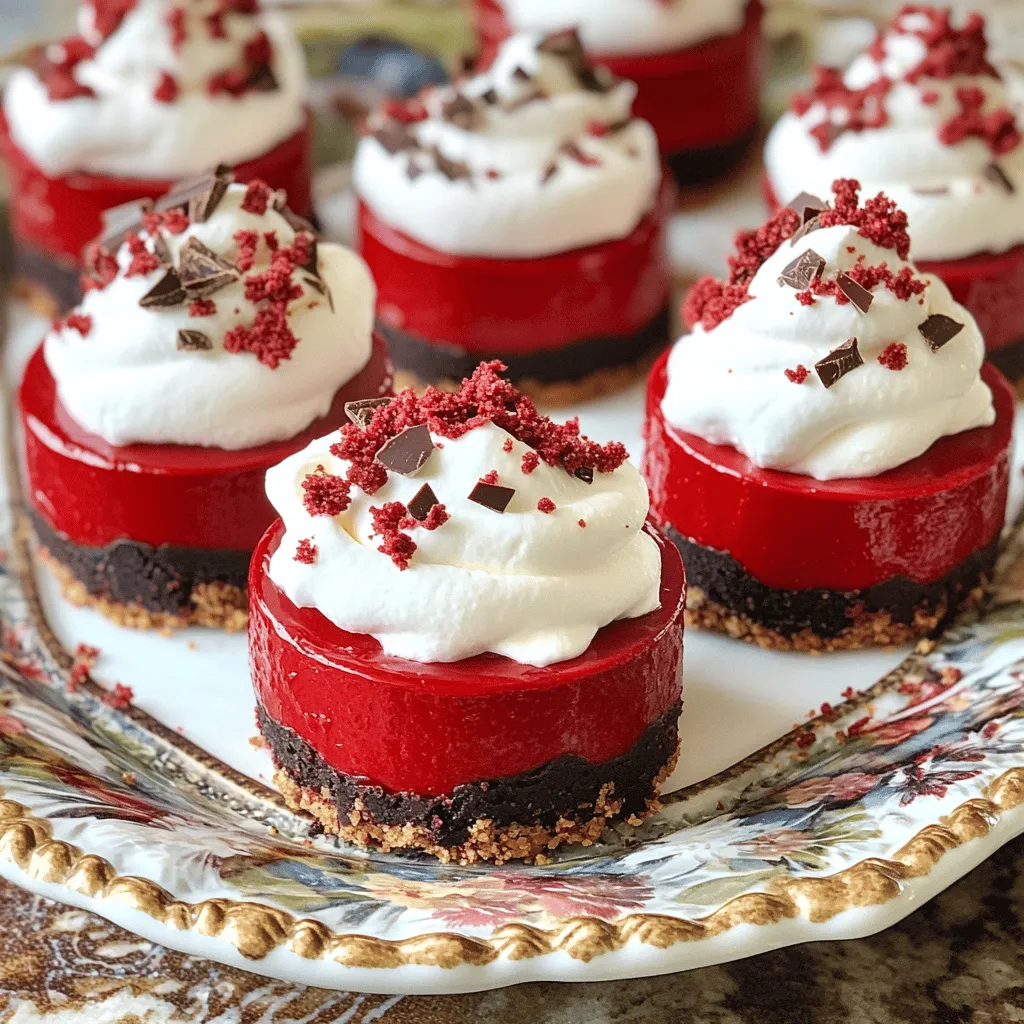
7. Serve: Top each cheesecake with whipped cream and garnish with chocolate shavings or red velvet crumbs.
Tips for Mixing the Perfect Batter
Mixing the batter is key. Ensure your cream cheese is soft; this helps it blend smoothly. Add each ingredient slowly, mixing well after each addition. This prevents lumps and ensures a creamy texture. Use a spatula to scrape down the sides of the bowl. This step helps mix all ingredients evenly.
Baking and Cooling Guidelines
Baking time is important. Keep an eye on the cheesecakes. They should be slightly jiggly in the center when done. This means they will set as they cool. After baking, let them cool at room temperature for about 30 minutes. Then, place them in the fridge for at least 2 hours. This chilling time helps them firm up nicely. Enjoy your delicious mini red velvet cheesecakes with friends and family!
What Are Some Tips for Perfecting Your Mini Cheesecakes?
Making mini red velvet cheesecakes is a fun and rewarding task. I have learned several tips that help you achieve the best results.
Achieving the Ideal Texture and Creaminess
To get the best texture, use room-temperature cream cheese. Cold cream cheese makes it hard to mix smoothly. Beat the cream cheese first until it’s creamy. Then add the sugar gradually. This helps blend everything well. Always mix until your batter is smooth and lump-free. The right mixture gives you that perfect cheesecake creaminess.
Common Mistakes and How to Avoid Them
One mistake is overbaking. Watch your cheesecakes closely. They should look set but still jiggle a little in the center. This shows they are still creamy inside. Also, avoid mixing too fast. Mixing too quickly can add too much air and cause cracks. Use a gentle hand when beating the batter.
Importance of Temperature Control during Baking
Temperature control is key. Always preheat your oven to the right temperature. An oven that is too hot can burn the tops. A too-cool oven can lead to uneven baking. Use an oven thermometer to check. Lastly, let your cheesecakes cool at room temperature before chilling in the fridge. This helps them set properly and keeps them from cracking.
These tips will help you create delightful mini red velvet cheesecakes that everyone will love.
What Are the Best Serving Suggestions for Mini Cheesecakes?
Mini cheesecakes are fun to serve. Their small size makes them perfect for any event. Here are some great ideas to enhance your serving experience.
Creative Topping Ideas for Presentation
Toppings can make your mini red velvet cheesecakes shine. Whipped cream is a classic choice. It adds a light and fluffy layer. You can also use chocolate shavings for a rich touch. For a pop of color, sprinkle red velvet crumbs on top. Fresh berries like strawberries or raspberries add freshness. They also look beautiful on a dessert table. Try drizzling chocolate sauce to create a stunning effect. These toppings will wow your guests.
Pairing Mini Cheesecakes with Beverages
Beverage pairings can boost your dessert experience. A cup of coffee is a great match. The bold flavor contrasts nicely with the sweet cheesecake. For a lighter option, serve with iced tea. You can also try sparkling water with lemon. This adds a refreshing twist. If you want something festive, consider a sweet dessert wine. Each drink enhances the mini cheesecake taste.
Seasonal Serving Suggestions for Festive Occasions
Seasonal themes add fun to your mini cheesecakes. For spring, top them with pastel-colored decorations. Fresh fruits like peaches or blueberries fit perfectly. In the fall, consider pumpkin spice toppings. They create a warm, cozy feel. For winter, try adding peppermint crumbles. This gives a festive touch. Use holiday-themed plates and napkins to enhance the look. These ideas make your mini cheesecakes perfect for any celebration.Enjoy making and serving these delightful treats!
How Can You Customize Your Mini Red Velvet Cheesecakes?
You can make your mini red velvet cheesecakes truly yours. Start with unique flavors. Try adding orange zest for a citrus twist. You can mix in peppermint extract for a fresh taste. Want something richer? Add a swirl of Nutella into the batter. Get creative with these customizable cheesecake recipes!
Next, think about the crust. The classic graham cracker adds a nice crunch. But you can switch things up. Use crushed Oreos for a chocolatey base. For a nutty flavor, use crushed pecans or almonds. Each option gives a different texture and taste.
If you need gluten-free options, it’s easy to adapt. Use gluten-free graham crackers or almond flour for the crust. You can also use a gluten-free flour blend in the filling. Make sure every bite is safe and tasty for everyone at your table.
These simple changes make your mini red velvet cheesecakes special. You can mix flavors, change the crust, or go gluten-free. The possibilities are endless, making each dessert a new adventure!
How Do You Properly Store Mini Cheesecakes?
To keep your mini red velvet cheesecakes fresh, follow these easy steps.
First, refrigerating is key. Place them in an airtight container. This helps keep them moist. You can also use plastic wrap. Wrap each cheesecake well before storing. They will last for about five days in the fridge.
For best practices, let the cheesecakes cool completely. This will prevent condensation. If you do not cool them, they may become soggy. Always store them in the fridge right after they cool.
Next, choose the right tools and containers. A glass container works great. It allows you to see the cheesecakes. If you use plastic, ensure it’s food-safe. Small cupcake containers are perfect too. They keep each mini cheesecake separate.
Now, if you want to freeze them, here’s how. Start by chilling them in the fridge. Once they are cold, you can freeze them. Wrap each cheesecake in plastic wrap. Then, place them in a freezer-safe bag. They will keep well for about three months in the freezer.
When you are ready to eat, move them to the fridge overnight. This will help them thaw slowly. Enjoy your mini red velvet cheesecakes later without losing any flavor or texture.
Mini red velvet cheesecakes offer rich flavor and fun twists. We explored the best ingredients and how to make them perfect. With tips on texture, cooling, and serving, you can enjoy these treats any time. Customizing your cheesecakes makes them even more special, while proper storage keeps them fresh. Enjoy baking and tasting your mini red velvet cheesecakes, and let your creativity shine!