Are you ready to dive into a refreshing treat? Key lime pie bars are a delicious twist on the classic dessert that will make your taste buds dance. With a zesty filling and a crumbly crust, these bars are perfect for any occasion. In this post, I’ll guide you through easy steps to create your own, share handy tips, and even suggest fun variations. Let’s get baking together!
Ingredients
Essential Ingredients
To make Key Lime Pie Bars, you need a few key ingredients. These will give your bars that classic taste.
– For the crust:
– 1 ½ cups graham cracker crumbs
– ½ cup unsalted butter, melted
– ⅓ cup granulated sugar
– For the filling:
– 2 large eggs
– 1 cup sweetened condensed milk
– ½ cup fresh key lime juice (or regular lime juice)
– Zest of 2 key limes
– ¼ teaspoon salt
These ingredients create a rich and zesty flavor that many love.
When it comes to lime juice, I recommend using fresh key lime juice. It has a unique tartness that gives the bars a fresh taste. If you can’t find key limes, regular limes work too.
Optional toppings and garnishes
To elevate your Key Lime Pie Bars, consider these toppings:
– Whipped cream for a creamy finish
– Lime slices for a bright, fresh touch
These add a nice look and flavor.Enjoy the process and the tasty results!
Step-by-Step Instructions
Preparation Steps
1. Preheating the Oven and Preparing the Pan: Start by preheating your oven to 350°F (175°C). This step is key for even baking. While the oven heats, grab an 8×8-inch baking pan. Grease it lightly to prevent sticking.
2. Making and Pressing the Crust: In a mixing bowl, combine 1 ½ cups of graham cracker crumbs, ½ cup of melted unsalted butter, and ⅓ cup of granulated sugar. Mix until it feels like wet sand. Next, press this mixture firmly into the bottom of the pan. Make sure the layer is even for best results.
3. Mixing the Filling: In another bowl, whisk together 2 large eggs, 1 cup of sweetened condensed milk, ½ cup of fresh key lime juice, the zest of 2 key limes, and ¼ teaspoon of salt. Mix until everything blends smoothly. This filling gives the bars their bright, zesty flavor.
Baking Instructions
1. Baking the Crust and Filling Times: Place the pan in the preheated oven. Bake the crust for about 10 minutes until it turns lightly golden. After that, pour the key lime filling over the crust. Bake the entire pan for another 15 to 20 minutes.
2. Checking for Doneness: Keep an eye on the filling. It should be set but still have a slight jiggle in the center. This means it’s just right. Too much jiggling means it needs more time.
Cooling and Serving
1. Recommended Cooling Times: Once baked, remove the bars from the oven. Let them cool at room temperature for a bit. Then, refrigerate them for at least 2 hours. This chilling time helps the bars firm up.
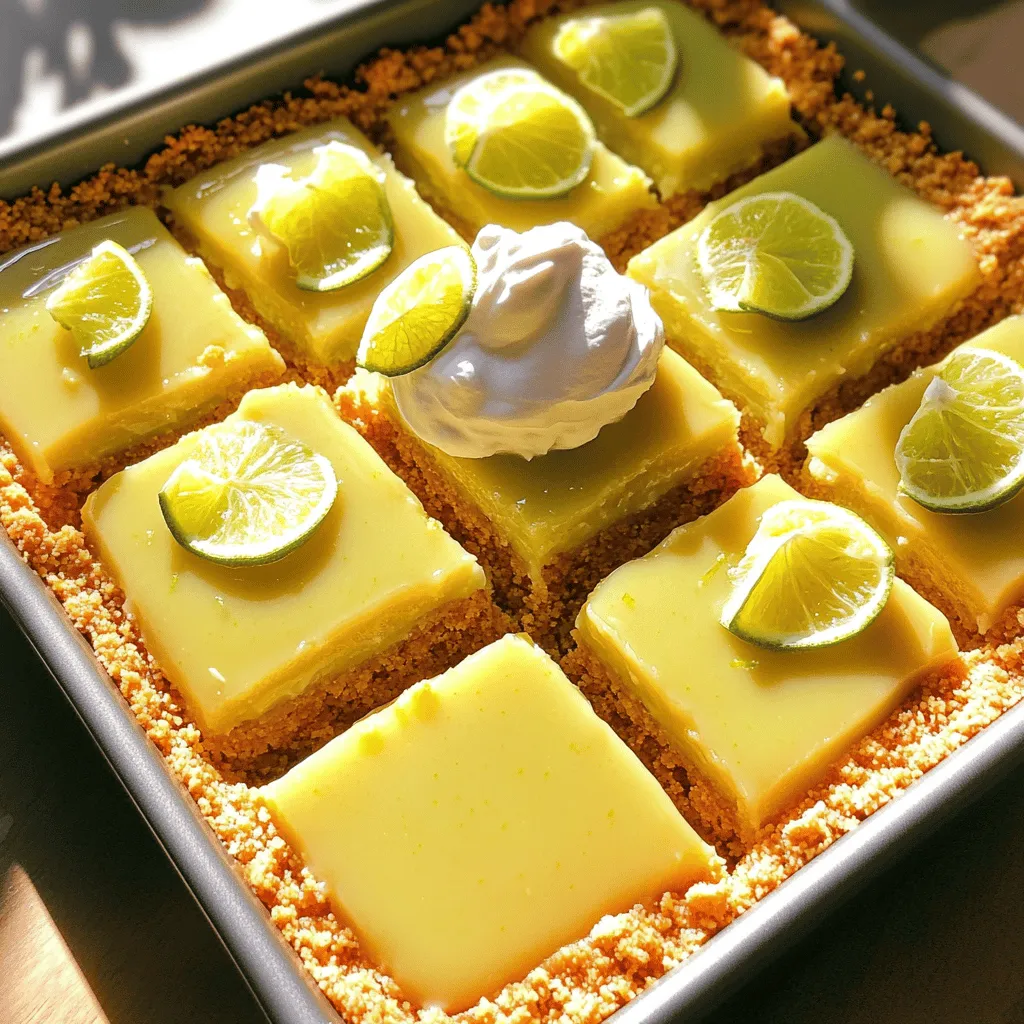
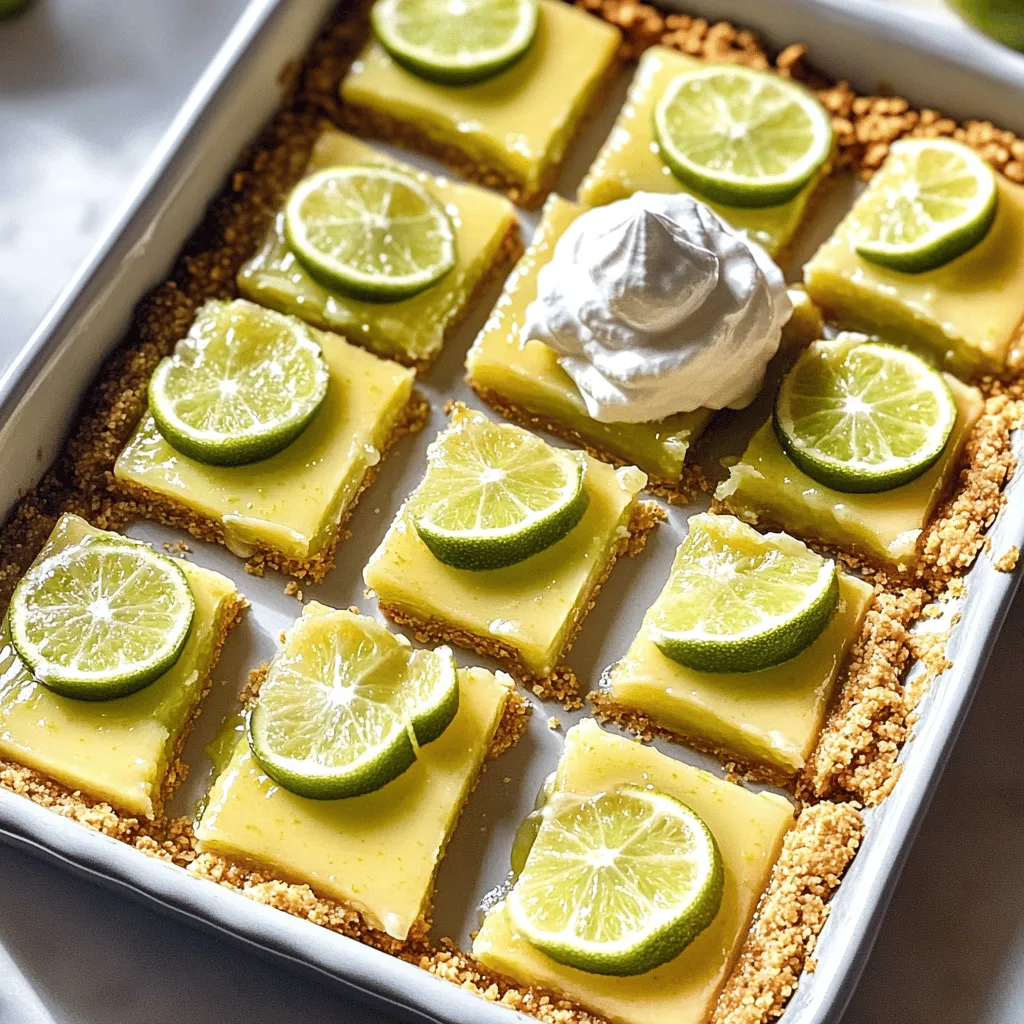
2. Tips for Cutting and Serving the Bars: When ready to serve, cut the chilled bars into squares. A sharp knife works best for clean cuts. For an extra treat, add a dollop of whipped cream on top and garnish with lime slices. These little touches make the dessert look fancy and fun.Enjoy your cooking!
Tips & Tricks
Perfecting the Crust
To get a crumbly texture, use fresh graham cracker crumbs. Crush them finely to ensure they mix well with butter. You can also blend in a little sugar for extra sweetness. If you lack graham crackers, try using crushed cookies, like digestive biscuits. They can give a unique flavor while still holding together well.
Ensuring the Filling is Flawless
Curdling in the filling can ruin your bars. To avoid this, mix the filling gently. Use room temperature eggs and sweetened condensed milk. This helps create a smooth mixture. Aim for a silky texture without any lumps. For the right consistency, make sure to whisk thoroughly. The filling should be thick but pourable.
Presentation Suggestions
Serving your key lime pie bars can be fun and creative. Cut them into neat squares for a clean look. For a touch of flair, add a dollop of whipped cream on top. Lime slices on the side make a lovely garnish. You can even sprinkle some lime zest for extra color and flavor. Enjoy making your dessert not just tasty but pretty too!
Variations
Flavor Variations
You can change up the flavor of your Key Lime Pie Bars. Adding fruits makes it fun. Try mixing in berries like raspberries or strawberries. Their sweetness pairs well with the tart lime. You can also add coconut for a tropical twist. Just mix it into the filling before baking.
For those who need a gluten-free crust, use almond flour or gluten-free graham crackers. This way, everyone can enjoy these tasty bars.
Healthier Options
If you want a lighter version, consider reducing the sugar. You can swap granulated sugar for a sugar substitute like stevia. This keeps the flavor but cuts down on calories.
If you need a dairy-free option, try coconut milk instead of sweetened condensed milk. It adds creaminess while keeping the recipe rich and tasty.
Serving Style Variations
Want a fun twist? Make mini bars! Use a mini muffin tin to create bite-sized delights. They are great for parties and easy to share.
You can also turn this recipe into a classic pie. Just use a pie crust instead of bars and bake it the same way. The pie version is a great option for gatherings or special occasions.
Storage Info
Storing Leftover Bars
To keep your Key Lime Pie Bars fresh, place them in the fridge. Use an airtight container to prevent drying. This method helps maintain their zesty flavor and creamy texture. You can store them in the fridge for up to five days. After that, the taste may change, and they might not be as good.
Freezing Guidelines
If you want to save some for later, freezing is a great option. First, cut the bars into squares. Then, wrap each piece in plastic wrap. Place the wrapped bars in a freezer-safe container. This keeps them safe from freezer burn. You can freeze them for up to three months.
To thaw, move the bars from the freezer to the fridge. Let them sit overnight for the best results. You can also thaw them at room temperature for about an hour. This helps bring back their creamy texture.
Using a sturdy container is key. A glass or plastic container with a tight lid works best. Avoid using flimsy bags, as they might break. Enjoy your frozen Key Lime Pie Bars any time!
FAQs
Common Questions about Key Lime Pie Bars
Can you use regular limes instead of key limes?
Yes, you can use regular limes. Key limes have a unique taste. They are smaller and more tart. Regular limes will work in a pinch. The bars may taste a bit different but still delicious.
How do I know when the bars are done baking?
The bars are done when the filling is set. It should have a slight jiggle in the center. If it looks too runny, bake for a few more minutes. Keep an eye on them to avoid overbaking.
Recipe-related Inquiries
Can I make this recipe dairy-free?
Yes, you can make it dairy-free. Use coconut cream instead of sweetened condensed milk. It adds a nice flavor and keeps the bars creamy. You can also find dairy-free butter for the crust.
How do I adjust for different pan sizes?
If you use a larger pan, the bars will be thinner. Reduce baking time to avoid overbaking. For a smaller pan, increase the filling amount. Just be mindful of baking times.
Serving and Pairing Suggestions
What to serve with Key Lime Pie Bars?
These bars pair well with whipped cream. Fresh fruit like berries also makes a great side. You can serve them with a scoop of vanilla ice cream for a treat.
Best beverages to accompany the dessert
I recommend iced tea or lemonade. Both drinks match the tartness of the bars well. You might also enjoy a light white wine or sparkling water for a refreshing touch.
In this article, we covered making delicious Key Lime Pie Bars. You learned about essential ingredients, step-by-step instructions, and helpful tips for perfect crust and filling. We also explored variations and storage options. Remember, these bars can be made with different flavors and served in new ways. With the right techniques, you can create a tasty treat everyone will enjoy. Keep these tips in mind, and your Key Lime Pie Bars will shine at any gathering!