Looking for a simple, tasty treat that combines chocolate, peanut butter, and pumpkin? You’re in the right spot! These No-Bake Chocolate Peanut Butter Pumpkin Balls are easy to make and full of flavor. With just a few ingredients and a little time, you can create a delightful snack perfect for any occasion. Grab your mixing bowl, and let’s dive into this delicious recipe that you and your friends will love!
Ingredients
Detailed Ingredient List
When making No-Bake Chocolate Peanut Butter Pumpkin Balls, you need simple yet tasty ingredients. Here’s what you will need:
– 1 cup pumpkin puree
– 1/2 cup natural peanut butter
– 1/4 cup honey or maple syrup
– 1 teaspoon vanilla extract
– 1 1/2 cups rolled oats
– 1 teaspoon pumpkin spice (or a mix of cinnamon, nutmeg, and ginger)
– 1/4 teaspoon salt
– 1 cup dark chocolate chips
– 1 tablespoon coconut oil (for melting chocolate)
– Optional: crushed nuts or shredded coconut for rolling
Each ingredient plays a vital role in the flavor and texture of these delicious balls.
Substitute Options
You can easily swap out some ingredients if needed. Here are some ideas:
– Use almond butter or sunflower seed butter instead of peanut butter.
– Maple syrup can take the place of honey for a vegan option.
– If you can’t find pumpkin spice, mix cinnamon, nutmeg, and ginger to taste.
– Dark chocolate chips can be replaced with semi-sweet or milk chocolate if you prefer.
These swaps keep the recipe flexible and fun for everyone.
Importance of Ingredient Quality
Quality matters when cooking. Fresh pumpkin puree gives the best flavor. Natural peanut butter adds a creamy texture and rich taste. Use real honey or pure maple syrup for sweetness.
For the chocolate, choose high-quality dark chocolate chips. They melt beautifully and taste amazing. Better ingredients mean better flavor and texture in your final dish. Enjoy the process of choosing the best for your No-Bake Chocolate Peanut Butter Pumpkin Balls!
Step-by-Step Instructions
Preparation of the Mixture
To start, grab a large mixing bowl. Add 1 cup of pumpkin puree. Next, include 1/2 cup of natural peanut butter. Then, pour in 1/4 cup of honey or maple syrup, and add 1 teaspoon of vanilla extract. Mix these items well until the mixture is smooth. It should feel creamy and thick. Now, it’s time for the dry ingredients. Add 1 1/2 cups of rolled oats, 1 teaspoon of pumpkin spice, and 1/4 teaspoon of salt. Stir until everything is mixed well. The mixture should feel sticky and hold together nicely.
Forming the Balls
Now, you can form the mixture into balls. Use your hands to scoop out some of the mixture. Roll it into a ball about 1 inch wide. Place each ball on a baking sheet lined with parchment paper. Make sure to keep some space between them. This recipe should make about 12 balls. Once you finish rolling, you can move on to the next step.
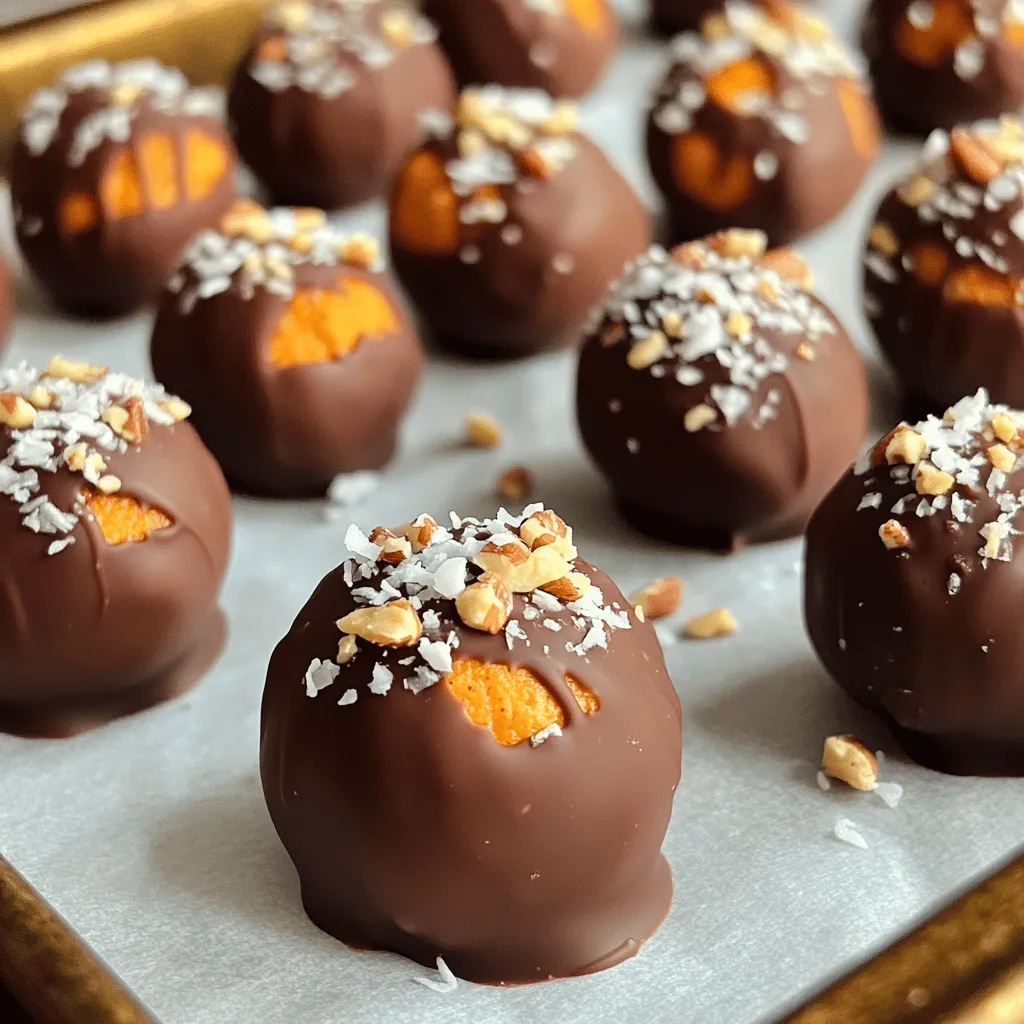
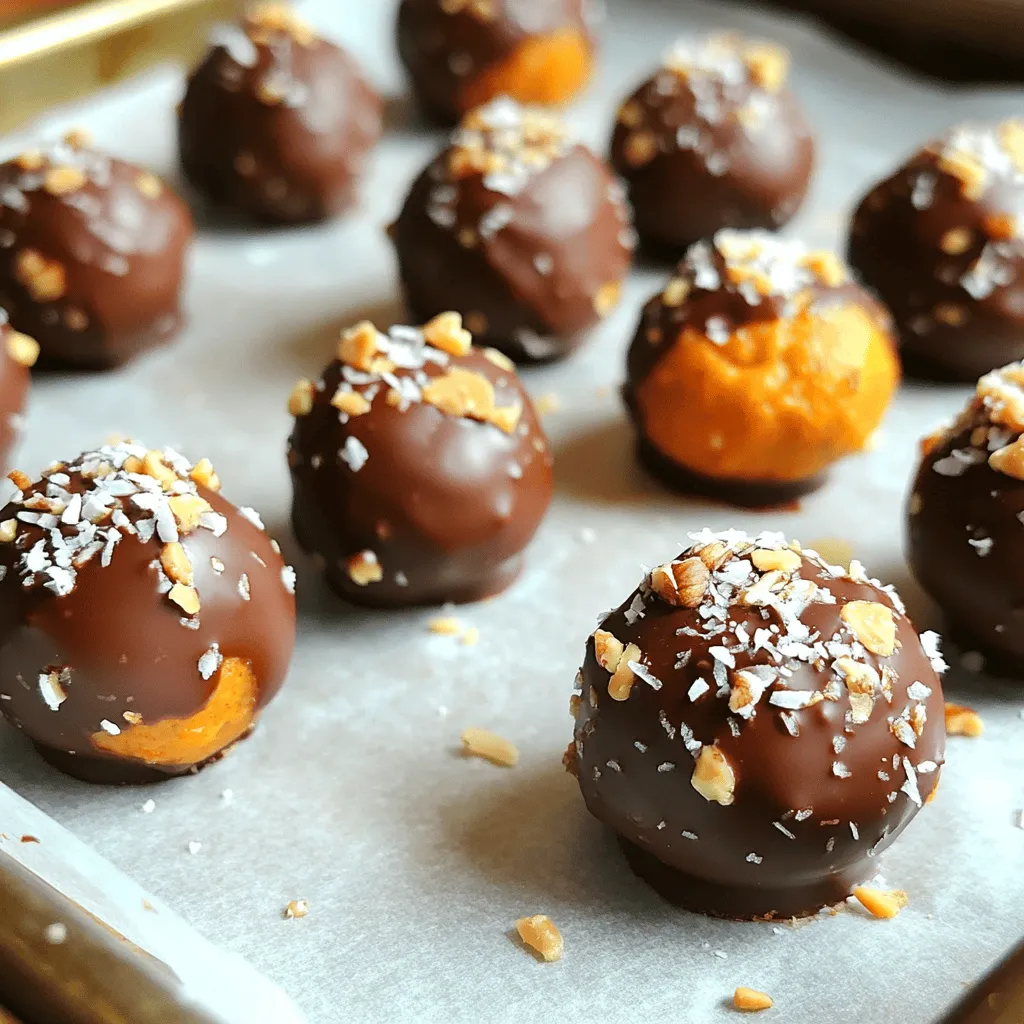
Chocolate Coating Process
For the chocolate coating, take a microwave-safe bowl. Add 1 cup of dark chocolate chips and 1 tablespoon of coconut oil. Microwave this mix in 30-second bursts. Stir after each burst until the chocolate is fully melted and smooth. Now, take each pumpkin ball and dip it into the melted chocolate. Use a fork for this, so each ball gets fully coated. Shake off the extra chocolate gently. Place the coated balls back on the parchment-lined baking sheet. If you want, you can roll them in crushed nuts or shredded coconut for extra flavor. Once done, chill the baking sheet in the fridge for about 30 minutes. This helps the chocolate set nicely. Enjoy your delicious no-bake treats!
Tips & Tricks
Achieving the Perfect Texture
To get that perfect texture, mix the pumpkin puree and peanut butter well. This blend should be smooth and creamy. Use natural peanut butter for the best flavor. The oats add a chewy texture, so use rolled oats, not quick oats. If the mixture feels too sticky, add a bit more oats. If it’s too dry, a splash of maple syrup can help. The balls should hold together well, so check your mix.
Make-Ahead Tips
You can make these treats ahead of time. Just follow the steps and chill the balls. They will stay fresh for up to a week in the fridge. If you want to save time, form the balls and freeze them. You can dip them in chocolate later. Just remember to let them thaw for a few minutes before dipping. This way, you’ll have a tasty snack anytime!
Serving Suggestions
Serving these treats is fun and easy. You can plate them on a nice dish or in a fun bowl. If you want some crunch, roll the balls in crushed nuts or coconut. These add a great look and taste. For a party, serve with fruit or a scoop of ice cream. You can also drizzle some extra melted chocolate on top for a fancy touch. Enjoy these sweet bites chilled or at room temperature!
Variations
Flavor Variations
You can easily change the taste of your no-bake chocolate peanut butter pumpkin balls. For a fun twist, try adding a few tablespoons of cocoa powder. This gives a richer chocolate flavor. You could also mix in some dried fruit like cranberries or raisins. These add a burst of sweetness and chewiness. Want something spicier? Increase the pumpkin spice or add a pinch of cayenne for heat.
Dietary Adaptations
These treats can fit many diets. If you want them vegan, use maple syrup instead of honey. Switch to dark chocolate chips that are dairy-free. If you need gluten-free options, make sure to choose certified gluten-free oats. For nut allergies, sunflower seed butter works great in place of peanut butter. Each option keeps the core of the recipe while fitting your needs.
Creative Toppings
Toppings can make your pumpkin balls even more special. After dipping in chocolate, roll them in crushed nuts. Walnuts or almonds add a nice crunch. Shredded coconut is another great choice for a chewy texture. You can also sprinkle sea salt on top for a sweet-salty mix. For a fun look, drizzle melted white chocolate over the top after coating. These toppings let you personalize each bite!
Storage Info
How to Store
To keep your No-Bake Chocolate Peanut Butter Pumpkin Balls fresh, store them in an airtight container. I recommend placing parchment paper between layers to prevent sticking. This will help maintain their shape and taste. You can keep them in the fridge for easy access.
Freezing Instructions
You can also freeze these tasty treats. First, place the pumpkin balls on a baking sheet in a single layer. Freeze them for about an hour until firm. After that, transfer them to a freezer-safe bag. Be sure to label the bag with the date. These balls can last for up to three months in the freezer. Just thaw them in the fridge before enjoying.
Shelf Life
When stored in the fridge, No-Bake Chocolate Peanut Butter Pumpkin Balls last about one week. If you choose to freeze them, they will taste great for up to three months. Always check for any signs of spoilage before eating. If they smell off or look strange, it’s best to toss them. Keeping these storage tips in mind helps ensure every bite is as delightful as the first!
FAQs
How long do No-Bake Chocolate Peanut Butter Pumpkin Balls last?
No-bake chocolate peanut butter pumpkin balls stay fresh for about one week. Store them in an airtight container in the fridge. You can also freeze them for up to three months. Just make sure to wrap each ball well to avoid freezer burn.
Can I use other nut butters?
Yes, you can use other nut butters. Almond butter or cashew butter works well too. Each nut butter gives a slight change in taste. So, feel free to experiment and find your favorite!
What can I substitute for pumpkin puree?
If you don’t have pumpkin puree, you can use sweet potato puree or even mashed bananas. Applesauce is another option, but it will change the flavor. Make sure to adjust spices to keep the taste balanced.
In this blog post, we explored the key ingredients for no-bake chocolate peanut butter pumpkin balls and their quality. You learned about preparation, forming, and coating methods. We discussed tips for great texture and serving ideas. Variations included different flavors and dietary options. Finally, we covered storage and answered common questions.
Try these recipes to find your favorites. Enjoy making these tasty treats. They are fun to prepare and share!