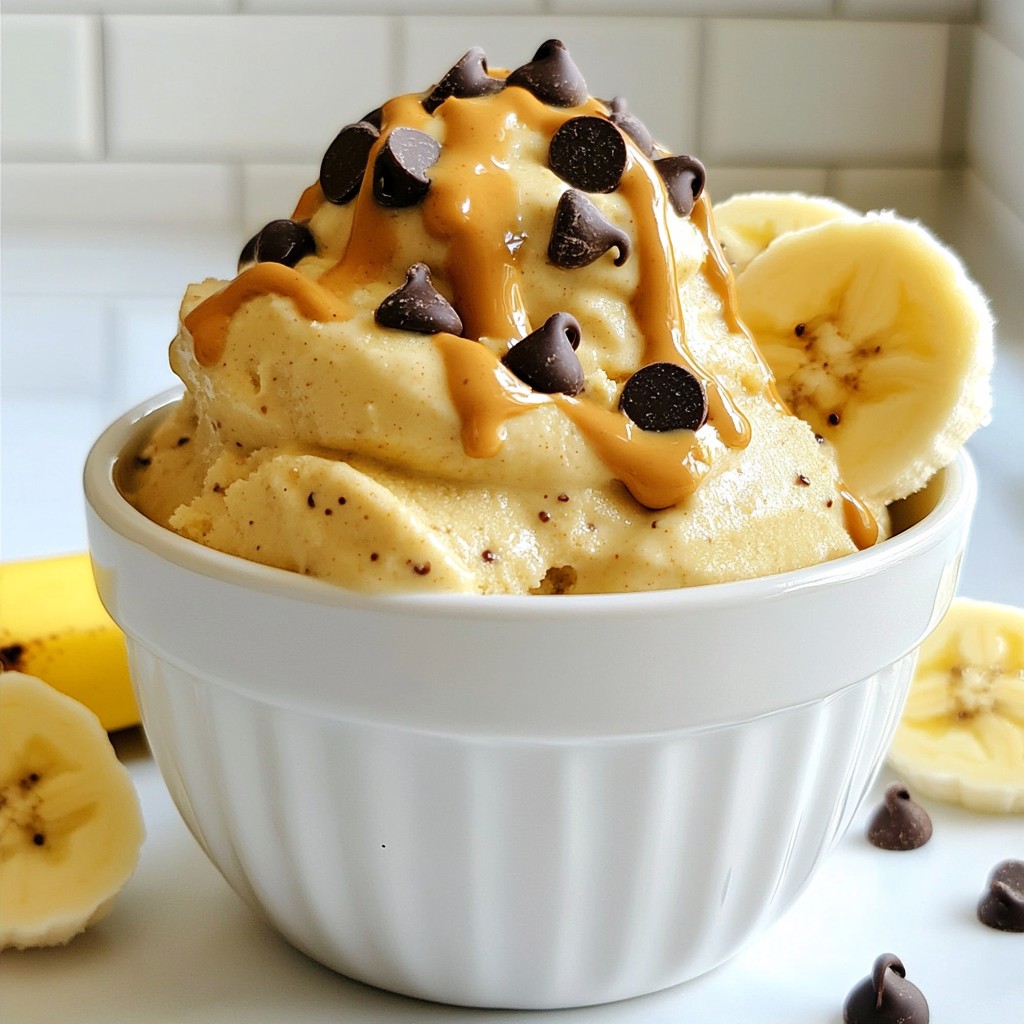
Looking for a sweet treat that’s easy and healthy? Let me introduce you to Peanut Butter Banana Nice Cream! This delightful frozen dessert is not only creamy and delicious, but it's also packed with nutrients. With just a few simple ingredients, you can whip up a guilt-free treat that's great for any time of day. Ready to indulge in this cool delight? Let’s dive into the recipe together!
Why I Love This Recipe
- Healthier Dessert Option: This nice cream is a guilt-free alternative to traditional ice cream, made with wholesome ingredients like bananas and peanut butter.
- Easy to Make: With just a few simple ingredients and minimal prep time, this recipe is perfect for a quick and satisfying dessert.
- Customizable: You can easily modify this recipe by adding your favorite mix-ins or toppings, making it unique every time.
- Deliciously Creamy: The frozen bananas create a rich and creamy texture that rivals any ice cream, while the peanut butter adds a delightful nutty flavor.
Ingredients
Required Ingredients for Peanut Butter Banana Nice Cream
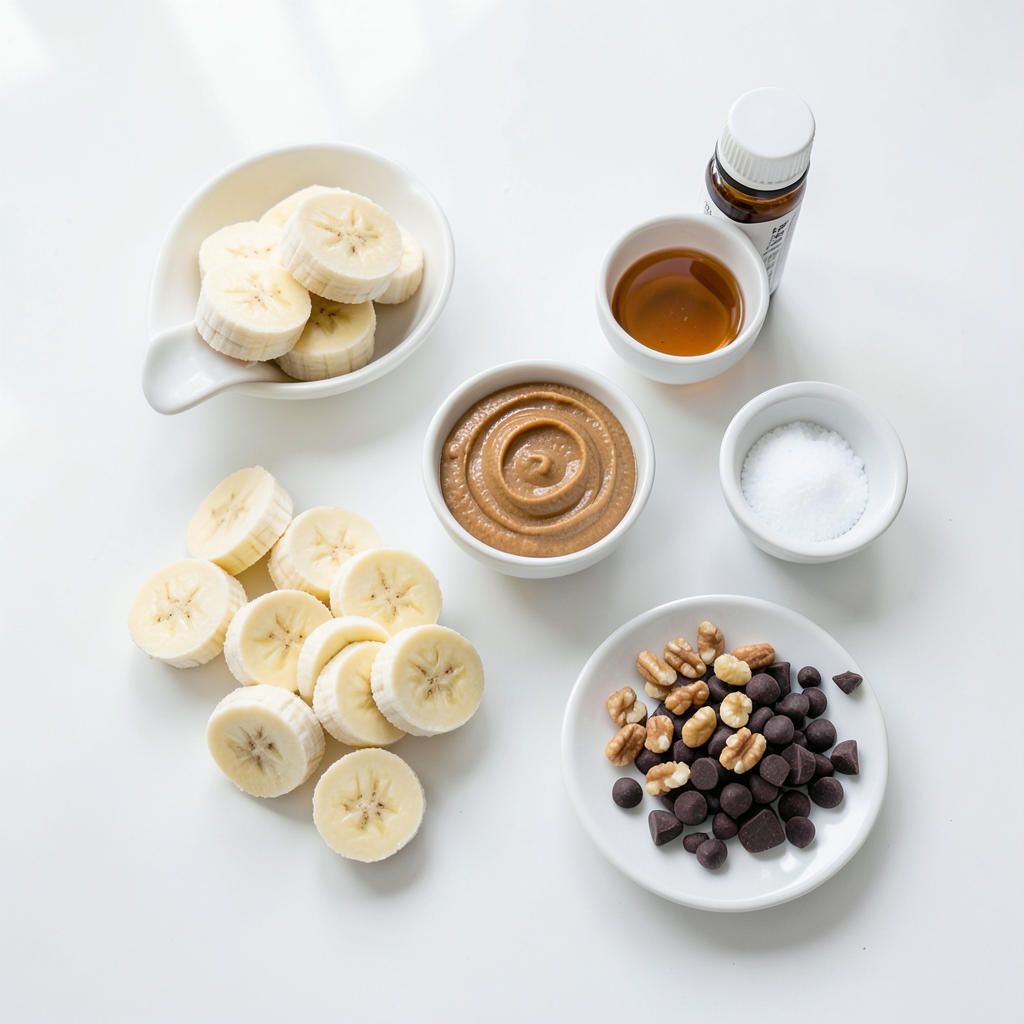
To make Peanut Butter Banana Nice Cream, you need a few simple ingredients:
- 4 ripe bananas, sliced and frozen
- 1/2 cup peanut butter (creamy or crunchy)
- 1 teaspoon vanilla extract
- A pinch of sea salt
These are the basics that create a creamy and sweet treat. The ripe bananas give natural sweetness, and the peanut butter adds a rich flavor.
Optional Ingredients for Customization
You can add a few optional ingredients to suit your taste:
- 1 tablespoon honey or maple syrup (for extra sweetness)
This sweetener is not necessary if you prefer a less sweet dessert. It is perfect if your bananas are not ripe enough.
Recommended Toppings and Garnishes
Toppings can make your nice cream even better. Here are some ideas:
- Dark chocolate chips
- Chopped nuts
- Additional banana slices
- A drizzle of peanut butter
These add flavor and make your treat look appealing. You can mix and match based on what you like. Enjoy making your nice cream personal and fun!
Step-by-Step Instructions
Preparation of Frozen Bananas
To start, I peel and slice 4 ripe bananas into small pieces. This step is key. It helps the bananas freeze evenly. Next, I lay the banana slices on a baking sheet lined with parchment paper. Make sure they are in a single layer. I freeze the bananas until solid, which takes about 2-3 hours. This freezing time makes the nice cream creamy and smooth.
Blending the Nice Cream Mixture
Once my bananas are frozen, I add them to a high-speed blender or food processor. Then, I pour in 1/2 cup of peanut butter. You can use creamy or crunchy, depending on your taste. If I want it sweeter, I add 1 tablespoon of honey or maple syrup. I also include 1 teaspoon of vanilla extract and a pinch of sea salt. These ingredients add depth and flavor. I blend everything on high until it turns smooth and creamy. Sometimes, I stop to scrape down the sides for even mixing. If the mixture is too thick, I add a splash of almond milk to help it blend better. Once I have my desired consistency, it’s ready to serve.
Serving Suggestions for Optimal Enjoyment
I love to serve the nice cream right away for a soft-serve texture. If I want it firmer, I transfer it to an airtight container and freeze it for an hour. I then top it with dark chocolate chips or chopped nuts for a tasty crunch. For a fun presentation, I serve it in elegant bowls or ice cream cones. I also like to add extra banana slices or a drizzle of peanut butter on top. It makes the nice cream look even more inviting!
Tips & Tricks
Achieving the Perfect Texture
To make your nice cream smooth, start with ripe bananas. They must be sliced and frozen. This gives a creamy base. Blend frozen bananas with peanut butter until smooth. If it’s too thick, add a splash of almond milk. This helps blend better. You want a soft-serve feel. For a firmer texture, freeze it again after blending.
Enhancements for Flavor Variations
You can add more flavors to your nice cream. For a sweeter taste, mix in honey or maple syrup. A pinch of cinnamon can give it warmth. You can also try adding cocoa powder for a chocolate twist. Want a fruity kick? Toss in some frozen berries. Each change makes the treat special and fun.
How to Prevent Bananas from Browning
Bananas can turn brown quickly. To keep them fresh, freeze them right away after slicing. If you need to store them, sprinkle a bit of lemon juice on the slices. This slows down browning. Use ripe bananas for the best flavor. They are sweet and perfect for your nice cream.
Pro Tips
- Choose Ripe Bananas: The riper the bananas, the sweeter and creamier your nice cream will be. Look for bananas with lots of brown spots for optimal flavor.
- Blend in Batches: If your blender struggles with the thickness, blend in smaller batches to achieve a smoother texture without overworking the motor.
- Experiment with Flavors: Feel free to add different flavorings like cocoa powder, cinnamon, or even a spoonful of protein powder to customize your nice cream.
- Storage Tips: To prevent your nice cream from becoming too hard in the freezer, allow it to sit at room temperature for a few minutes before scooping.
Variations
Alternative Nut Butters to Try
You can swap peanut butter for other nut butters. Almond, cashew, or sunflower seed butter all work great. Each nut butter gives a unique flavor. Almond butter adds a slight sweetness, while cashew butter brings creaminess. If you're allergic to nuts, sunflower seed butter is a fantastic choice. It has a rich taste without the nuts.
Add-Ins for Flavor Boosts
You can mix in fun flavors to make your nice cream even better. Try adding cocoa powder for a chocolate twist. A few tablespoons of shredded coconut give a tropical vibe. For a fruity touch, toss in some berries or mango chunks. These add-ins can change the taste and make each serving special.
Different Sweetener Options
If you want your nice cream sweeter, there are many options. Honey or maple syrup are great, but you can also use agave syrup. For a sugar-free option, try stevia or monk fruit sweetener. Each sweetener changes the flavor slightly, so choose what you like best. Adjust the amount to fit your sweet tooth.
Storage Info
Best Practices for Freezing
To freeze nice cream, start with ripe bananas. Cut them into small pieces. Spread the pieces on a baking sheet. Use parchment paper to keep them from sticking. Freeze the bananas for 2-3 hours until solid. This step is key for smooth texture. After freezing, you can blend them with peanut butter and other ingredients.
You can store the finished nice cream in an airtight container. This keeps it fresh and prevents freezer burn.
How to Re-Blend After Freezing
Once your nice cream is frozen, it may harden. To bring it back to life, let it sit at room temperature for 5-10 minutes. If it's still too hard, use a blender or food processor. Add a splash of almond milk or any milk you like. Blend until smooth and creamy again. This step helps restore that soft-serve texture you love.
Shelf Life and Freshness Tips
Peanut Butter Banana Nice Cream lasts about 1-2 weeks in the freezer. For the best taste, eat it within the first week. Check for ice crystals or changes in flavor. These signs mean it may be past its prime. Always store it in an airtight container to keep it fresh. Enjoy your sweet treat while it's at its best!
FAQs
Can I make Peanut Butter Banana Nice Cream without a blender?
Yes, you can! If you don’t have a blender, mash the frozen bananas in a bowl. Use a fork or potato masher to break them down. Then, stir in the peanut butter, honey, and other ingredients. This method takes more time, but it still works. The nice cream will not be as smooth but will still taste great.
How can I make this recipe nut-free?
To make this nice cream nut-free, swap peanut butter for sun butter or soy nut butter. These options give a similar taste without nuts. Be sure to check labels for allergens. You can also use pumpkin seed butter for a fun twist. Each option will keep the flavor rich and creamy.
Is this dessert healthy? What are the nutritional benefits?
Yes, this dessert is a healthy choice! It has no added sugars if you skip the honey. Bananas provide potassium and fiber. Peanut butter adds healthy fats and protein. Together, they make a great snack. You can enjoy this nice cream without guilt. Plus, it’s a fun way to eat fruit!
Peanut Butter Banana Nice Cream is simple and fun to make. You need just a few basic ingredients and can customize it to your taste. Follow the steps for perfect texture and flavor. Remember, you can try different nut butters and sweeteners. Store your nice cream well to keep it fresh. This treat is not only tasty but healthy, too. Enjoy making it in your kitchen, and share it with friends and family!