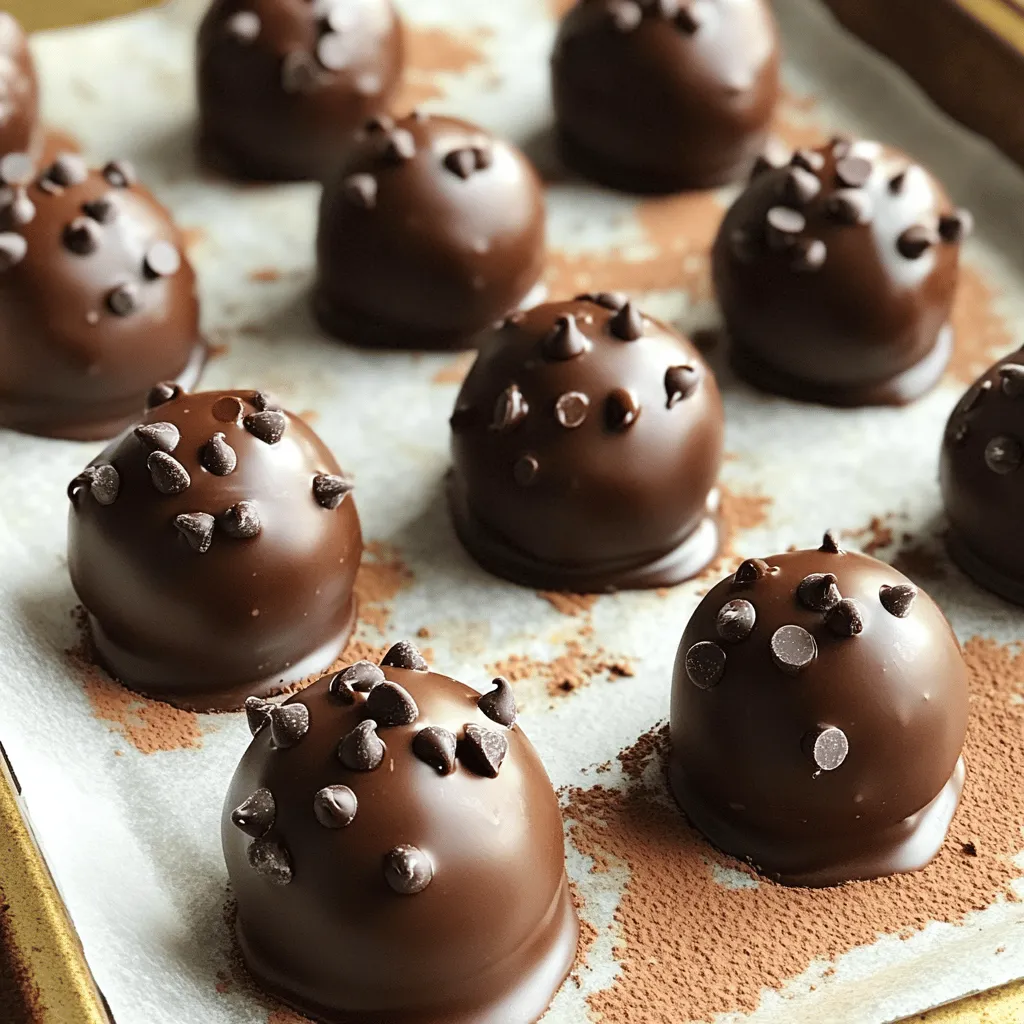
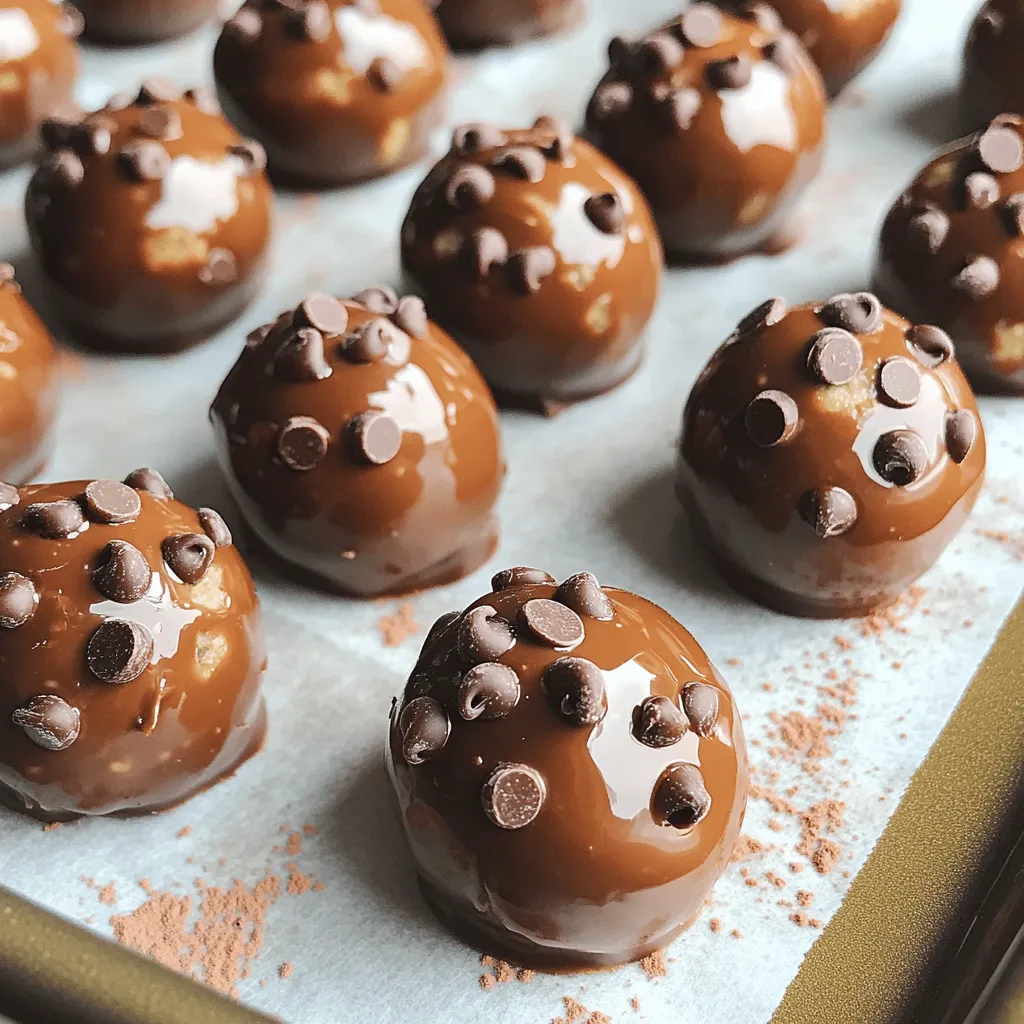
Looking for a quick, tasty snack that fuels your body? These Peanut Butter Chocolate Protein Balls are the perfect choice! Packed with healthy ingredients, they offer a delicious chocolatey flavor while keeping your energy high. In this guide, I’ll share easy steps to whip them up, plus tips for customizing your own. Get ready to satisfy your cravings with a snack that’s both simple and healthy!
Ingredients
Complete List of Ingredients
To make these tasty peanut butter chocolate protein balls, you’ll need:
– 1 cup rolled oats
– 1/2 cup natural peanut butter (smooth or crunchy)
– 1/3 cup honey or maple syrup
– 1/4 cup unsweetened cocoa powder
– 1/2 cup chocolate protein powder
– 1/4 cup mini chocolate chips
– 1/4 teaspoon salt
– 1 teaspoon vanilla extract
– Optional: chopped nuts or seeds for extra texture
Measurement Guide
Measuring your ingredients helps you get the best results. Here’s a simple guide:
– Rolled oats: Use a dry measuring cup. Scoop oats and level off with a knife.
– Peanut butter: Use a liquid measuring cup for easy pouring. You can also spray it with cooking oil for less stickiness.
– Honey or maple syrup: Use the same method as peanut butter for smooth pouring.
– Cocoa powder and protein powder: Scoop and level off using a dry measuring cup.
– Mini chocolate chips: Just fill the cup and level it off.
– Salt and vanilla extract: Use measuring spoons for accuracy.
Nutritional Benefits of Each Ingredient
Each ingredient in these protein balls adds something special:
– Rolled oats: They provide fiber and help keep you full.
– Peanut butter: It adds healthy fats and protein for energy.
– Honey or maple syrup: These natural sweeteners give a quick energy boost.
– Cocoa powder: It is rich in antioxidants and adds a chocolatey flavor.
– Chocolate protein powder: This boosts protein content, helping with muscle repair.
– Mini chocolate chips: They add fun sweetness and taste.
– Salt: Just a touch enhances flavors.
– Vanilla extract: It adds a warm, sweet aroma that makes these balls irresistible.
– Chopped nuts or seeds (optional): They add crunch and extra nutrients.
These ingredients work together to make a snack that’s not just tasty but also good for you!
Step-by-Step Instructions
Detailed Preparation Steps
1. Start with a big mixing bowl. Add the rolled oats, cocoa powder, and protein powder. Mix them well. This helps blend all the dry ingredients together.
2. In another bowl, combine the peanut butter, honey (or maple syrup), vanilla extract, and salt. Stir until it’s smooth and creamy. This mix adds flavor and sweetness.
3. Pour the peanut butter mix into the dry ingredients. Stir until everything comes together. If it feels too dry, add a splash of honey or warm water. This keeps your balls moist.
4. Now, fold in the mini chocolate chips and any nuts or seeds you want. This step makes the balls even tastier and adds texture.
5. Once the mixture is ready, roll it into balls about 1 inch in size. If your hands get sticky, wet them with a bit of water. This trick helps with rolling.
6. Place the balls on a baking sheet lined with parchment paper. Refrigerate them for at least 30 minutes. This step helps them firm up nicely.
7. Store the protein balls in an airtight container in the fridge for up to one week. You can also freeze them for longer storage.
Tips for Mixing and Rolling
– Use a sturdy spoon or spatula to mix everything. It makes blending easier.
– If you prefer, use your hands to combine the ingredients. It gives you a better feel for the texture.
– When rolling the balls, try to keep them uniform in size. This makes them look neat and helps with portion control.
– If you want extra crunch, toss in some chopped nuts or seeds. They add a nice bite.
Notes on Refrigeration Time
– Refrigerate for at least 30 minutes to help the balls hold their shape.
– You can leave them longer if you want a firmer texture. This makes them easier to eat on the go.
– If you plan to freeze them, make sure they are firm before you store. This prevents them from sticking together.
Tips & Tricks
How to Achieve the Perfect Texture
To make perfect protein balls, start with the right mix of ingredients. Use rolled oats as your base. They give a great texture. The peanut butter must be smooth or crunchy, depending on your taste. Honey or maple syrup adds sweetness and helps bind everything. If the mix feels dry, add a splash of honey or warm water. This helps unite the ingredients. After mixing, fold in mini chocolate chips for a sweet surprise. Roll the mixture into 1-inch balls. If your hands get sticky, dampen them with a little water.
Common Mistakes to Avoid
One mistake is not mixing the dry and wet ingredients well. This can lead to uneven flavor and texture. Make sure to combine them thoroughly. Another common issue is rolling the balls too big. A one-inch size works best for bite-sized snacks. Some people forget to chill the balls after making them. This step helps them firm up and hold their shape. Lastly, avoid skipping the salt. It enhances the flavors and balances the sweetness.
Recommended Tools and Equipment
You’ll need a few simple tools for this recipe. A large mixing bowl is essential for combining the ingredients. Use a spatula or wooden spoon for mixing. For rolling the balls, your hands work best, but a small cookie scoop can help too. A parchment-lined baking sheet makes cleanup easy. Lastly, keep an airtight container handy for storage. This helps keep your protein balls fresh and tasty.
Variations
Flavor Variations: Add-ins and Substitutions
You can customize your Peanut Butter Chocolate Protein Balls to fit your taste. Here are some fun ideas:
– Nut Butters: Swap peanut butter for almond or cashew butter. Each nut butter gives a unique flavor.
– Sweeteners: Use agave syrup or coconut sugar instead of honey or maple syrup. Adjust the amount to taste.
– Cocoa Powder: Try using dark cocoa powder for a richer chocolate taste. You can also add carob powder for a twist.
– Add-ins: Toss in dried fruits like cranberries or raisins for a chewy texture. Shredded coconut also adds a lovely touch.
Dietary Adjustments: Vegan, Gluten-Free Options
Making these protein balls fit different diets is easy:
– Vegan: Use maple syrup instead of honey and a plant-based protein powder. This keeps it dairy-free.
– Gluten-Free: Ensure your oats are certified gluten-free. Most oats are naturally gluten-free but check the label.
– Nut-Free: Replace nut butter with sun butter or soy nut butter. These options keep it safe for nut allergies.
Serving Suggestions and Pairings
These protein balls are great on their own, but you can pair them for fun:
– With Fruit: Enjoy them with fresh fruit like banana slices or apple wedges. The sweetness balances the chocolate.
– With Yogurt: Serve them alongside Greek yogurt for a protein-packed snack. It adds creaminess and more flavor.
– In Smoothies: Blend them into a smoothie for added protein. They make your drink filling and delicious.
Feel free to explore these variations and pairings to make your protein balls truly unique!
Storage Info
Best Practices for Refrigeration
Storing your Peanut Butter Chocolate Protein Balls correctly keeps them fresh and tasty. After making these snacks, place them in an airtight container. This helps keep moisture out. Store the container in your fridge. The cold will help them stay firm.
Freezing Guidelines for Long-Term Storage
If you want to save some for later, freezing is a great choice. Start by placing the protein balls on a baking sheet. Make sure they are not touching. Freeze them for about 1-2 hours until firm. Once they are solid, transfer them to a freezer-safe bag. Label the bag with the date. This way, you can enjoy them anytime.
Shelf Life and How to Tell if They’re Still Good
These protein balls can last up to a week in the fridge. In the freezer, they can stay good for about three months. Check for any changes in smell or texture. If they look dry or crumbly, it’s best to toss them out. Always trust your senses; if something seems off, don’t eat it.
FAQs
Can I use other nut butters?
Yes, you can use other nut butters. Almond butter or cashew butter work well. They add different flavors but still keep the protein punch. Just make sure they are smooth for easy mixing. If you like a bit of crunch, try crunchy varieties too.
How can I make these protein balls lower in sugar?
To lower the sugar, reduce the honey or maple syrup. You can cut it by half. You can also use sugar-free sweeteners like stevia or erythritol. They add sweetness without the sugar. Keep in mind, this will change the texture a bit.
What are some good brands of ready-made protein balls?
Some good brands include RXBAR, Quest, and Perfect Bar. They often have great flavors and good ingredients. Check the labels for protein content and sugar levels. This helps you choose the best option for your needs.
This post covered key points about making protein balls. We discussed ingredients, their benefits, and precise measurements. I shared step-by-step instructions, helpful tips, and common mistakes. We explored delicious variations and dietary options for everyone. Lastly, I provided guidance on storage and answered frequent questions.
Keep these ideas in mind as you create your own protein balls. Enjoy experimenting with flavors and textures. Happy cooking!