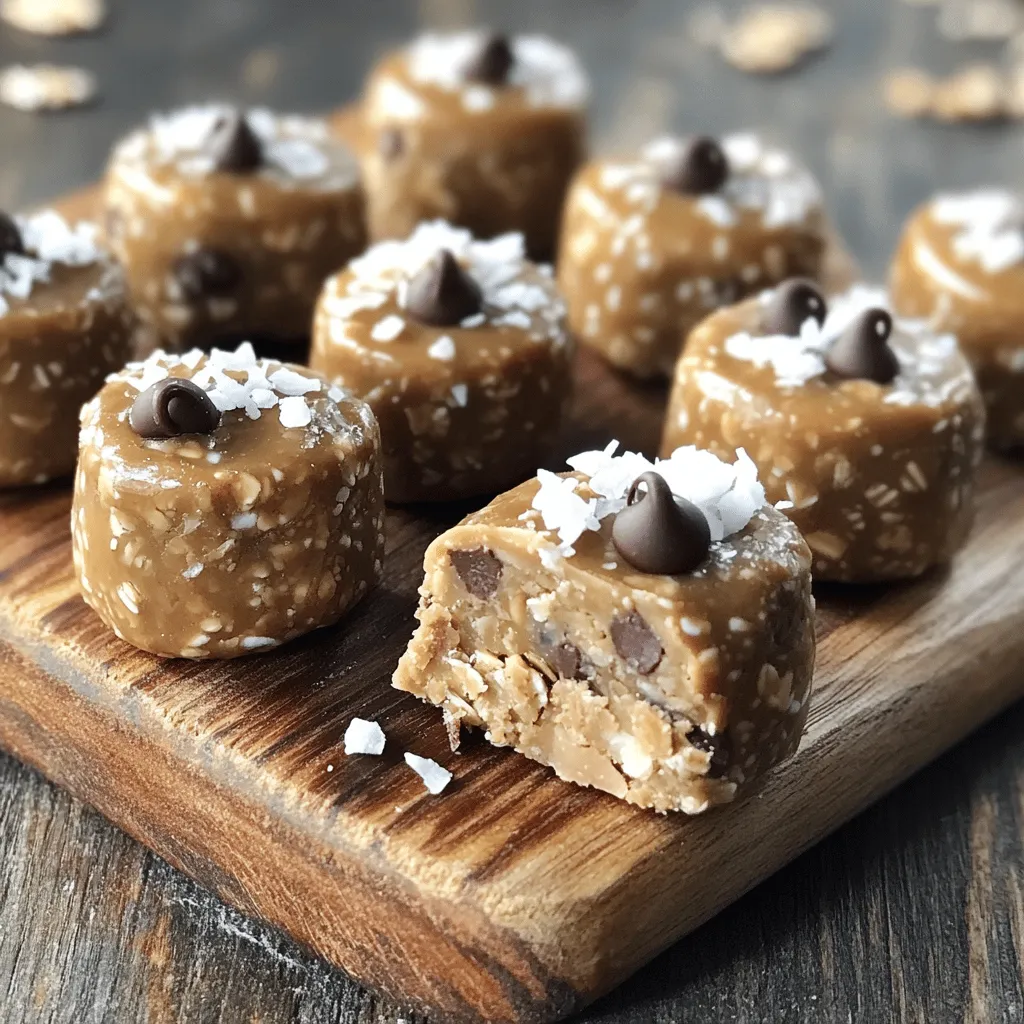
Are you looking for a tasty and easy snack that packs a protein punch? Let me show you how to make Peanut Butter Protein Balls! This simple recipe uses natural ingredients like peanut butter and oats. You can whip them up in no time. Plus, they’re great for meal prep. Ready to learn how to make these healthy bites? Let’s get started!
Ingredients
Required Ingredients for Peanut Butter Protein Balls
To make these tasty peanut butter protein balls, you need a few simple items. Here’s what you will need:
– 1 cup natural peanut butter (unsweetened): This gives the balls their rich, nutty base.
– 1/2 cup honey or maple syrup: Use this for sweetness and to help bind the mix.
– 1 cup rolled oats: These add texture and make the balls filling.
– 1/2 cup vanilla protein powder: This boosts the protein content.
– 1/4 cup flaxseed meal: This adds healthy fats and fiber.
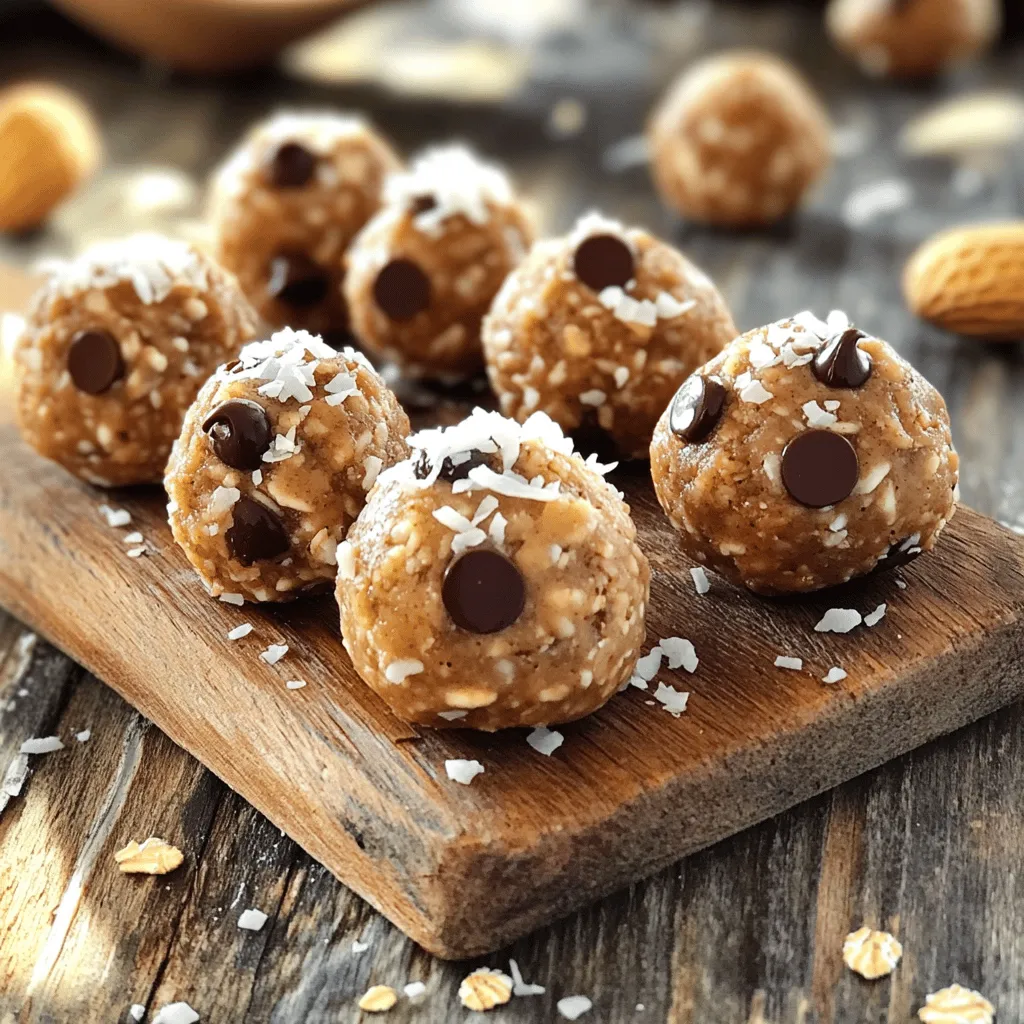
– 1/3 cup mini chocolate chips (optional): For a sweet surprise in each bite.
– 1/4 teaspoon sea salt: A pinch of salt enhances all the flavors.
– Optional: 1/4 cup shredded coconut: This adds a fun texture and tropical taste.
These ingredients make the perfect mix for a healthy snack. You can also customize the recipe with optional add-ins like nuts or dried fruit to suit your taste.
Step-by-Step Instructions
Preparation Steps for Peanut Butter Protein Balls
1. Mixing wet ingredients
Start by taking a large mixing bowl. Add 1 cup of natural peanut butter and 1/2 cup of honey or maple syrup. Stir these together until they blend well. This mix gives the protein balls their rich flavor.
2. Incorporating dry ingredients
Next, you will add the dry ingredients. Pour in 1 cup of rolled oats, 1/2 cup of vanilla protein powder, and 1/4 cup of flaxseed meal. Add 1/4 teaspoon of sea salt too. Mix everything until it forms a thick and sticky dough. Make sure all the dry ingredients are well mixed with the wet ones.
3. Forming the protein balls
Now, it’s time to shape the mixture. Take small amounts of the dough and roll them into balls about 1 inch in diameter. If the mix is too sticky, you can lightly grease your hands with coconut oil or a little water. This helps keep the mixture from sticking to you.
4. Chilling process
Once you form all the balls, place them on a lined baking sheet or a plate. Chill them in the fridge for at least 30 minutes. This step is key to making them firm. After chilling, you can store the balls in an airtight container. They stay fresh in the fridge for up to a week.
Tips & Tricks
Essential Tips for Perfect Peanut Butter Protein Balls
Adjusting sweetness levels
You can change how sweet your protein balls are. If you want a sweeter taste, add more honey or maple syrup. If you prefer less sweetness, use less. Just remember, a little goes a long way.
Texture variations
You can play with the texture of your protein balls. If you want a chewier bite, add more oats. For a creamier feel, use more peanut butter. You can also swap in almond butter or sunflower seed butter for different flavors.
Handling sticky mixtures
Sometimes, the mixture gets too sticky. If this happens, wet your hands with a bit of water or oil. This helps you form the balls without a mess. You can also chill the mixture for a bit before rolling.
Storage Tips
Best storage practices for freshness
To keep your protein balls fresh, store them in an airtight container. Place them in the fridge. This helps them last about a week. If you have extra, you can keep them in a cool, dark place for a day or two.
Freezing options for longer storage
Want to save some for later? You can freeze the balls. Place them in a freezer-safe bag. They can last up to three months in the freezer. Just let them thaw in the fridge before you eat them.
Variations
Popular Variations of Peanut Butter Protein Balls
You can easily switch up the flavor of your peanut butter protein balls. Here are a few fun ideas:
– Chocolate protein balls: Add cocoa powder or use chocolate protein powder for a rich, sweet taste.
– Nut-free alternatives: Swap peanut butter for sunflower seed butter or tahini. This way, you make a treat safe for nut allergies.
– Gluten-free substitutions: Use gluten-free oats to make these protein balls fit into a gluten-free diet.
Flavor Enhancements
You can also enhance the flavor of your protein balls with simple add-ins:
– Adding spices: A dash of cinnamon or a splash of vanilla can brighten up the taste. They add warmth and depth to each bite.
– Mixing in dried fruits or seeds: Try adding raisins, cranberries, or chia seeds. These ingredients bring extra nutrients and a chewy texture.
These variations and enhancements help you get creative while making your peanut butter protein balls. You can customize them to match your taste and dietary needs.
Nutritional Information
Breakdown of Nutritional Benefits
Peanut butter protein balls are not just tasty; they pack a punch of nutrients. Each ball contains about 5 grams of protein. This helps fuel your muscles and keeps you feeling full.
When you look at calories, each ball has around 100 calories. The main macronutrients include:
– Protein: 5 grams
– Carbohydrates: 12 grams
– Fats: 4 grams
Now, let’s talk about the health benefits of key ingredients.
– Peanut Butter: It is rich in healthy fats and protein. It also has vitamins like E and B6, which are good for your skin and energy levels.
– Flaxseed: This tiny seed is full of fiber and omega-3 fatty acids. It can help with heart health and digestion.
– Rolled Oats: They give you energy and keep you full longer. They can also help lower cholesterol.
– Honey or Maple Syrup: These natural sweeteners provide quick energy. They also have antioxidants that support your health.
These ingredients make peanut butter protein balls a smart snack choice. You get energy, protein, and important nutrients in one bite.
FAQs
Common Questions About Peanut Butter Protein Balls
How long do peanut butter protein balls last?
Peanut butter protein balls can last up to one week in the fridge. Store them in an airtight container to keep them fresh. If you freeze them, they can last for about three months.
Can I replace peanut butter with another nut butter?
Yes, you can use any nut butter you like. Almond butter or cashew butter work well too. Just make sure the nut butter is natural and unsweetened for the best taste.
Are peanut butter protein balls suitable for meal prep?
Absolutely! These protein balls are perfect for meal prep. You can make a batch ahead of time and store them. They make a great snack for busy days.
What can I use instead of protein powder?
If you don’t have protein powder, try using ground oats or more flaxseed meal. You can also add nut flour for extra flavor and texture.
Additional Resources
– For more homemade snack ideas, check out these links: [Healthy Snack Recipes](#) and [Quick and Easy Snack Ideas](#).
– If you want other protein-packed recipes, try my energy bars or quinoa bites.
In this blog post, we explored how to make tasty peanut butter protein balls. We covered the key ingredients, preparation steps, and tips for success. You learned about variations, nutritional benefits, and answered common questions. These protein balls are great snacks packed with nutrition. They are easy to modify based on your taste and dietary needs. I hope you feel inspired to make your own and enjoy some healthy treats!