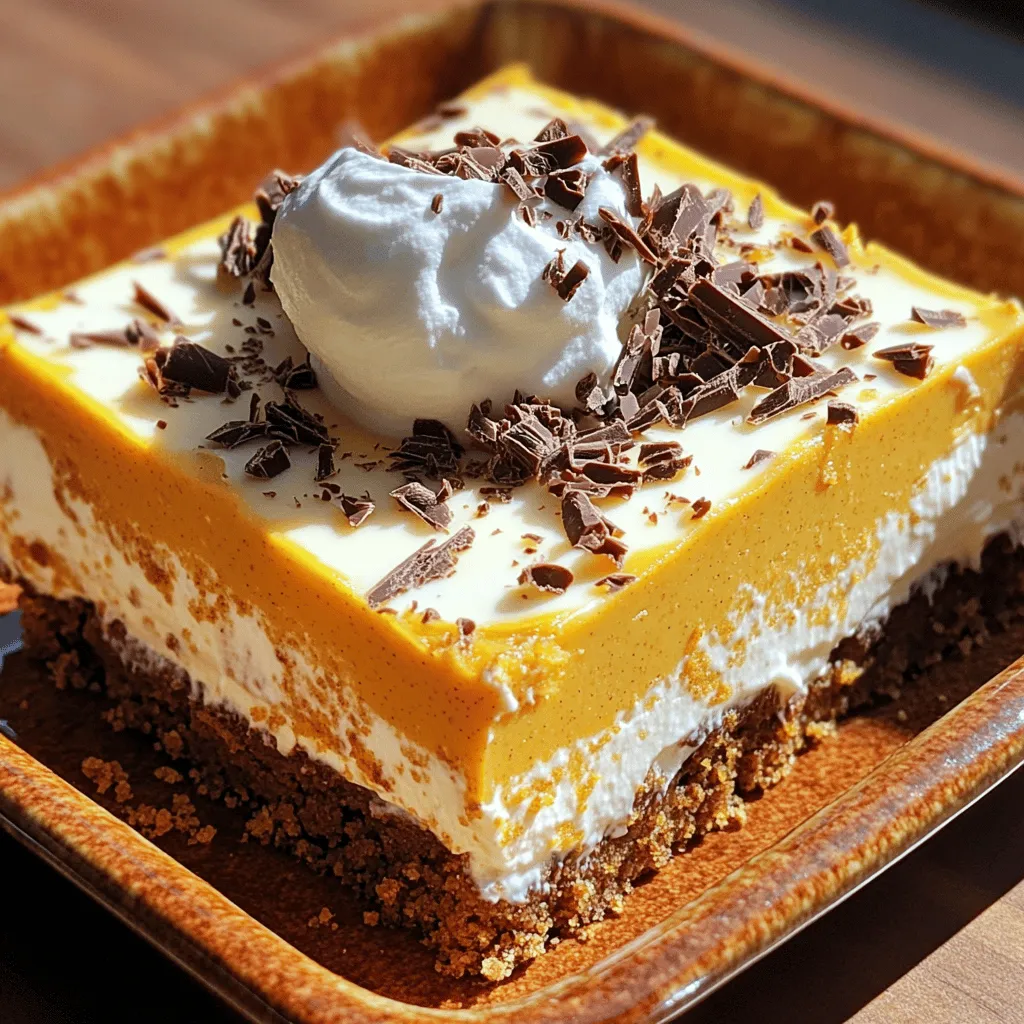
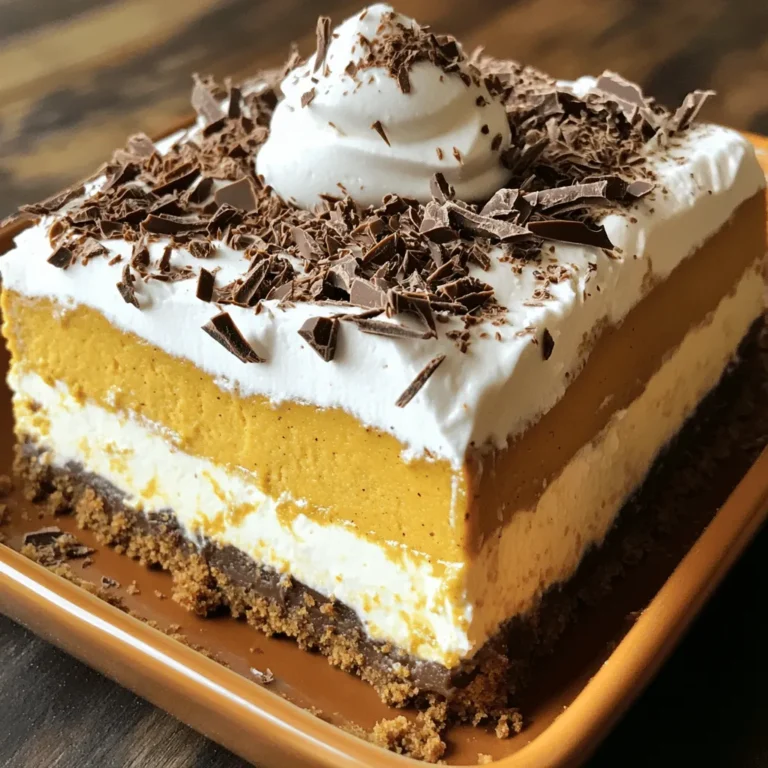
If you’re craving a dessert that blends creamy cheesecake with the warmth of pumpkin, you’ve found it! This Pumpkin Cheesecake Icebox Cake is a divine treat that’s easy to make and perfect for any season. I’ll guide you through simple steps, from the crust to the creamy filling. Let’s dive into the world of flavors and textures that will leave your taste buds dancing in delight!
Ingredients
List of Ingredients
– 2 cups graham cracker crumbs
– ½ cup unsalted butter, melted
– 1 cup cream cheese, softened
– 1 cup powdered sugar
– 1 teaspoon vanilla extract
– 1 cup heavy whipping cream
– 1 cup pumpkin puree
– 1 teaspoon pumpkin pie spice
– ½ teaspoon cinnamon
– ¼ teaspoon nutmeg
– Salt, a pinch
– Optional: chocolate shavings or whipped cream for decoration
Notes on Ingredient Quality
Using high-quality ingredients makes a big difference. Fresh cream cheese ensures a smooth mix. Look for real vanilla extract, not imitation. Pure pumpkin puree brings rich flavor. Choose heavy cream that is fresh for the best whipped texture.
Alternative Ingredients
If you want a twist, try using a different crust. Oreo crumbs or almond flour can work well. You can swap cream cheese for mascarpone for a lighter taste. Coconut cream can replace heavy whipping cream for a dairy-free option.
Step-by-Step Instructions
Preparing the Graham Cracker Crust
Start by mixing the graham cracker crumbs with melted butter. Use a bowl and stir until the crumbs are fully coated. This mixture will form the base of your cake. Next, press the crumb mixture into the bottom of a 9×9 inch square baking dish. Make sure it is even and compact. Once done, put the dish in the refrigerator while you make the filling. This helps the crust firm up.
Making the Pumpkin Cheesecake Filling
In a large bowl, beat the softened cream cheese until it is smooth. Use an electric mixer for the best result. Gradually add the powdered sugar while mixing. This will sweeten the filling. Then, pour in the vanilla extract and pumpkin puree. Add pumpkin pie spice, cinnamon, nutmeg, and a pinch of salt. Mix until everything is well combined.
In a separate bowl, whip the heavy cream until soft peaks form. This step adds lightness to your filling. Gently fold the whipped cream into the pumpkin mixture. Be careful not to deflate the whipped cream. You want a fluffy texture.
Assembling the Icebox Cake
Spread half of the pumpkin cheesecake mixture over the chilled graham cracker crust. Smooth it out evenly with a spatula. Next, layer another set of graham crackers on top of the cheesecake. Then, spread the rest of the pumpkin cheesecake mixture over this second layer. Make sure it is spread evenly.
Cover the dish with plastic wrap and refrigerate for at least 4 hours. For the best flavor and texture, you can let it chill overnight. Before serving, feel free to top the cake with chocolate shavings or whipped cream. When ready, cut into squares and serve cold. Enjoy your delicious pumpkin cheesecake icebox cake!
Tips & Tricks
How to Achieve the Perfect Whipped Cream
To make the best whipped cream, start with cold tools. Chill your mixing bowl and beaters for a few minutes. This helps the cream whip better. Use heavy whipping cream for the best results. Pour the cream into the cold bowl. Beat on medium speed until soft peaks form. This takes about 2 to 3 minutes. Be careful not to overbeat. If you overbeat, the cream can turn into butter. Gently fold the whipped cream into your pumpkin mixture. This keeps the mixture light and fluffy.
Storing Leftover Cake
If you have leftover cake, store it in the fridge. Use plastic wrap to cover the dish tightly. This keeps the cake fresh and prevents it from drying out. The cake can last in the fridge for about three days. If you want to keep it longer, you can freeze it. Cut the cake into squares and place them in an airtight container. You can freeze it for up to three months. Just remember to let it thaw in the fridge when you are ready to enjoy it again.
Best Serving Suggestions
Serve this cake cold for the best taste. You can add a dollop of whipped cream on top for extra creaminess. Chocolate shavings also make a nice touch. They add a sweet crunch and look pretty. For a fun twist, try serving the cake with a scoop of vanilla ice cream. The mix of flavors and textures will impress your guests. Pair it with coffee or tea for a cozy dessert experience. Enjoy each bite of this delicious pumpkin cheesecake icebox cake!

Variations
No-Bake Version of Pumpkin Cheesecake Icebox Cake
You can make a no-bake version of this cake. Start with the same graham cracker crust. Mix the filling with cream cheese, pumpkin puree, and spices. Instead of whipping cream, use a store-bought whipped topping. This saves time and effort. Simply spread the filling over the crust and chill. It will still taste amazing!
Different Types of Crusts
You can change the crust to your liking. Try using chocolate cookies for a rich flavor. A nut crust made from almonds or pecans adds crunch and a deeper taste. If you prefer gluten-free options, use gluten-free graham crackers. Each crust gives a new twist to your cake.
Seasonal Add-Ins
Add fun ingredients to make your cake unique. Chopped nuts like walnuts or pecans give a crunchy bite. Chocolate chips add sweetness and richness. For a touch of spice, stir in some toffee bits or crushed ginger snaps. These add-ins make your cake festive and tasty.
Storage Info
How to Store Pumpkin Cheesecake Icebox Cake
To store your pumpkin cheesecake icebox cake, cover it tightly with plastic wrap. This keeps it fresh and prevents it from absorbing other smells in the fridge. Place the covered dish in the refrigerator. Eating it cold enhances the flavors, so keep it chilled until serving time.
Freezing Instructions
You can freeze this cake too! First, cut it into squares. Wrap each square in plastic wrap. Then, place the wrapped pieces in a freezer-safe container or bag. This way, you can enjoy a slice later. When you want to eat it, thaw in the fridge overnight.
Shelf Life and Best Practices
Your pumpkin cheesecake icebox cake lasts about 3 to 5 days in the fridge. Check for any signs of spoilage, like off smells or changes in texture. If you freeze it, it can last up to 2 months. Remember, always label your containers with dates. This helps you use them in time!
FAQs
How do I know when the Pumpkin Cheesecake Icebox Cake is ready to serve?
Your Pumpkin Cheesecake Icebox Cake is ready when it has chilled for at least four hours. After chilling, it should feel firm to the touch. If you press down gently, it should hold its shape. The filling should not be runny and should look creamy and smooth. Cut into squares to serve. This cake tastes best cold, so keep it in the fridge until you are ready.
Can I use fresh pumpkin instead of canned?
Yes, you can use fresh pumpkin. To do this, you’ll need to cook the pumpkin first. Cut the pumpkin in half and remove the seeds. Bake it in the oven until it is soft, around 45 minutes. Let it cool, then scoop out the flesh and mash it. Make sure to measure out one cup for your recipe. Fresh pumpkin may give a slightly different taste, but it can be delicious.
What other toppings can I add to enhance the cake?
You can add many toppings to make your cake even better. Here are some ideas:
– Whipped cream for a light touch.
– Chocolate shavings for a rich flavor.
– Chopped nuts, like pecans or walnuts, for crunch.
– Caramel drizzle for sweetness.
– A sprinkle of cinnamon or nutmeg for extra spice.
Try different toppings to find your favorite!
The blog post provided a clear guide on making a Pumpkin Cheesecake Icebox Cake. We covered key ingredients, methods, and tips for success. Using quality ingredients makes a big difference. Follow the steps for a tasty treat everyone loves. Remember to store your cake correctly to keep it fresh. Feel free to experiment with variations for fun twist. Now, you can impress friends with your new dessert skills! Enjoy making this cake and sharing it with others.


