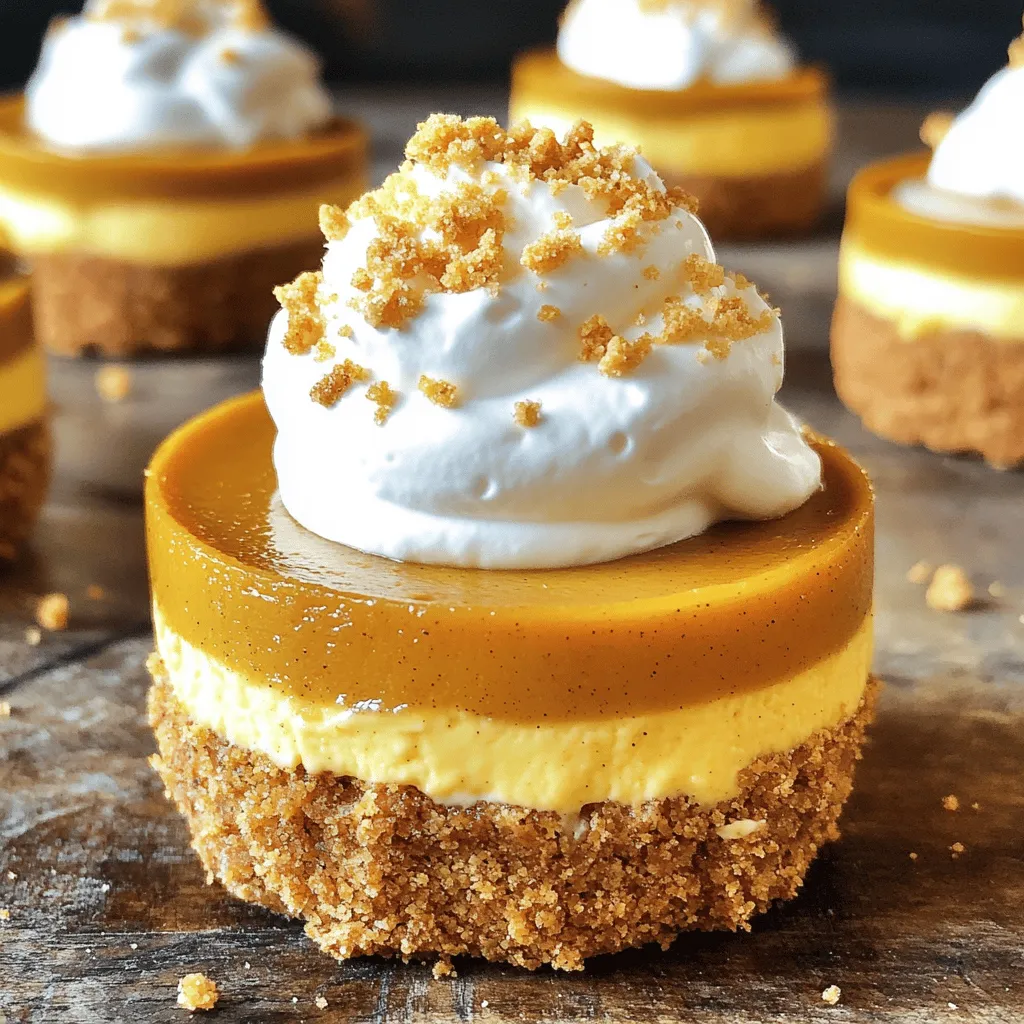
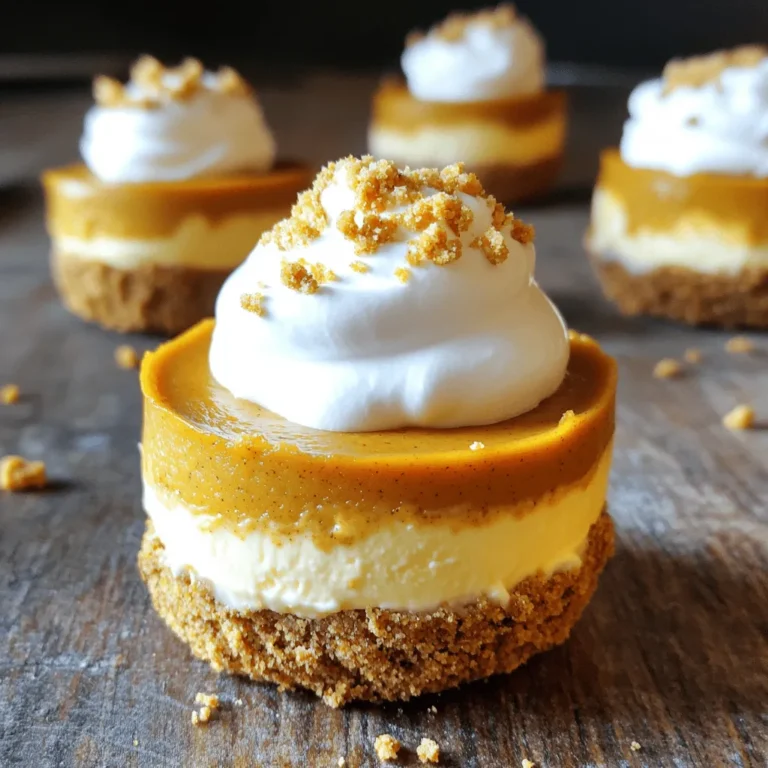
Fall is here, and it’s time to indulge in a treat that combines two favorites: pumpkin pie and cheesecake! In just a few simple steps, you can create delicious Pumpkin Pie Cheesecake Cups that wow your taste buds. Whether you’re hosting a gathering or simply craving something sweet, these cups are the perfect dessert. Let me guide you through the easy process of making these delightful treats!
Ingredients
List of Ingredients
To make pumpkin pie cheesecake cups, you need:
– 1 cup graham cracker crumbs
– 1/4 cup unsalted butter, melted
– 2 tablespoons brown sugar
– 8 oz cream cheese, softened
– 1/2 cup sugar
– 1 cup pumpkin puree
– 2 eggs
– 2 teaspoons vanilla extract
– 1 teaspoon ground cinnamon
– 1/2 teaspoon ground ginger
– 1/4 teaspoon ground nutmeg
– 1/4 teaspoon salt
– Whipped cream (for topping)
– Crushed graham crackers (for garnish)
Ingredient Substitutions
You can swap some ingredients if needed:
– Use almond flour for graham cracker crumbs for a gluten-free option.
– Coconut oil can replace unsalted butter.
– Maple syrup works well in place of sugar.
– Silken tofu can be a dairy-free substitute for cream cheese.
– Canned sweet potato may replace pumpkin puree if you want a different twist.
Tips for Choosing the Best Ingredients
When selecting ingredients, freshness counts. Here are some tips:
– Choose high-quality cream cheese. This will make your filling rich and creamy.
– Look for pure pumpkin puree. Avoid pumpkin pie filling as it has added sugar and spices.
– Use fresh spices for the best flavor. Ground spices lose potency over time.
– Select organic eggs for better taste and quality.
– For the best crust, get fresh graham crackers. They should be crisp and crunchy.
These tips and substitutions help make your pumpkin pie cheesecake cups delicious and unique. Happy baking!
Step-by-Step Instructions
Preparing the Crust
Start by preheating your oven to 350°F (175°C). In a medium bowl, mix the graham cracker crumbs, melted butter, and brown sugar. Stir until the crumbs are fully coated. This mix will create a tasty base for your cups. Next, press the crumb mixture firmly into the bottom of each cup or muffin liner. Ensure an even layer for the best results. Bake the crusts for 5 minutes. Once done, take them out and let them cool slightly.
Making the Pumpkin Cheesecake Filling
In a large mixing bowl, beat the softened cream cheese and sugar together. Mix until smooth and creamy. Now, add the pumpkin puree, eggs, vanilla extract, cinnamon, ginger, nutmeg, and salt. Stir these ingredients together until you have a creamy and colorful filling. It should look rich and inviting. Carefully spoon the pumpkin cheesecake filling into each crust. Fill them about three-quarters full, leaving some room for puffing during baking.
Baking and Cooling
Bake the filled cups for 25-30 minutes. They should puff up a bit and set in the middle. Keep an eye on them to ensure they don’t overbake. After baking, take them out and let them cool to room temperature. Once they cool, put them in the fridge for at least 2 hours. This step is important as it helps them firm up. Before serving, you can add a dollop of whipped cream on top. Finish with a sprinkle of crushed graham crackers for a nice touch. Enjoy your tasty pumpkin pie cheesecake cups!
Tips & Tricks
How to Achieve the Perfect Texture
To get a smooth and creamy texture, start with softened cream cheese. If it’s cold, it won’t mix well. Beat the cream cheese and sugar until fluffy and free of lumps. Mix in the pumpkin puree and spices slowly. This helps keep the mixture light. When baking, don’t overfill the cups. Fill them about three-quarters full to allow for rising.
Common Mistakes to Avoid
One common mistake is not cooling the crust properly. Make sure it cools before adding the filling. Another mistake is baking too long. Overbaking can cause cracks and dry out the cups. Watch for the centers to puff slightly. If they look set, they are ready to cool. Lastly, don’t skip the chilling time after baking. Chilling helps them firm up and taste even better.
Serving Suggestions for Presentation
To make your cheesecake cups shine, top them with a generous swirl of whipped cream. Sprinkle crushed graham crackers on top for a nice crunch. You can also add a sprinkle of cinnamon for extra flavor. For a fun touch, serve them in cute cups or jars. This makes each serving feel special. You can even add a slice of pumpkin or a sprig of mint on top for color.

Variations
Flavor Variations
You can change the flavors in your pumpkin pie cheesecake cups. One great idea is to add chocolate. Melt some chocolate and mix it into the cheesecake filling. This adds a rich taste. You can also sprinkle chocolate chips on top. Another option is to swap spices. Try adding more nutmeg or a pinch of allspice. Each change gives a new twist to the classic flavor.
Gluten-Free Options
You can make these cups gluten-free easily. Use gluten-free graham cracker crumbs for the crust. Many brands offer these now. You can also use almond flour or crushed nuts. For the filling, ensure your cream cheese is gluten-free. Most brands are safe, but it’s good to check the label. Enjoying this treat can be safe and tasty!
Mini vs. Regular Size Cups
You can make these cheesecake cups in mini sizes or regular sizes. Mini cups are perfect for parties. They allow guests to try a small bite. Use a mini muffin tin for these. If you prefer regular sizes, stick with a standard muffin tin. The baking time may change. Mini cups bake for about 15-20 minutes, while regular ones take 25-30 minutes. Enjoy both sizes based on your needs!
Storage Info
Best Way to Store Pumpkin Pie Cheesecake Cups
To keep your pumpkin pie cheesecake cups fresh, place them in an airtight container. Use a container that fits them snugly to prevent movement. This will help keep the crust from getting soggy. If you have topped them with whipped cream, add the cream just before serving.
How Long Do They Last?
When stored properly in the fridge, these cheesecake cups last for about 4 to 5 days. Make sure to check for any off smells or changes in texture. If they look or smell funny, toss them out. Always trust your senses when it comes to food safety.
Can You Freeze Them?
Yes, you can freeze these cheesecake cups! To freeze, wrap each cup tightly with plastic wrap. Then, place them in a freezer-safe bag or container. They can last in the freezer for up to 2 months. To thaw, move them to the fridge overnight. Enjoy your fall treat even when the season changes!
FAQs
Can I make these cheesecake cups ahead of time?
Yes, you can make these cheesecake cups ahead of time. Prepare them a day in advance. After baking, let them cool to room temperature. Then, chill them in the fridge for at least two hours. This helps the flavors meld well. You can also add the whipped cream right before serving. This keeps the topping fresh and fluffy.
What can I use instead of cream cheese?
If you need a substitute for cream cheese, use mascarpone cheese. It has a similar texture and flavor. You can also try Greek yogurt for a lighter option. Just remember, Greek yogurt may change the taste slightly. Silken tofu can be a great dairy-free choice. Blend it well to get a creamy texture.
How do I know when they are done baking?
Check if the cheesecake cups are done by looking at their centers. They should be set and slightly puffed. Gently shake the pan; if they wobble slightly in the center, they are ready. Remember, they will firm up as they cool. Keep an eye on them during the last few minutes of baking to avoid overcooking.
You learned how to create delicious pumpkin cheesecake cups. We explored key ingredients and smart substitutions for every taste. I shared step-by-step instructions for the crust and filling, along with tips to ensure the best texture. We discussed variations and how to present your cups beautifully. Lastly, we covered storage and answered common questions.
Now, you can impress anyone with these treats. Happy baking!


