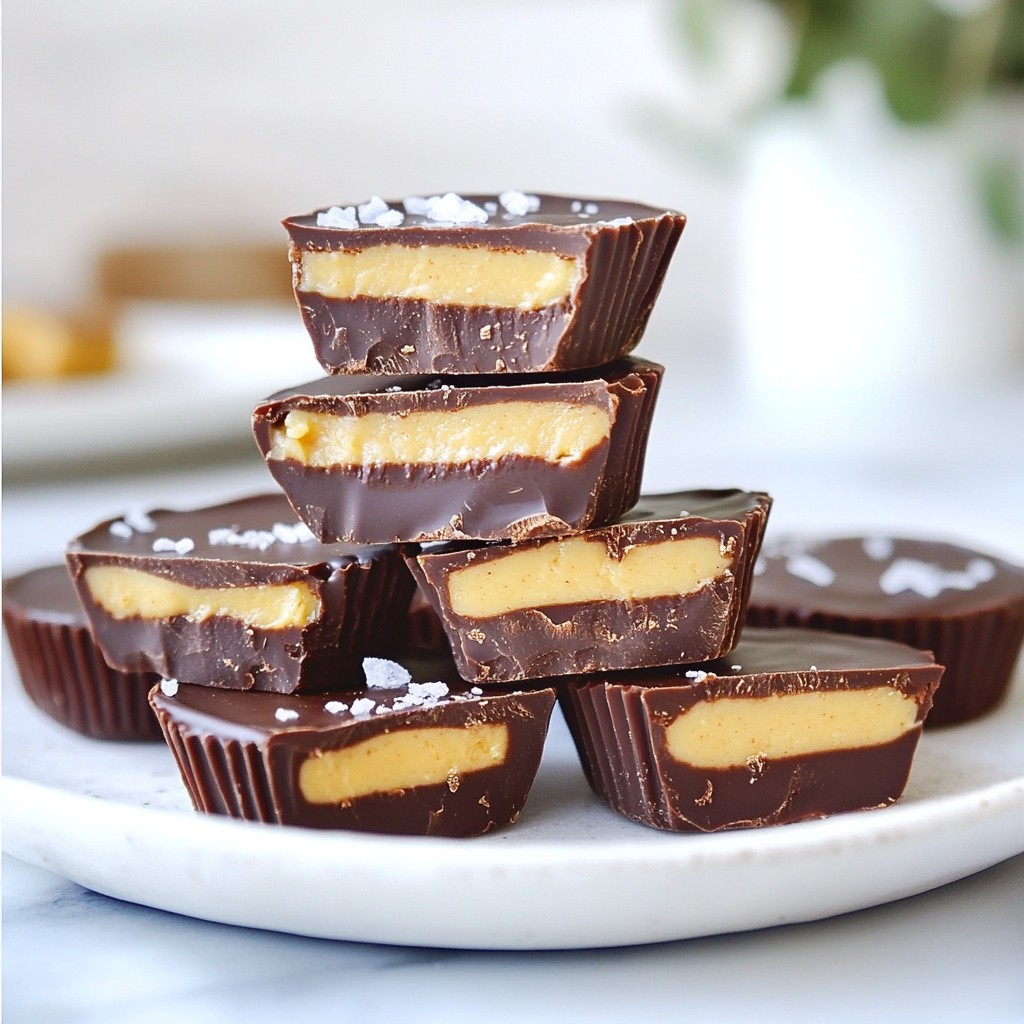
Get ready to satisfy your sweet cravings with my quick recipe for Vegan Chocolate Peanut Butter Cups! These delicious treats are easy to make and packed with flavor. I’ll walk you through each simple step, from gathering the ingredients to perfecting your technique. Plus, I’ll share tips and variations to make your cups unique. Are you ready to indulge in a delightful vegan snack? Let’s dive in!
Why I Love This Recipe
- Decadent Flavor: The combination of rich dark chocolate and creamy peanut butter creates a delightful taste that is hard to resist.
- Easy to Make: This recipe requires minimal ingredients and simple steps, making it perfect for all skill levels in the kitchen.
- Customizable: You can easily adjust the sweetness or use different nut butters and toppings to suit your preferences.
- Vegan Delight: These cups are completely dairy-free and vegan, allowing everyone to enjoy a guilt-free treat.
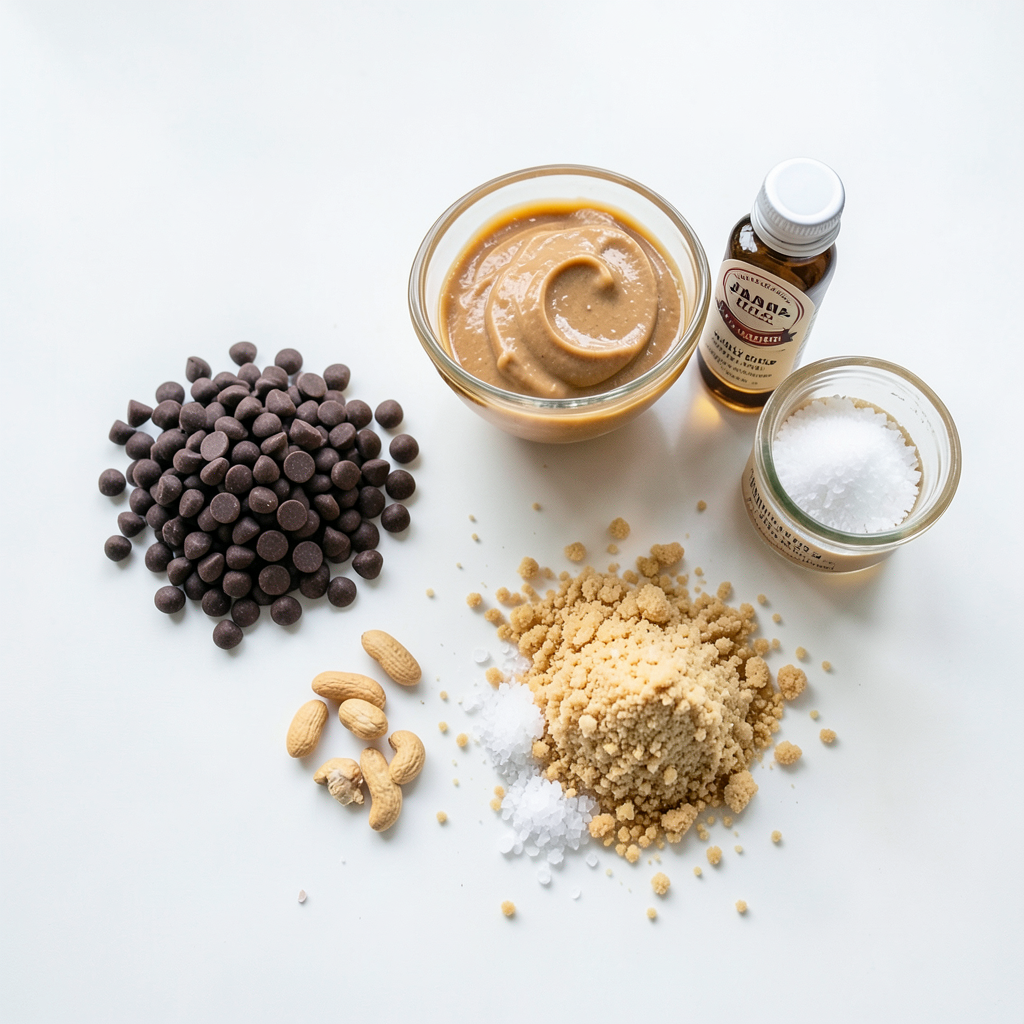
Ingredients
List of Ingredients
- 1 cup dairy-free dark chocolate chips
- 1/2 cup natural peanut butter (smooth or crunchy)
- 1/4 cup maple syrup
- 1/2 tsp vanilla extract
- 1/4 tsp sea salt
- 1 cup vegan graham cracker crumbs (or crushed nuts for a gluten-free option)
- Optional: a pinch of sea salt for garnish
Substitutions and Alternatives
You can switch ingredients based on your needs. Here are some ideas:
- Use almond butter instead of peanut butter for a nut-free option.
- Swap maple syrup with agave nectar for a different sweetener.
- If you want a crunch, use chopped nuts instead of graham cracker crumbs.
- For a richer taste, try dark chocolate with a higher cocoa percentage.
Nutritional Benefits of Each Ingredient
- Dairy-free dark chocolate chips: These are rich in antioxidants. They may help improve heart health.
- Peanut butter: This is a great source of protein and healthy fats. It keeps you full longer.
- Maple syrup: This offers natural sweetness and contains minerals like zinc and manganese.
- Vanilla extract: It adds flavor and may have antioxidant properties.
- Sea salt: A pinch enhances taste and balances sweetness.
- Vegan graham cracker crumbs: They provide fiber and complex carbs for energy.
- Optional sea salt for garnish: This adds a nice salty-sweet contrast.
These ingredients work together to create a treat that tastes great and offers some health benefits. Enjoy your vegan chocolate peanut butter cups!
Step-by-Step Instructions
Melting the Chocolate
To start, you need to melt the chocolate chips. Place one cup of dairy-free dark chocolate chips in a microwave-safe bowl. Heat the bowl in the microwave for 30 seconds. Take it out and stir the chocolate. Repeat this until the chocolate is fully melted and smooth. Be careful, as chocolate can burn easily. This melting process is key for a great texture.
Preparing the Cupcake Liners
Next, grab your muffin tin. Line it with cupcake liners. You can choose mini or standard sizes, depending on your taste. The liners help keep your cups neat and easy to remove later. Make sure they fit snugly in the tin.
Layering the Chocolate and Peanut Butter
Now, let’s build our cups. Take a spoon and add about 1 tablespoon of melted chocolate into each liner. Spread it evenly across the bottom to form a nice base. Place the muffin tin in the fridge for about 15 minutes to let the chocolate set.
While the base sets, mix your peanut butter filling. In a bowl, combine ½ cup of natural peanut butter, ¼ cup of maple syrup, ½ teaspoon of vanilla extract, and ¼ teaspoon of sea salt. Stir until smooth.
Once the base has set, take the tin out of the fridge. Add about 1 tablespoon of the peanut butter mixture on top of the chocolate in each liner. Gently spread it out.
Next, top the peanut butter layer with another tablespoon of melted chocolate. Cover the filling completely. Use the back of a spoon to smooth it out.
Finally, place the muffin tin back in the fridge for another 30 minutes, or until the cups harden. Once they are set, carefully peel them from the liners. You can sprinkle a pinch of sea salt on top for extra flavor if you like. Enjoy your vegan chocolate peanut butter cups!
Tips & Tricks
Perfecting the Chocolate Melt
To melt the chocolate, use a microwave-safe bowl. Heat the chocolate chips in 30-second bursts. Stir after each interval. This helps avoid burning. You want a smooth, shiny texture. If you see lumps, keep stirring. It will melt more as you mix. This step is key for a good cup.
Achieving the Right Peanut Butter Texture
For your peanut butter, choose a natural type. Smooth peanut butter works well. If you like crunch, go for crunchy. Mix it with maple syrup, vanilla, and sea salt. Blend until it is smooth and creamy. This makes for a tasty filling. The right texture helps the cups hold together.
Storage and Shelf Life of Peanut Butter Cups
Store your peanut butter cups in the fridge. Use an airtight container for best results. They can last up to a week. If you want to keep them longer, freeze them. Wrap each cup in plastic wrap first. They can last up to three months in the freezer. Just let them sit at room temp before eating.
Pro Tips
- Chill the Chocolate: For a smoother finish, ensure the melted chocolate is not too hot when pouring it into the liners; this will prevent the peanut butter layer from melting.
- Peanut Butter Variations: Experiment with different nut butters like almond or cashew for a unique flavor twist. You can also add mix-ins like chopped nuts or dried fruit.
- Layering Technique: Use the back of a spoon to smooth out the layers, ensuring an even distribution of peanut butter and chocolate for a perfect bite every time.
- Storage Tips: Store these cups in an airtight container in the fridge for up to a week, or freeze them for longer storage without compromising flavor.
Variations
Gluten-Free Options
You can make these cups gluten-free easily. Instead of using graham cracker crumbs, use crushed nuts. Almonds or walnuts work well. This change keeps the cups tasty and safe for those with gluten issues. The nutty flavor adds a nice twist too.
Flavor Variations
Want to mix it up? You can add fun flavors to your cups. Try adding shredded coconut for a tropical touch. You can also mix in chopped nuts for crunch. If you love spice, a dash of cinnamon can add warmth. Get creative! The options are endless.
Different Types of Nut Butters
Peanut butter is great, but it's not the only option. You can swap it for almond butter or cashew butter. Each nut butter brings its own taste. Almond butter is smooth and nutty, while cashew butter is creamy and mild. Experiment to find your favorite!
Storage Info
Recommended Storage Methods
I recommend storing your vegan chocolate peanut butter cups in an airtight container. This keeps them fresh and tasty. You can place them in the fridge or at room temperature. If you choose the fridge, they stay firm and cool.
Freezing Instructions
You can freeze these tasty treats for later. Place them in a single layer on a baking sheet. Once they are frozen, move them to an airtight container. They can last in the freezer for up to three months. Just remember to let them thaw in the fridge before eating.
Best Practices for Keeping Them Fresh
To keep your cups fresh, avoid exposing them to heat. Store them away from sunlight and heat sources. This helps maintain their texture and flavor. When serving, try not to leave them out too long. Enjoy them fresh for the best taste!
FAQs
How to make Vegan Chocolate Peanut Butter Cups without dairy?
To make vegan chocolate peanut butter cups, use dairy-free dark chocolate chips. These chips melt well and taste great. Follow the recipe steps to melt the chips and mix the other ingredients. You can enjoy a creamy, rich treat without dairy.
Are Vegan Chocolate Peanut Butter Cups healthy?
Yes, vegan chocolate peanut butter cups can be healthy. They use natural peanut butter and maple syrup. Peanut butter is a good source of protein and healthy fats. Maple syrup adds sweetness without refined sugar. The dark chocolate offers antioxidants, making these cups a tasty treat that can fit into a balanced diet.
Can I use other types of chocolate?
Yes, you can use other types of chocolate! If you prefer milk chocolate, choose a dairy-free option. White chocolate can also work, but it may change the flavor. Always check that any chocolate used is vegan-friendly. Experimenting with different chocolates can lead to fun new flavors!
You now have all the tools to make delicious peanut butter cups. We covered the ingredients, tips, and fun variations. You learned how to melt chocolate and layer it correctly. Each ingredient provides unique health benefits that boost your snacks.
Create your own version with different flavors or nut butters. Store them to enjoy later. Remember to share your tasty treats! Keep exploring new recipes and enjoy the process. Making these cups can be fun and rewarding, and you can impress friends and family with your skills.