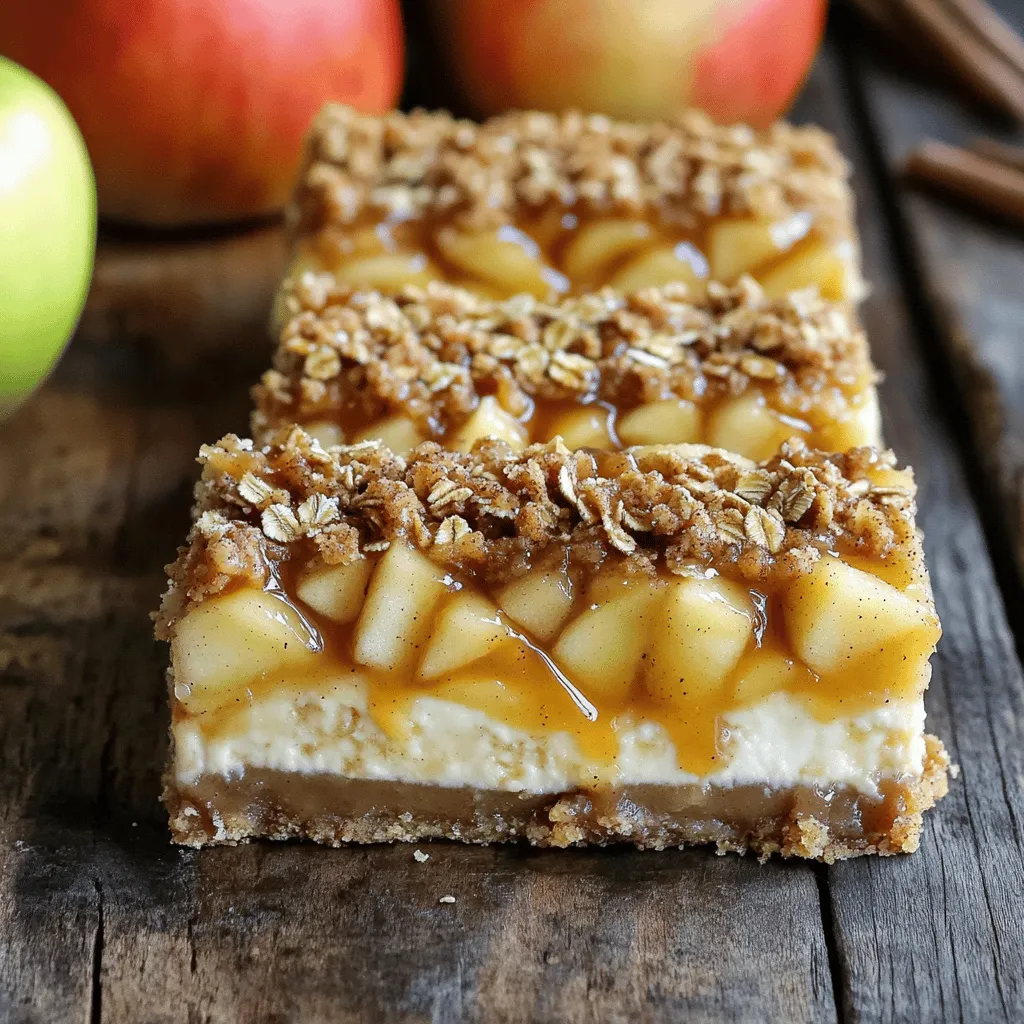
Caramel Apple Crisp Cheesecake Bars Delightful Treat
If you’re craving a treat that combines creamy cheesecake and sweet caramel apples, you’re in the right place! I’m excited

If you’re craving a treat that combines creamy cheesecake and sweet caramel apples, you’re in the right place! I’m excited
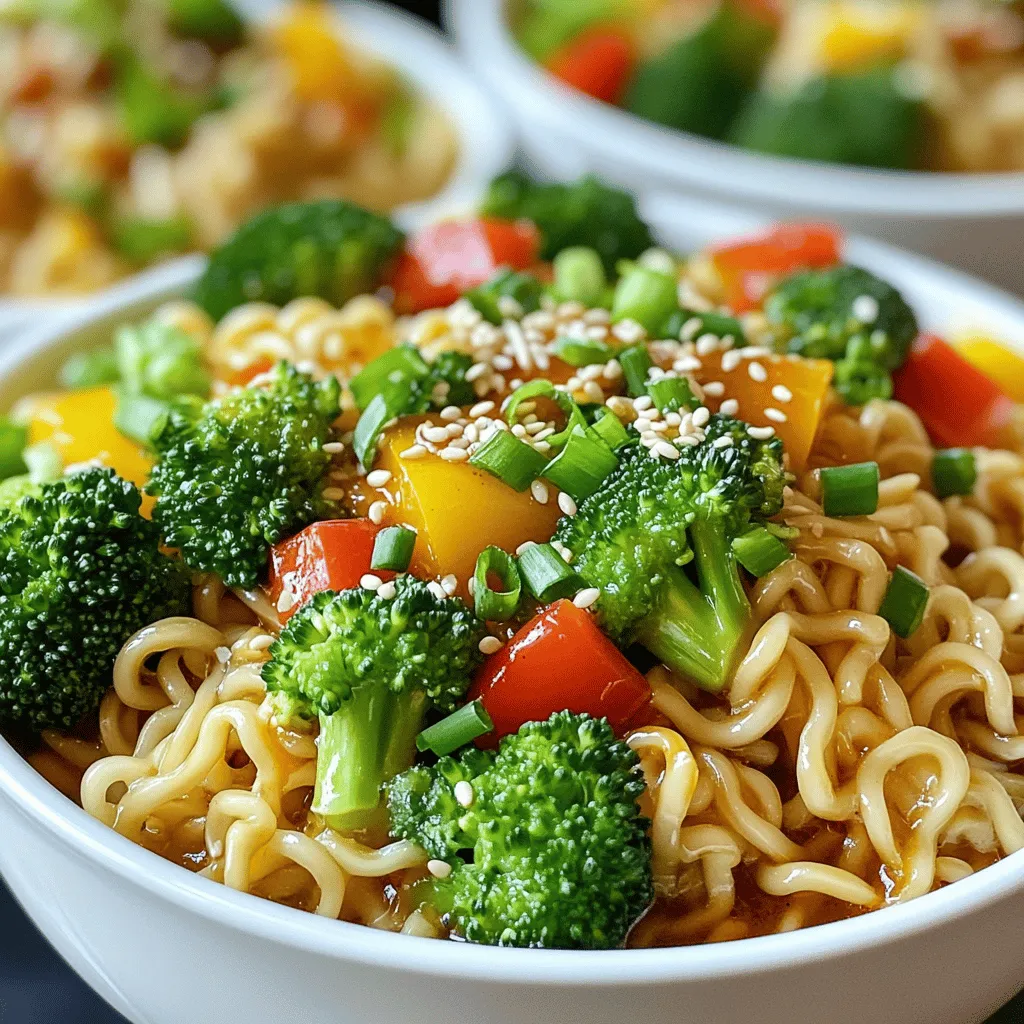
Looking for a tasty and quick meal? Sweet Chili Garlic Ramen Bowls are the answer! This dish packs a punch

Looking for a quick and tasty dinner? My BBQ Chicken Drumsticks Sheet Pan recipe is your answer! With just a
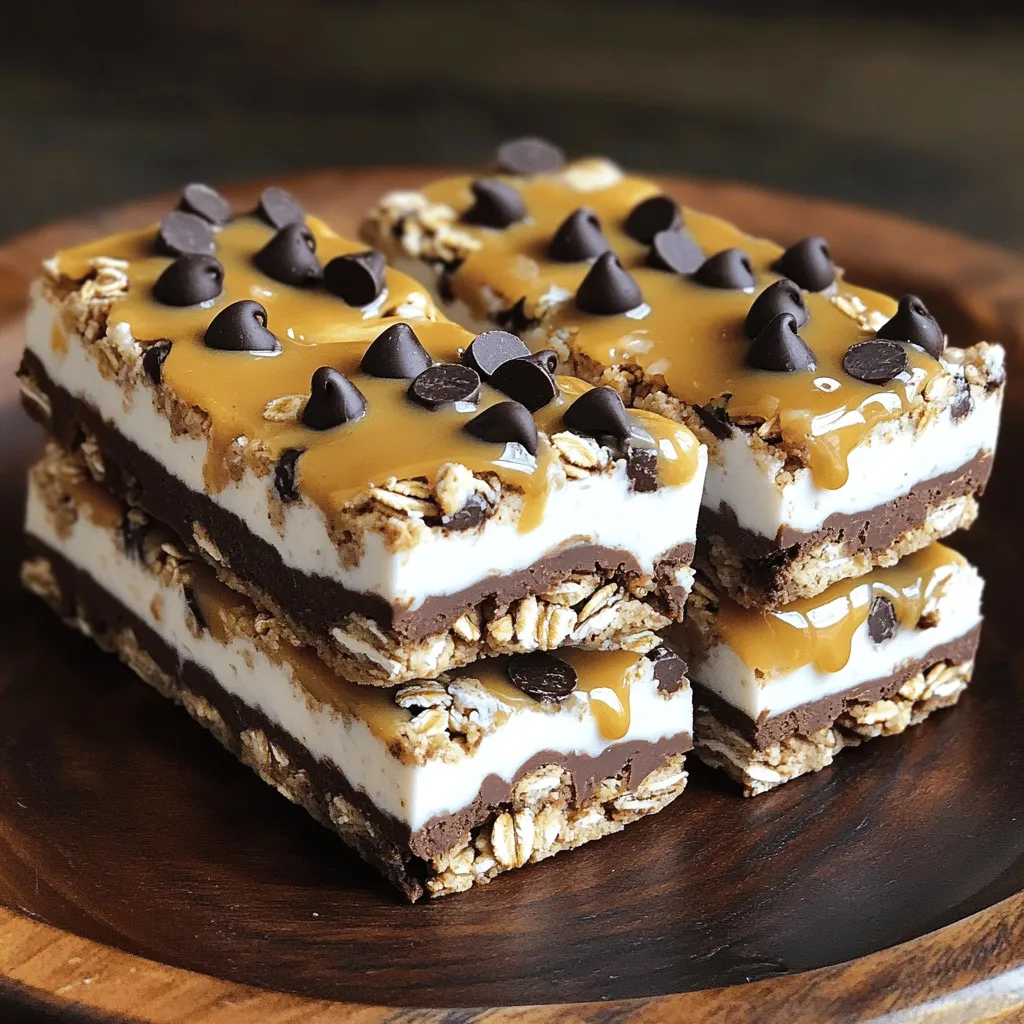
Looking for a tasty way to up your protein game? These Cookies and Cream Protein Bars are easy to make
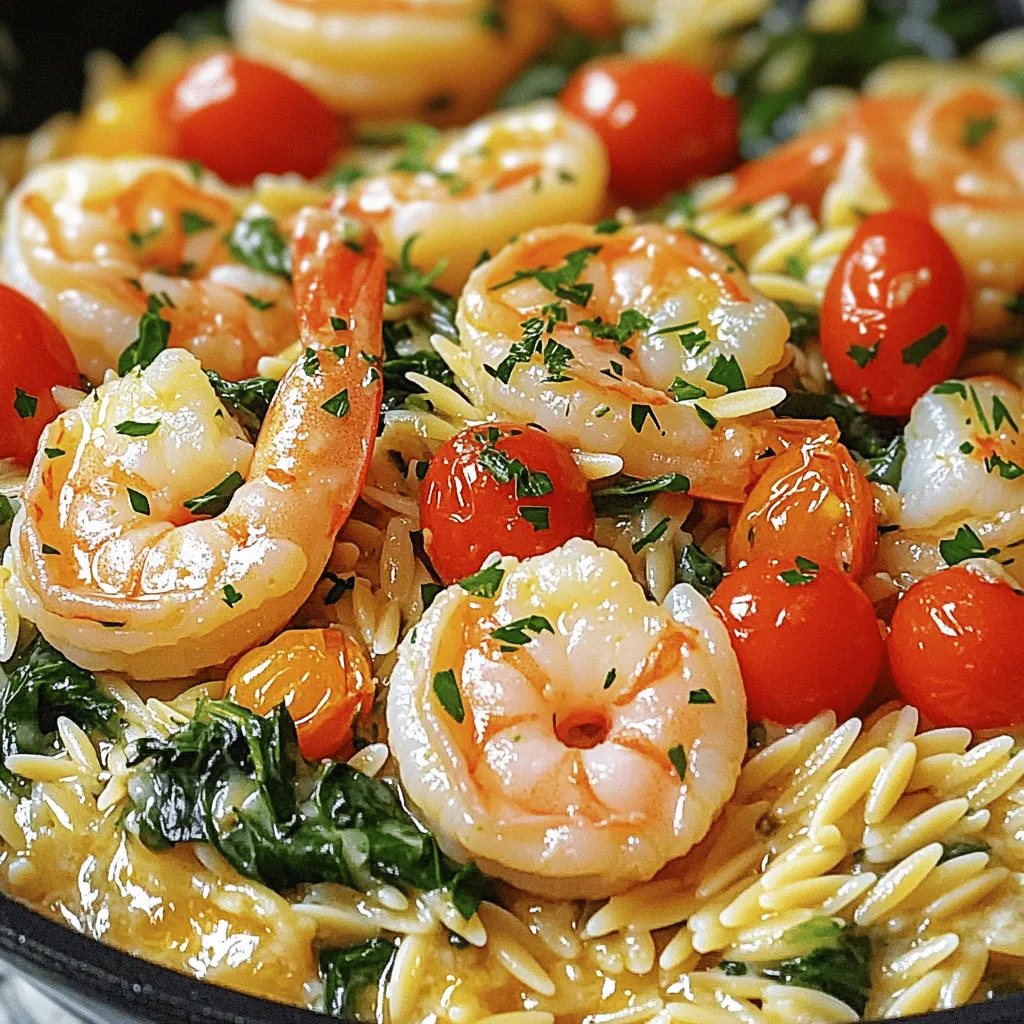
Are you ready to dive into a dish that combines creamy goodness with a burst of flavor? My Creamy Garlic
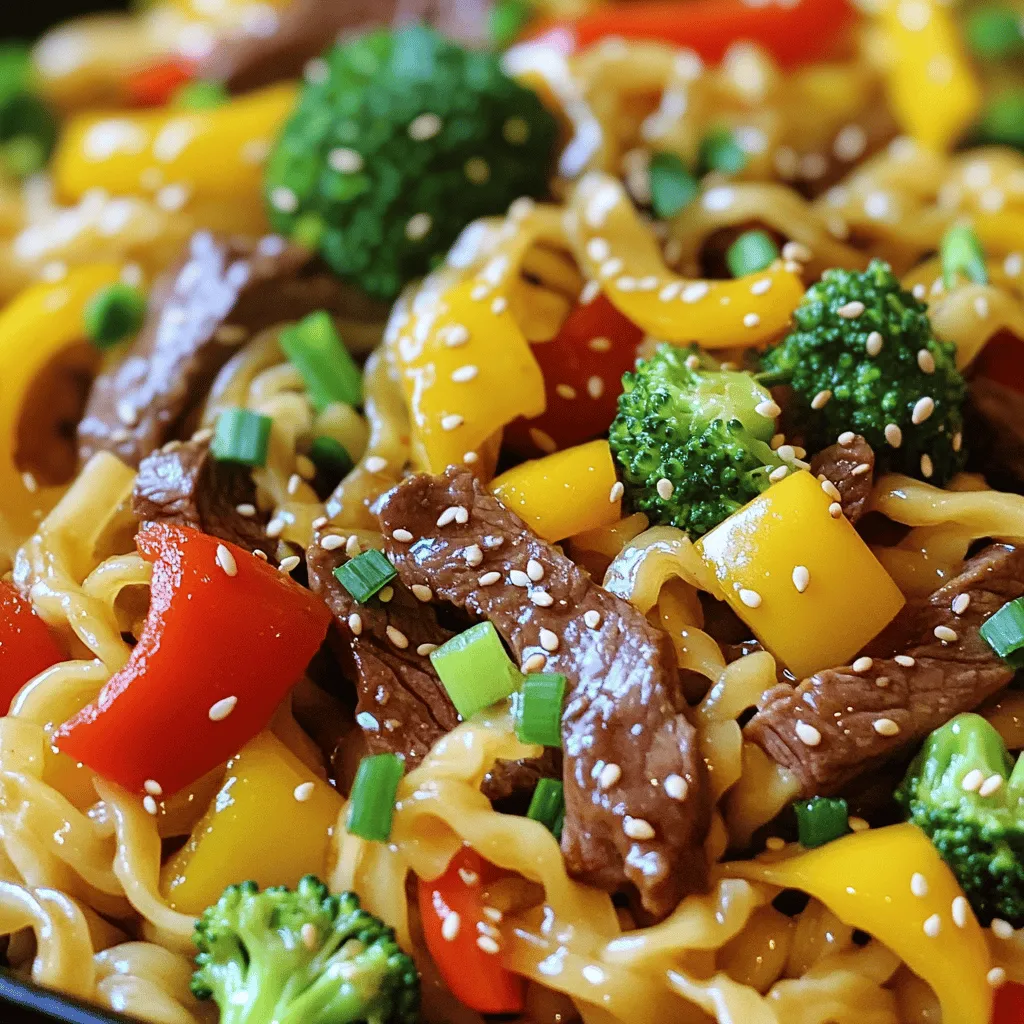
Are you craving a quick and tasty meal? Let me introduce you to Teriyaki Beef Noodles! This dish combines tender

Get ready to indulge in the fall flavors with my Pumpkin Cream Cheese Pancakes! This fluffy and delicious recipe merges
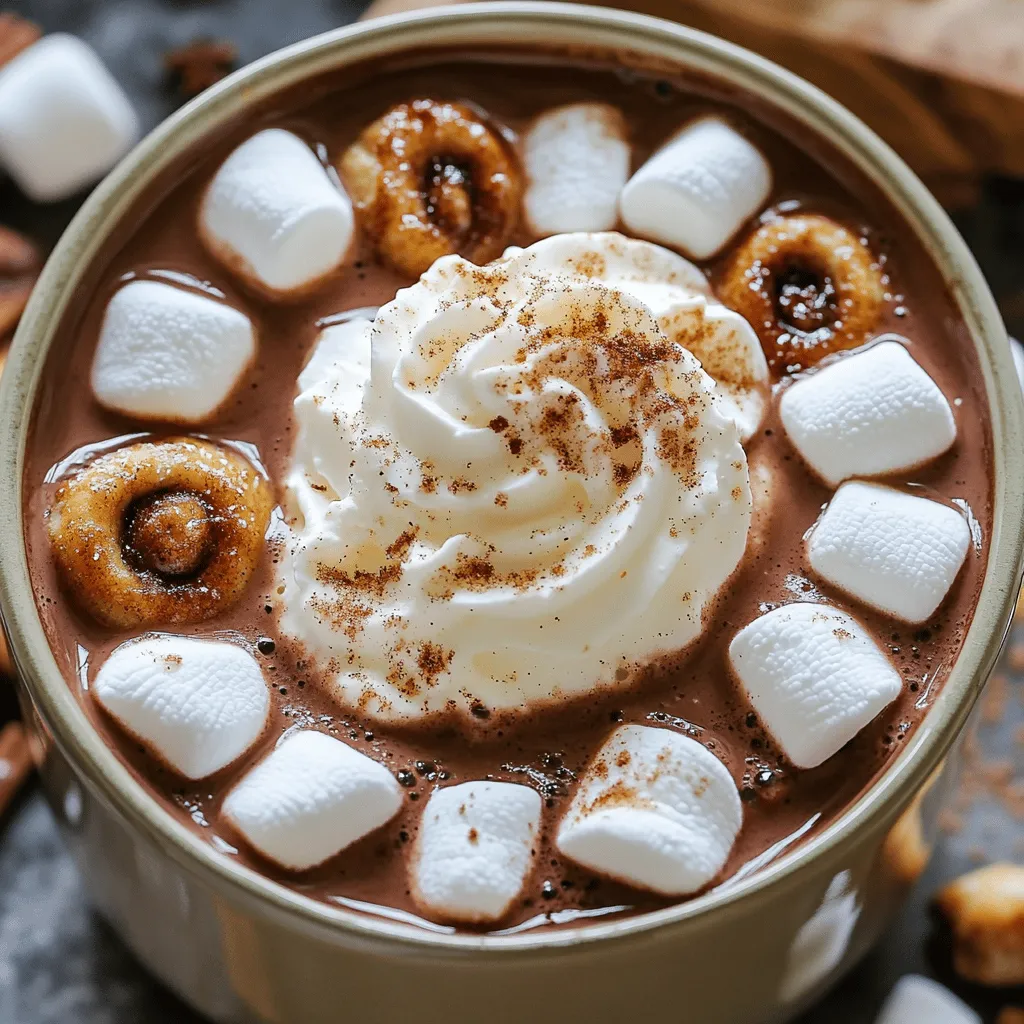
Warm, cozy, and oh-so-delicious! This Slow Cooker Cinnamon Roll Hot Chocolate Delight is perfect for chilly nights. Imagine sipping on
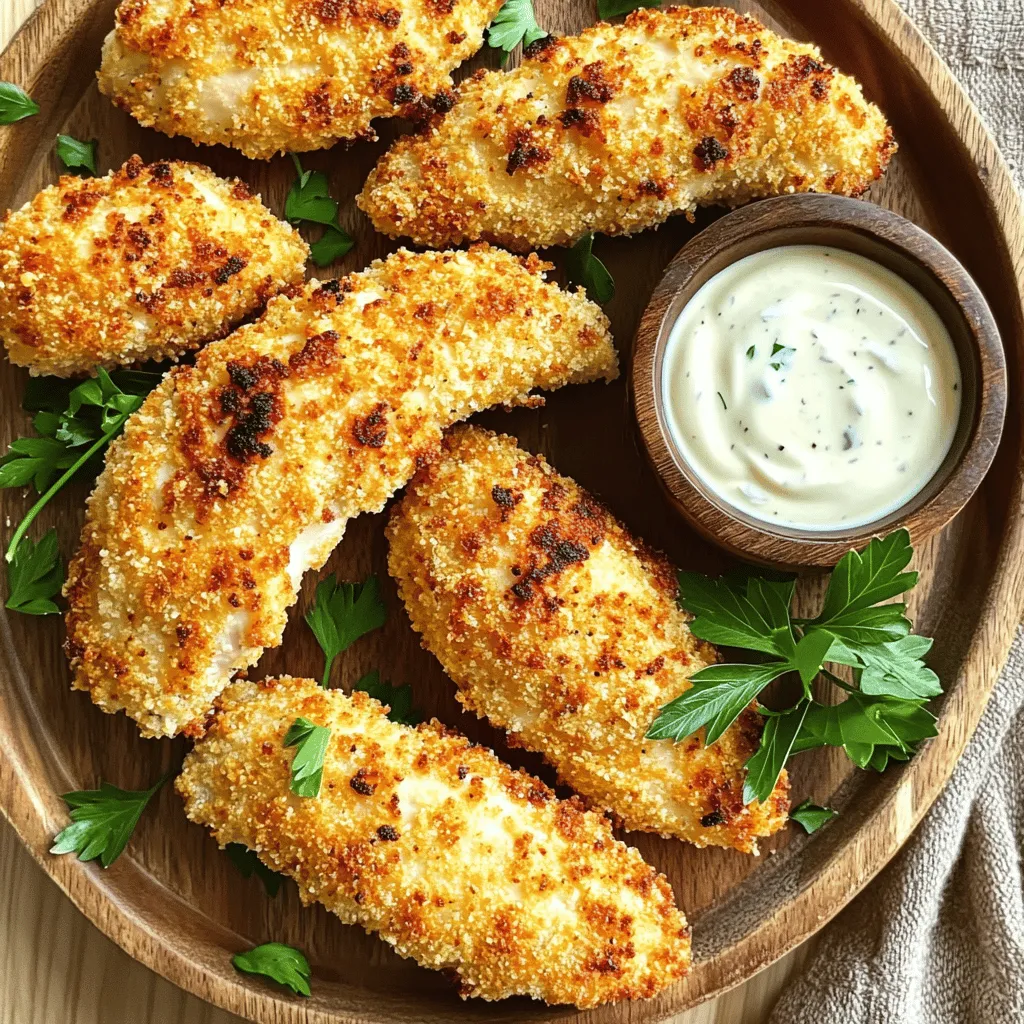
If you’re craving a crunchy, flavorful meal, you need to try these Air Fryer Ranch Chicken Tenders. With just a
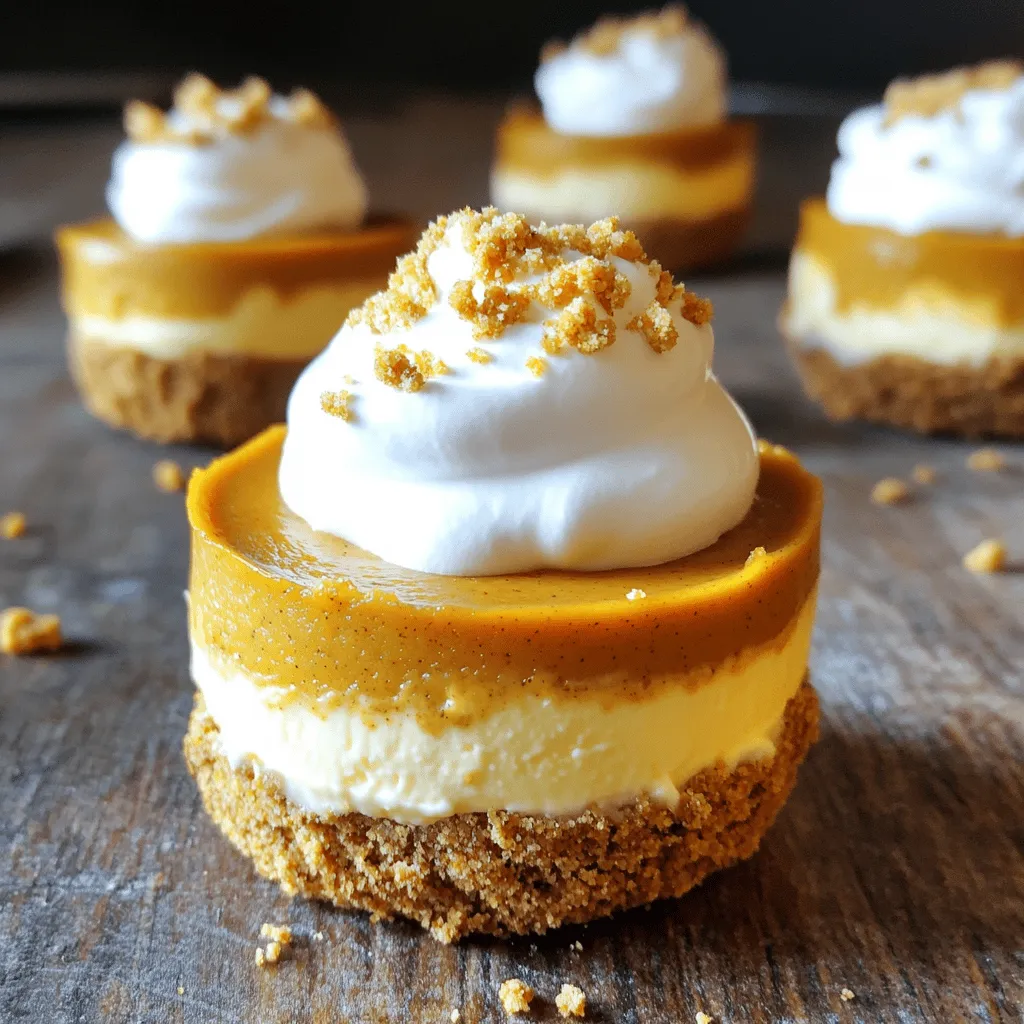
Fall is here, and it’s time to indulge in a treat that combines two favorites: pumpkin pie and cheesecake! In
