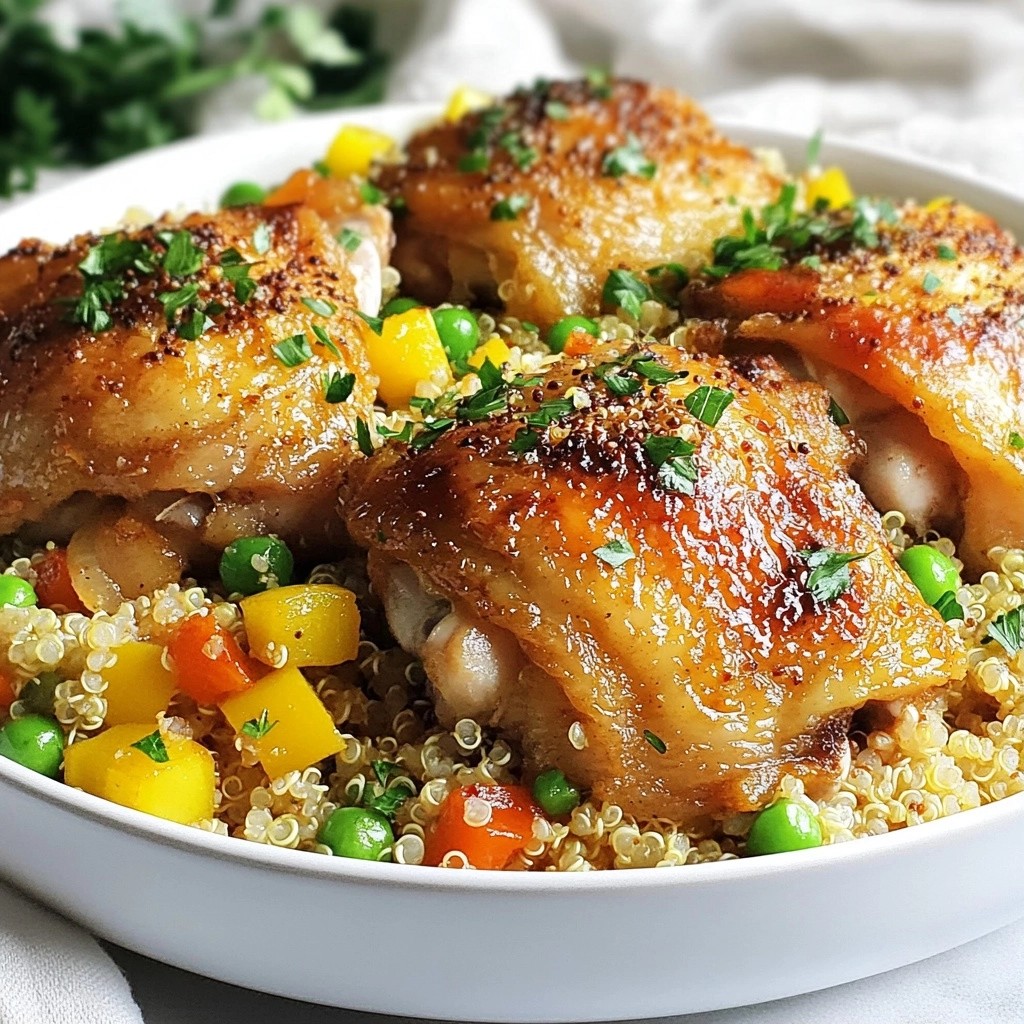
Get ready to savor a dish that bursts with flavor: Savory Balsamic Glazed Chicken Thighs with Peppers! This recipe combines tender chicken thighs, sweet bell peppers, and a rich balsamic glaze, creating a meal that's both comforting and exciting. Whether you’re cooking for a family dinner or a special occasion, this recipe promises to impress. Let’s dive into the ingredients and cooking steps that will make this dish a highlight of your week!
Why I Love This Recipe
- Flavorful Glaze: The combination of balsamic vinegar, honey, and Dijon mustard creates a sweet and tangy glaze that perfectly complements the savory chicken thighs.
- Colorful Veggies: The addition of red and yellow bell peppers, along with onions, not only adds a pop of color but also enhances the dish with extra flavors and nutrients.
- Easy Preparation: This recipe is straightforward, requiring minimal prep work and just one skillet, making it perfect for busy weeknights.
- Hearty and Satisfying: The bone-in and skin-on chicken thighs provide a rich flavor and juicy texture, ensuring a filling meal that everyone will love.
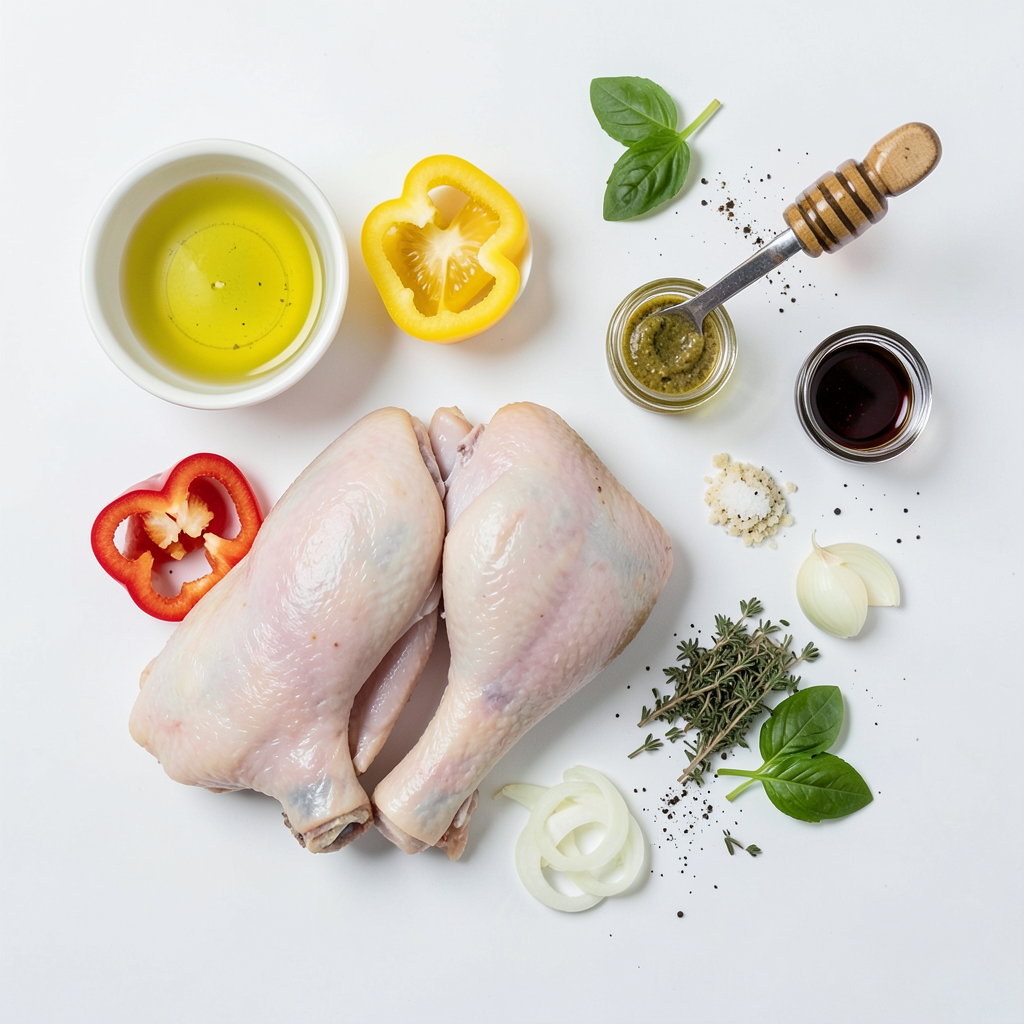
Ingredients
Main Ingredients for Balsamic Glazed Chicken
- 4 chicken thighs, bone-in and skin-on
- 1 red bell pepper, sliced
- 1 yellow bell pepper, sliced
- 1 onion, sliced
- 4 cloves garlic, minced
- 2 tablespoons olive oil
- 1/2 cup balsamic vinegar
- 2 tablespoons honey
- 1 tablespoon Dijon mustard
The chicken thighs give this dish a juicy flavor. Their skin adds a nice crunch. The bell peppers bring sweetness and color. The onion adds depth, while garlic provides a fragrant note. Together, these ingredients create a vibrant, tasty meal.
Spices and Seasonings
- 1 teaspoon dried thyme
- 1 teaspoon salt
- 1/2 teaspoon black pepper
These spices are key for seasoning. Thyme adds an earthy flavor. Salt enhances all the tastes in your dish. Black pepper brings a subtle heat. You can add herbs like rosemary or oregano for more flavor.
Garnish Options
- Fresh basil leaves
Basil gives a fresh finish to your dish. You can also use parsley for a pop of color. A sprinkle of lemon zest can add brightness. These garnishes make your meal look and taste even better.
Step-by-Step Instructions
Prepping the Oven and Chicken
- Preheat the oven to 400°F (200°C).
- Pat the chicken thighs dry. This helps the skin crisp up. Season both sides with salt, black pepper, and dried thyme.
Cooking Sequence
- Heat 2 tablespoons of olive oil in a large skillet over medium-high heat.
- Place the chicken thighs skin-side down. Sear for 5-7 minutes until golden brown. Then flip and sear for another 3-4 minutes. Remove the chicken from the skillet and set aside.
- In the same skillet, add the sliced onion and bell peppers. Sauté for about 5 minutes until they soften. Add minced garlic and cook for one more minute.
- Now, let’s make the balsamic glaze. Pour in 1/2 cup of balsamic vinegar, 2 tablespoons of honey, and 1 tablespoon of Dijon mustard. Stir well and bring to a simmer. Cook for about 3-4 minutes until it thickens a little.
Final Cooking Steps
- Return the seared chicken thighs to the skillet. Make sure they are coated in the glaze and nestled among the peppers and onions.
- Transfer the skillet to the preheated oven. Bake for 25-30 minutes. Check the internal temperature. It should reach 165°F (75°C) to ensure the chicken is fully cooked.
Tips & Tricks
Achieving the Perfect Sear
To get a nice crust on your chicken, start by patting the chicken thighs dry. This helps the skin crisp up nicely. If the chicken is wet, it will steam instead of sear.
Next, heat your skillet over medium-high heat. You want the oil to shimmer but not smoke. Sear the chicken thighs skin side down for 5 to 7 minutes. Watch for a golden-brown color. Flip them and sear for another 3 to 4 minutes. This timing is key for that perfect sear.
Enhancing Flavor Profiles
To boost the flavor, you can add herbs like rosemary or oregano. Fresh herbs work well, too. Just sprinkle them in while cooking.
As the glaze cooks, allow it to thicken. This step is vital. A thicker glaze means it clings to the chicken better, giving each bite more flavor. Stir occasionally until it reduces slightly.
Serving Suggestions
For sides, I suggest roasted potatoes or a fresh salad. Both pair well with the chicken and add color to your plate.
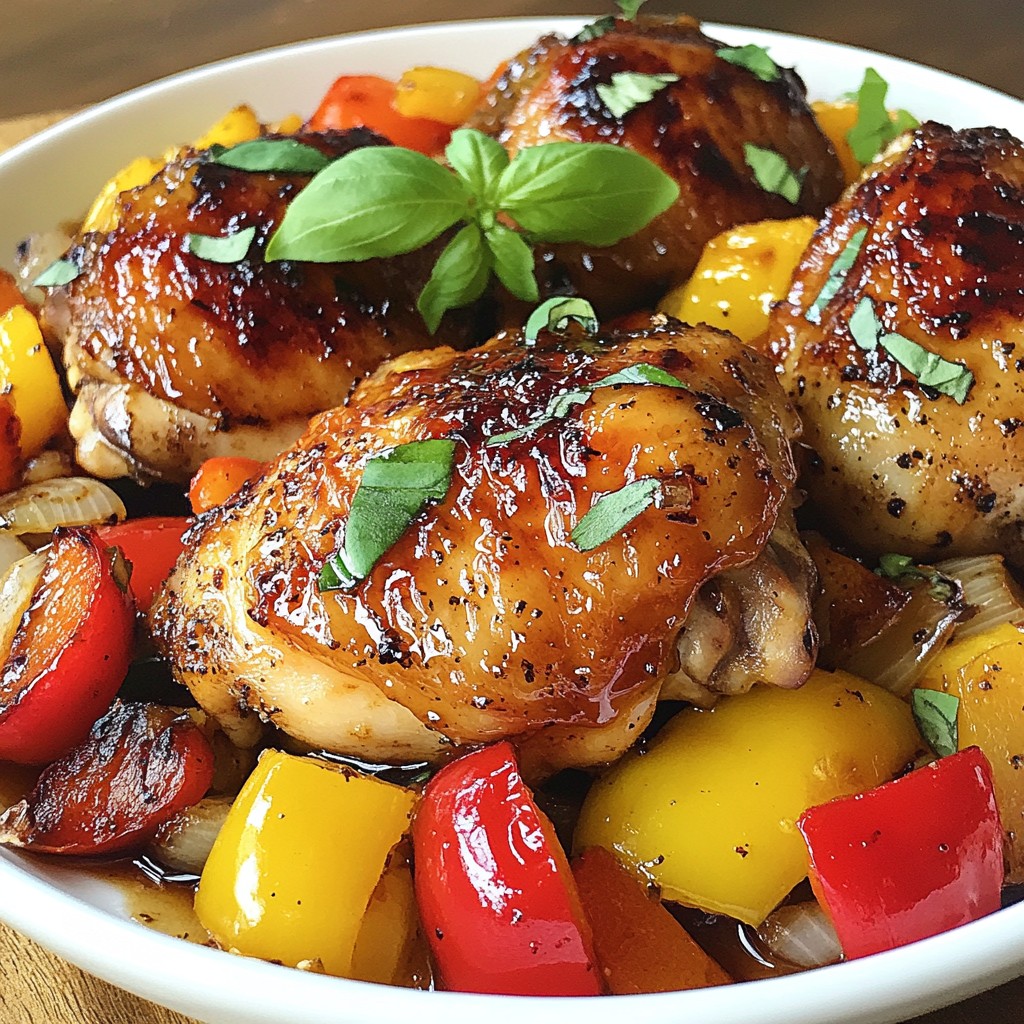
When serving, arrange the chicken on a large platter. Place the peppers and onions around it. Garnish with fresh basil leaves for a pop of color. This makes the dish look as good as it tastes!
Pro Tips
- Use Bone-In Thighs: Bone-in chicken thighs retain moisture better than boneless cuts, resulting in juicier and more flavorful meat.
- Let the Chicken Rest: After baking, let the chicken rest for a few minutes before serving to allow the juices to redistribute, ensuring every bite is tender and juicy.
- Customize Your Vegetables: Feel free to mix in other vegetables like zucchini or mushrooms for added texture and flavor, depending on your preference.
- Check for Doneness: Always use a meat thermometer to ensure chicken reaches an internal temperature of 165°F (75°C) for safe consumption.
Variations
Ingredient Swaps
You can change the protein in this dish easily. Chicken breast works well if you want leaner meat. Tofu is a great choice for a vegetarian option. For veggies, try zucchini or mushrooms for a different taste. You can also use green bell peppers if you prefer them over red or yellow.
Flavor Variations
Adjust the sweetness of the glaze by adding more or less honey. If you like heat, sprinkle in red pepper flakes or chili powder. You can also mix in herbs like rosemary or oregano for a fresh twist. These small changes can make the dish feel new each time you make it.
Cooking Method Alternatives
Grilling this recipe gives it a nice smoky flavor. Just sear the chicken first, then transfer it to the grill. You can also use a slow cooker if you're busy. Just layer the chicken and veggies, pour the glaze over, and cook on low for several hours. This method makes the chicken very tender and flavorful.
Storage Info
Refrigeration Guidelines
To store leftovers, place the chicken and peppers in an airtight container. This helps keep the dish fresh. You can store it in the fridge for up to four days. Make sure it cools down before sealing the container.
Freezing Instructions
For freezing, wrap individual portions in plastic wrap, then place them in a freezer bag. This method prevents freezer burn. You can freeze the dish for up to three months. When ready to eat, thaw it in the fridge overnight. Reheat in the oven or on the stovetop.
Reusability
Leftovers are great for other meals! You can shred the chicken and mix it into pasta or salads. For reheating, add a splash of broth to keep the chicken moist. Use a skillet over low heat for best results. Enjoy the flavors again in a new way!
FAQs
Can I use boneless chicken thighs instead?
Yes, you can use boneless chicken thighs. They cook faster than bone-in thighs. You should reduce the cooking time by about 10-15 minutes. They will be just as tasty. However, they may not have the same juicy texture due to the lack of bone.
What can I substitute for balsamic vinegar?
You can use red wine vinegar or apple cider vinegar. Both add a nice tang. If you use these, adjust the sweetness. You can add a bit more honey to balance the flavors. Rice vinegar is another option, but it is milder.
How do I know when the chicken is fully cooked?
The chicken is fully cooked when it reaches 165°F (75°C). You can check using a meat thermometer. Also, look for clear juices when you cut into the chicken. If the juices run clear, it’s done. The meat should not be pink inside.
This article covered how to make balsamic glazed chicken. We discussed main ingredients, spices, and garnishes. I shared step-by-step instructions for prepping and cooking the dish. You learned tips for the perfect sear and serving suggestions. I also included variations for the recipe, storage information, and common questions.
In conclusion, this meal is flexible and simple. You can try different ingredients and cooking methods. Enjoy your delicious balsamic glazed chicken!